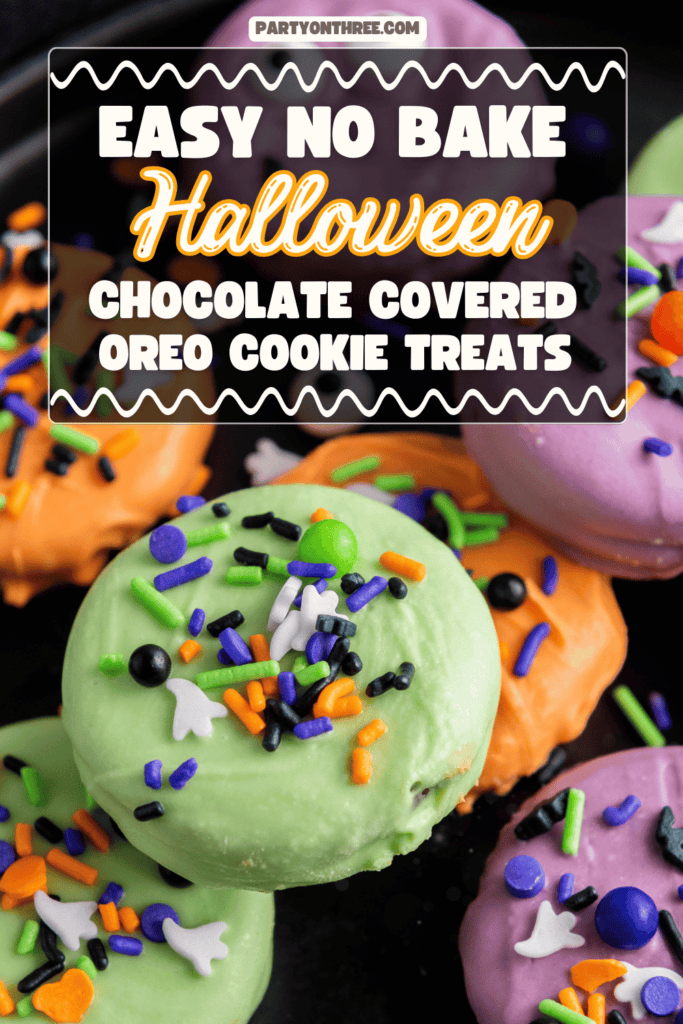
Chocolate Covered Halloween Oreos (Easy Party Recipe)


Published on September 1, 2025
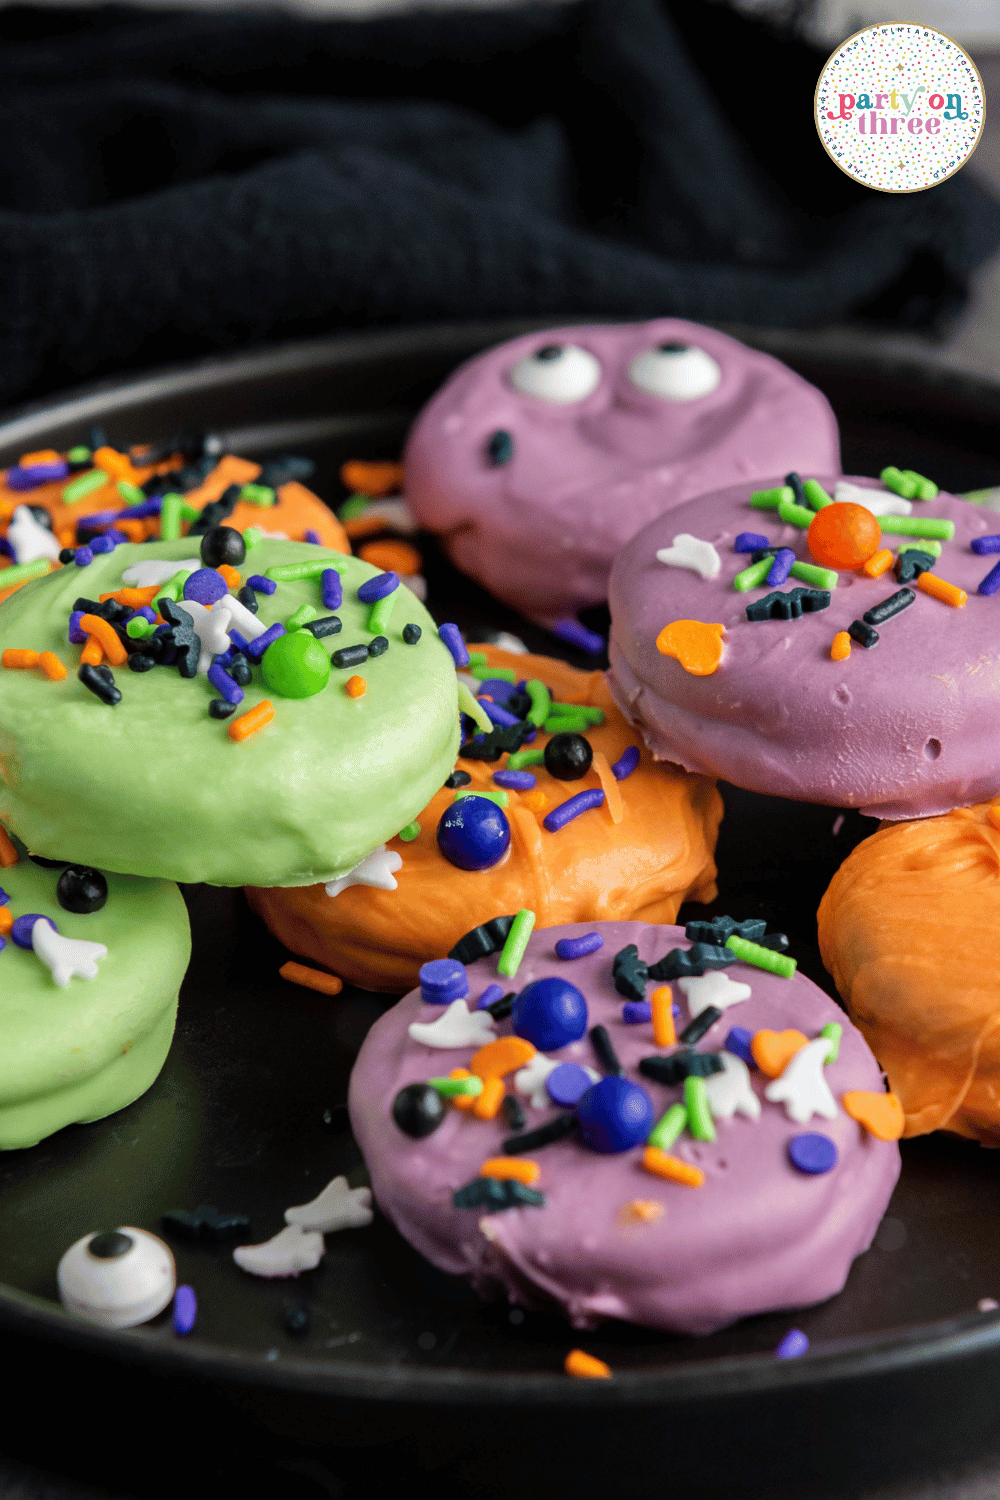
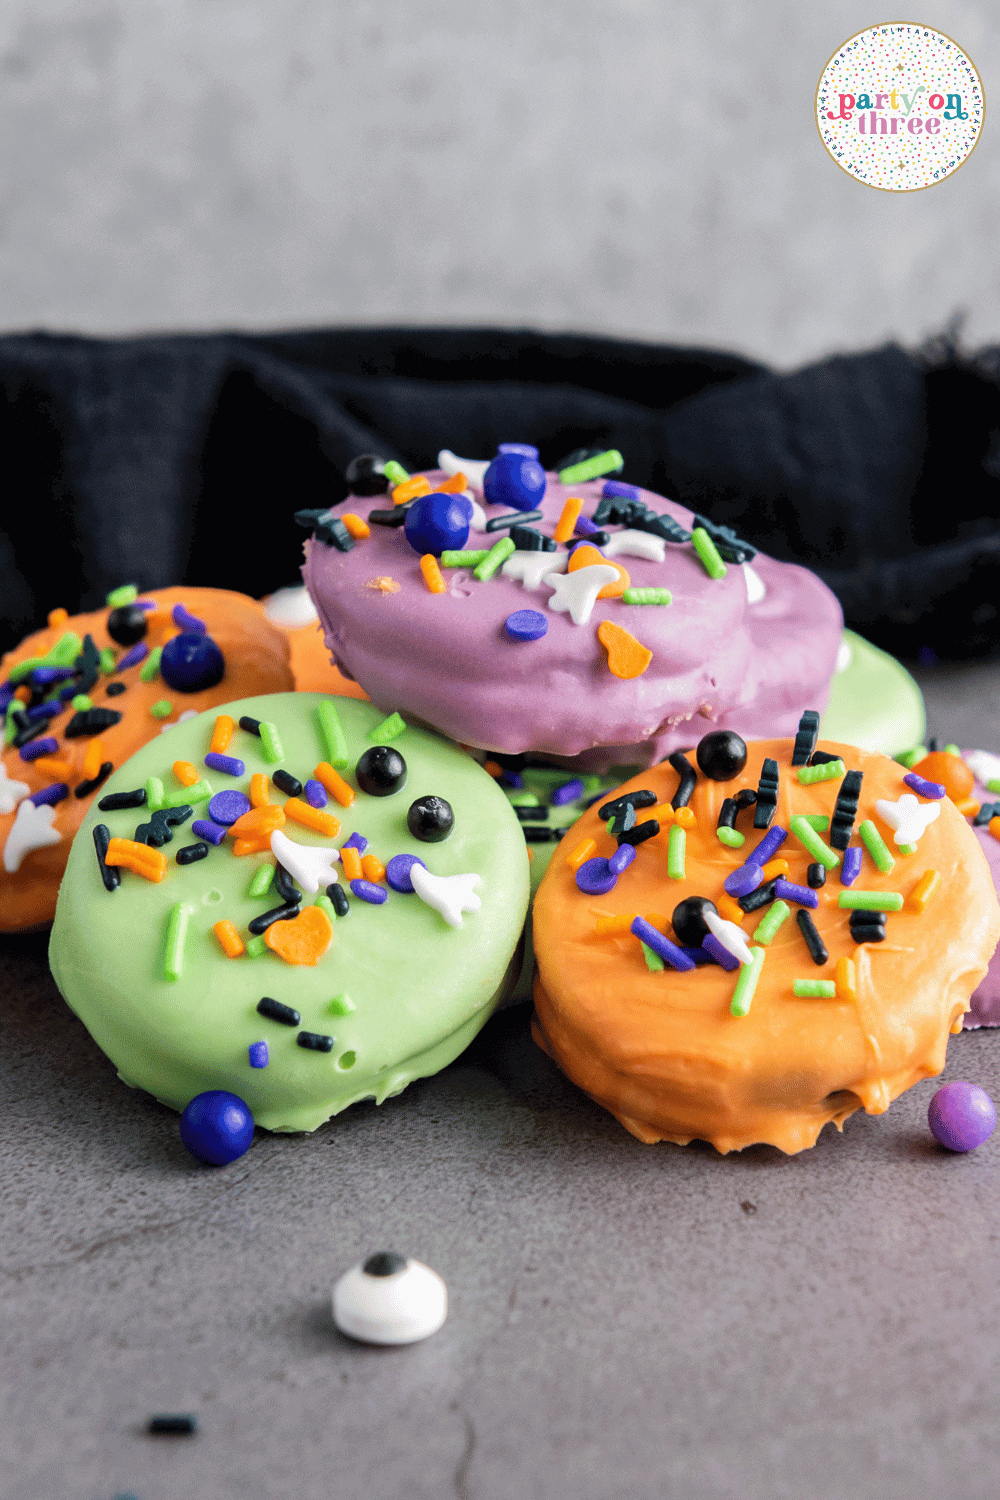
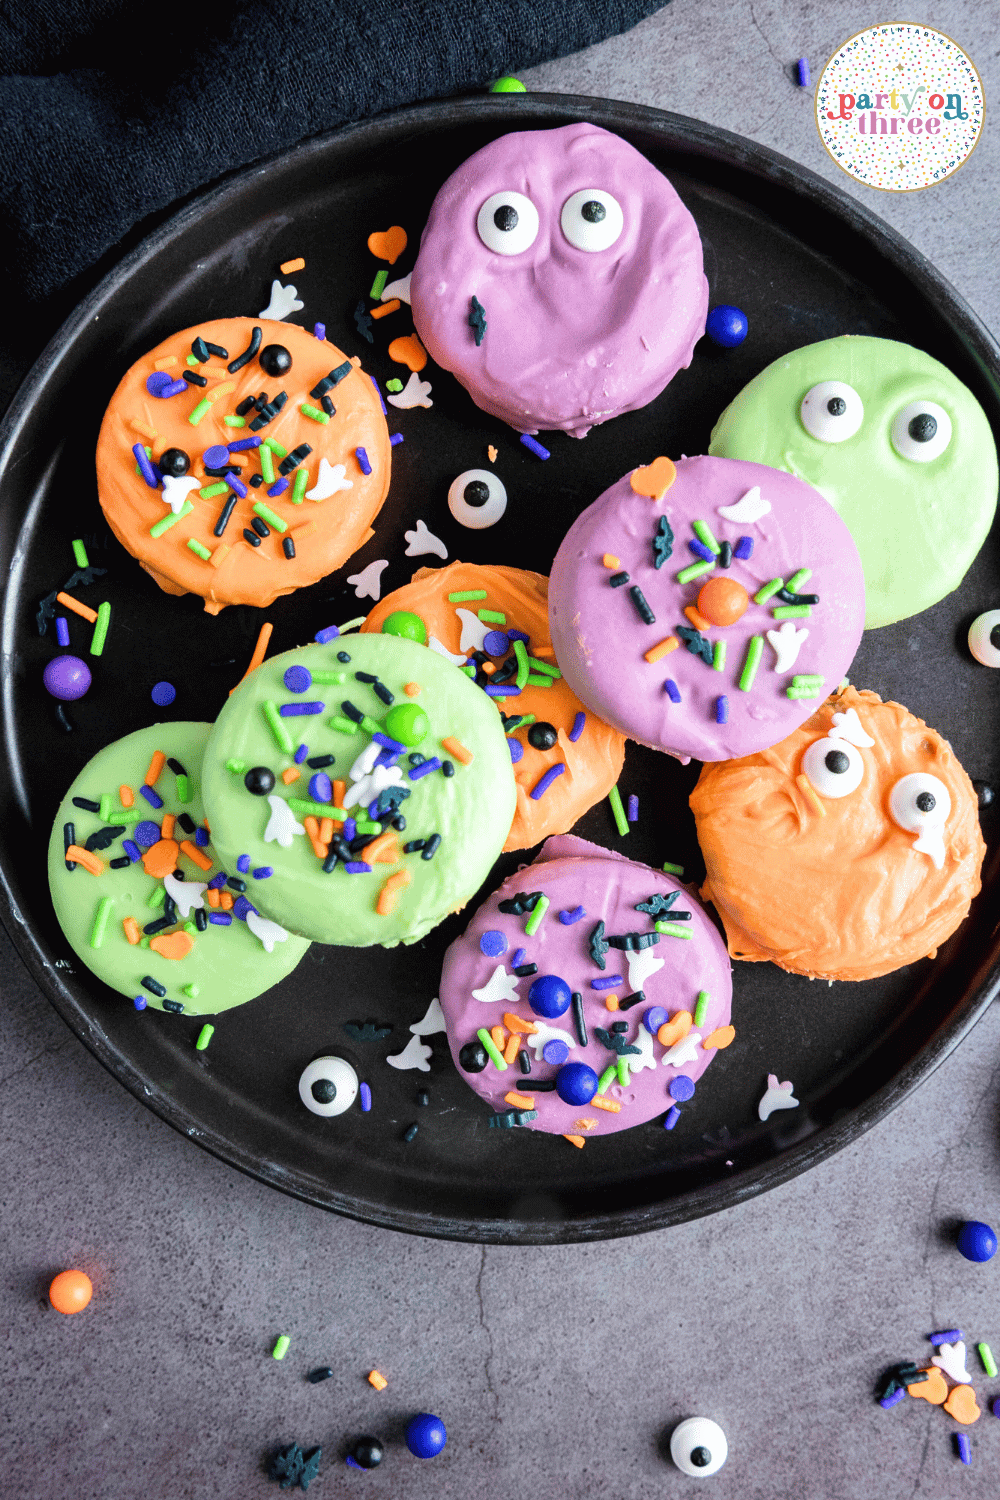
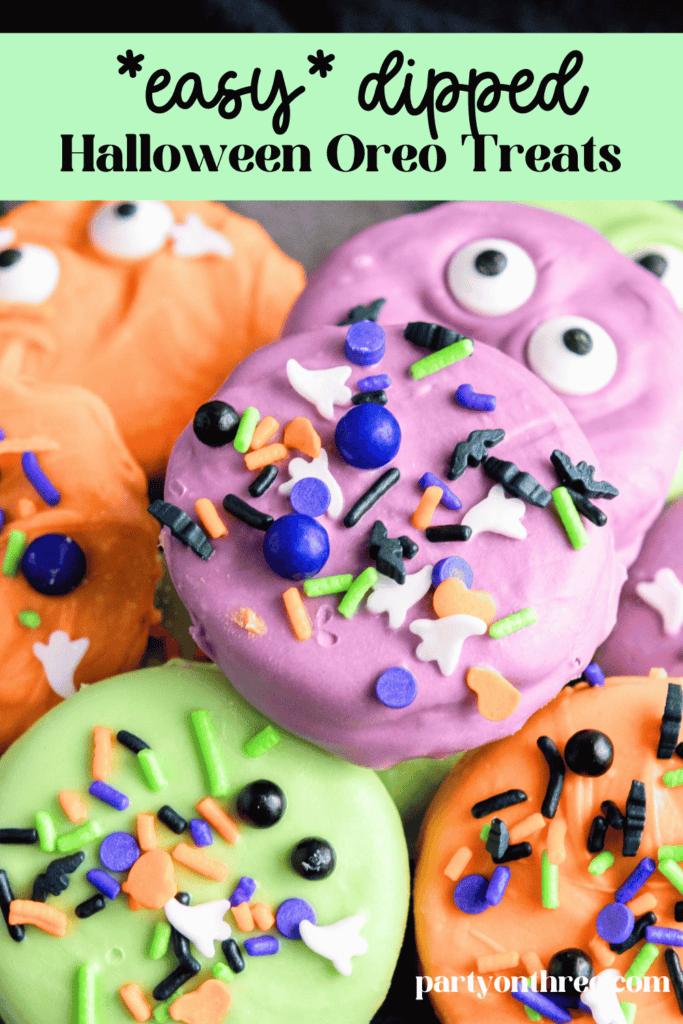
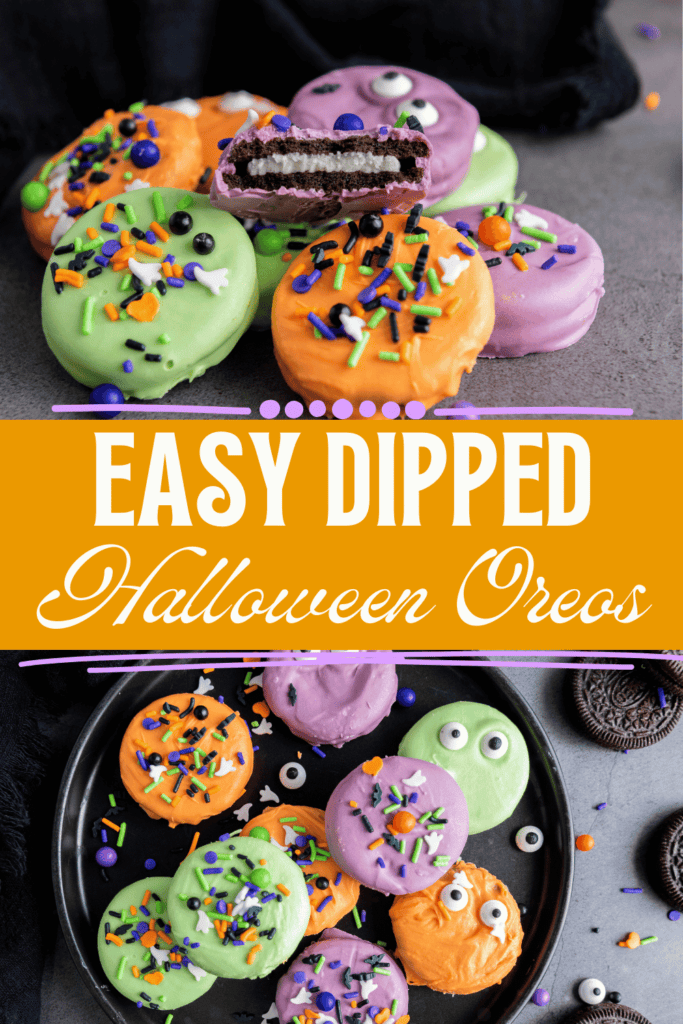
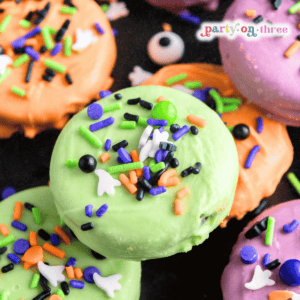
When it comes to quick and festive desserts, these Halloween Oreo Treats are hard to beat. They’re colorful, crunchy, and so simple to make that even the kids can help. With just a few ingredients, you can create a tray of party-ready cookies that look like they came straight from a bakery.
These dipped Oreos are the perfect addition to a Halloween dessert table, party platter, or classroom celebration. You can customize them with spooky sprinkles, fun candy shapes, and different colors of candy melts to match any Halloween theme.

Love Party on Three?
Make us your preferred source on Google so our recipes, printables, and party ideas show up first when you search. One tap and you're set, it's free and it helps us so much.
There are affiliate links in this post – please read my full disclosure policy. As an Amazon Associate, I earn from qualifying purchases.
They’re also the kind of treat that doubles as a fun Halloween activity. Kids can dip and decorate their own Oreos with sprinkles, while adults will love how quick and mess-free the recipe is. Whether you’re making them for a classroom party, a Halloween movie night, or to hand out as edible favors, these colorful cookies are always a hit.
Be sure to also see our Halloween Mummy Hot Dogs and this yummy Halloween Candy Bark (Easy No Bake Party Treat)
❤️Don’t Leave Before You Check Out These Fun Ideas!❤️


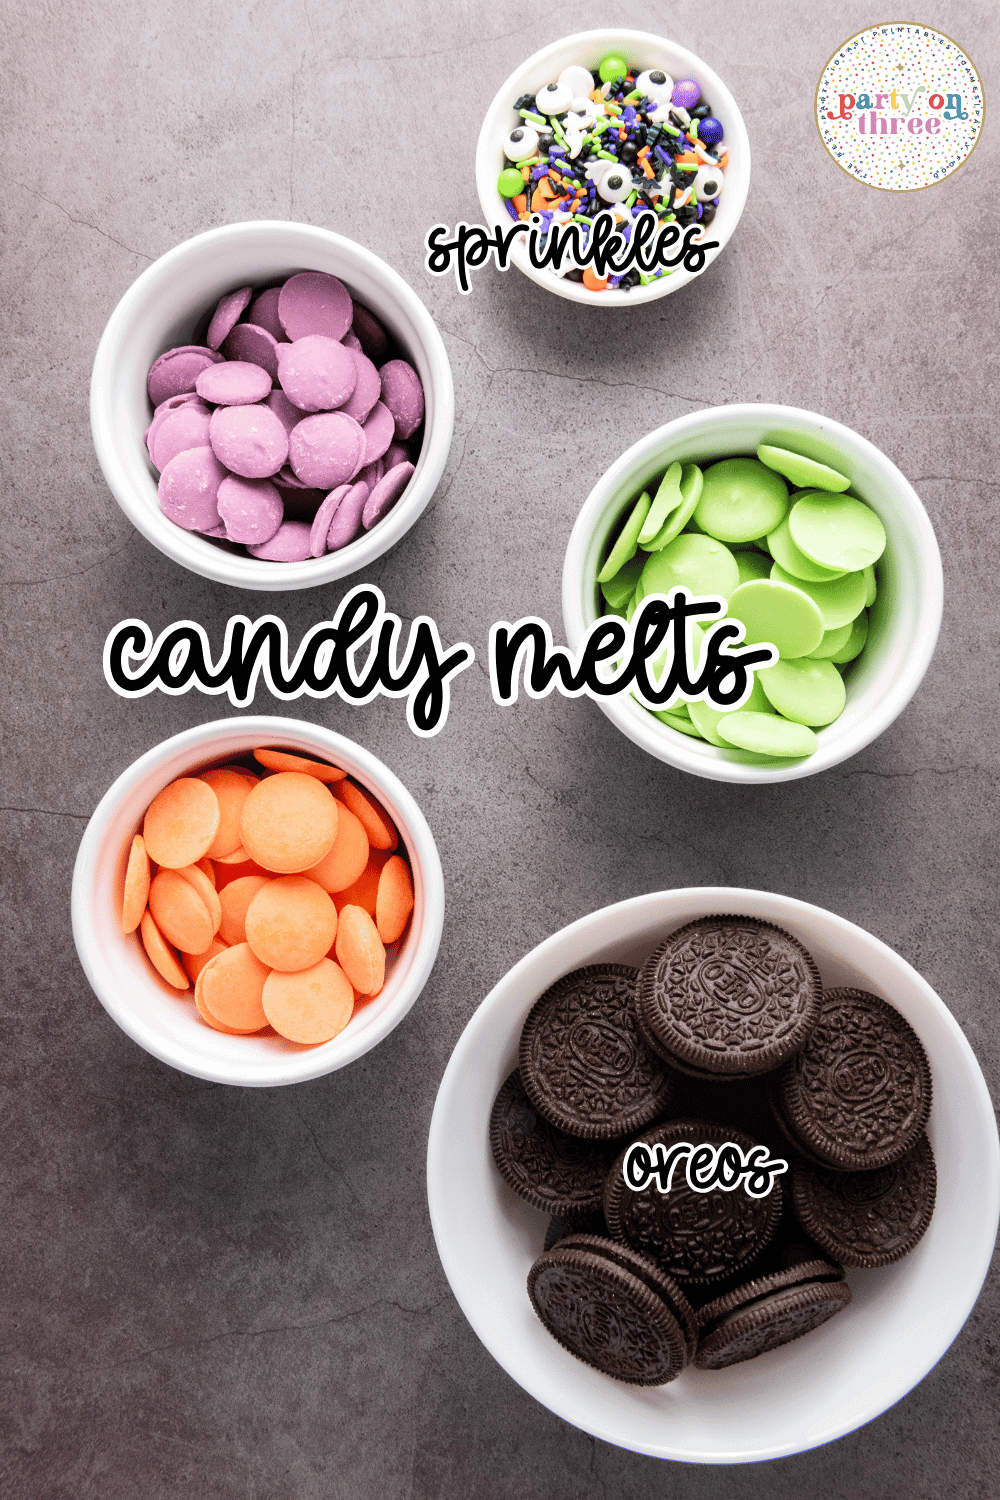
Ingredients Needed
- Oreo cookies – classic or double-stuffed both work well
- Candy Melts – Purple, orange, and green
- Halloween sprinkles – bats, pumpkins, ghosts, or any festive mix
- Optional: *Silicone mold – this one from Amazon is perfect. If you want to use a mold, skip to that section below.

How to Make Halloween Covered Oreos
Place parchment paper or a silicone baking mat on a baking sheet to keep the Oreos from sticking.
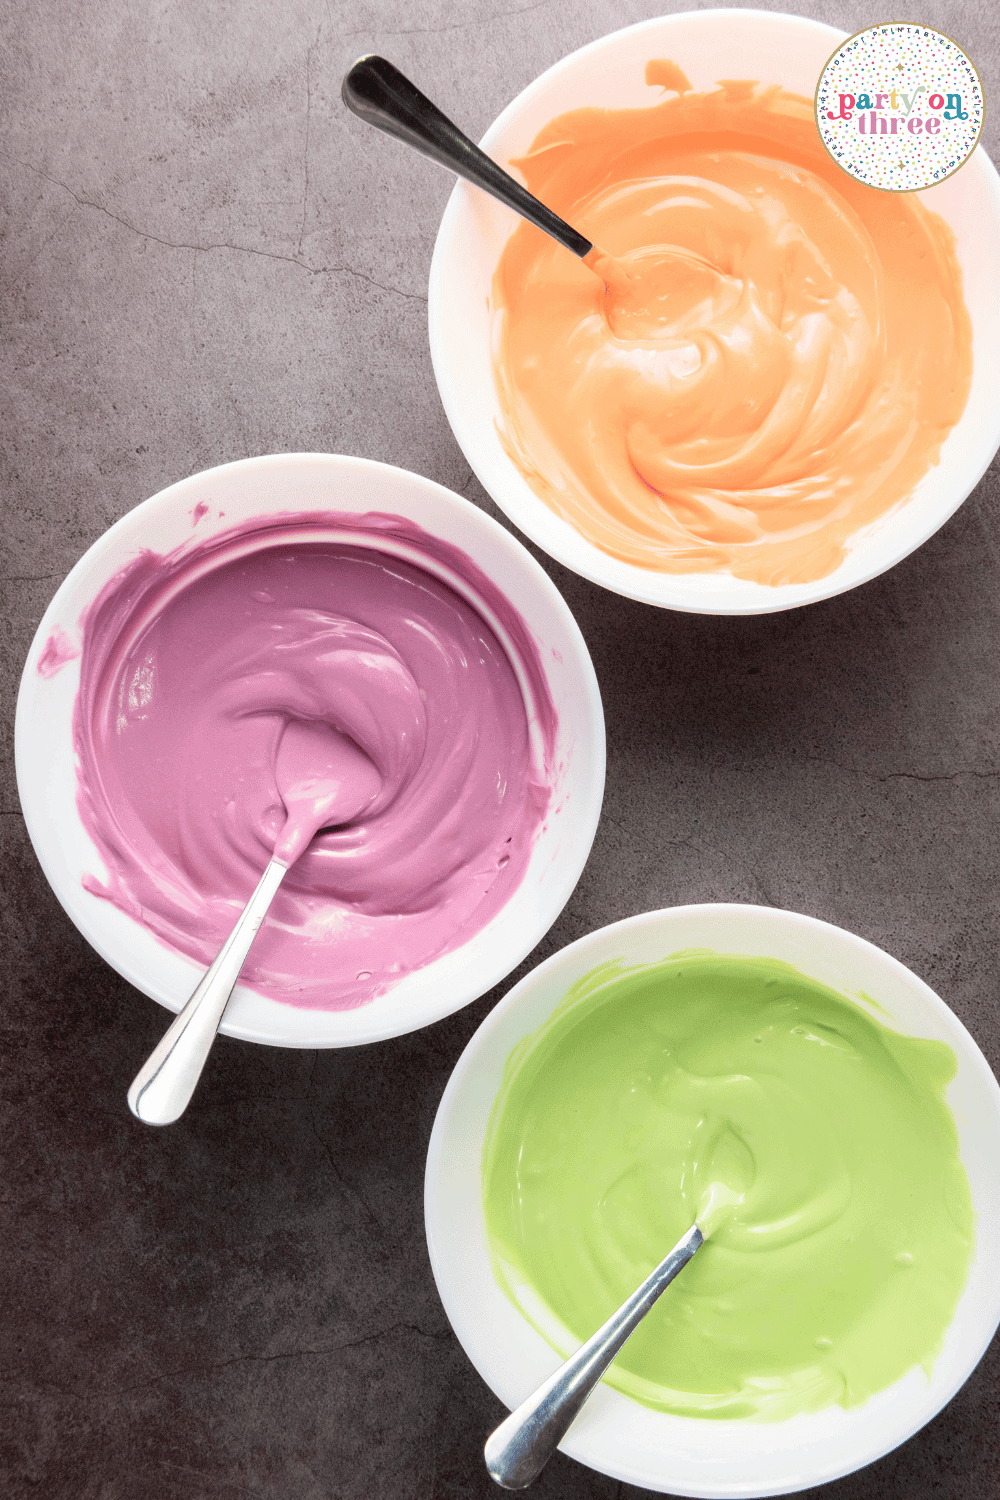
Place the purple, green, and orange candy melts into three separate bowls. Microwave each one in 30-second bursts, stirring between intervals, until smooth and fully melted.
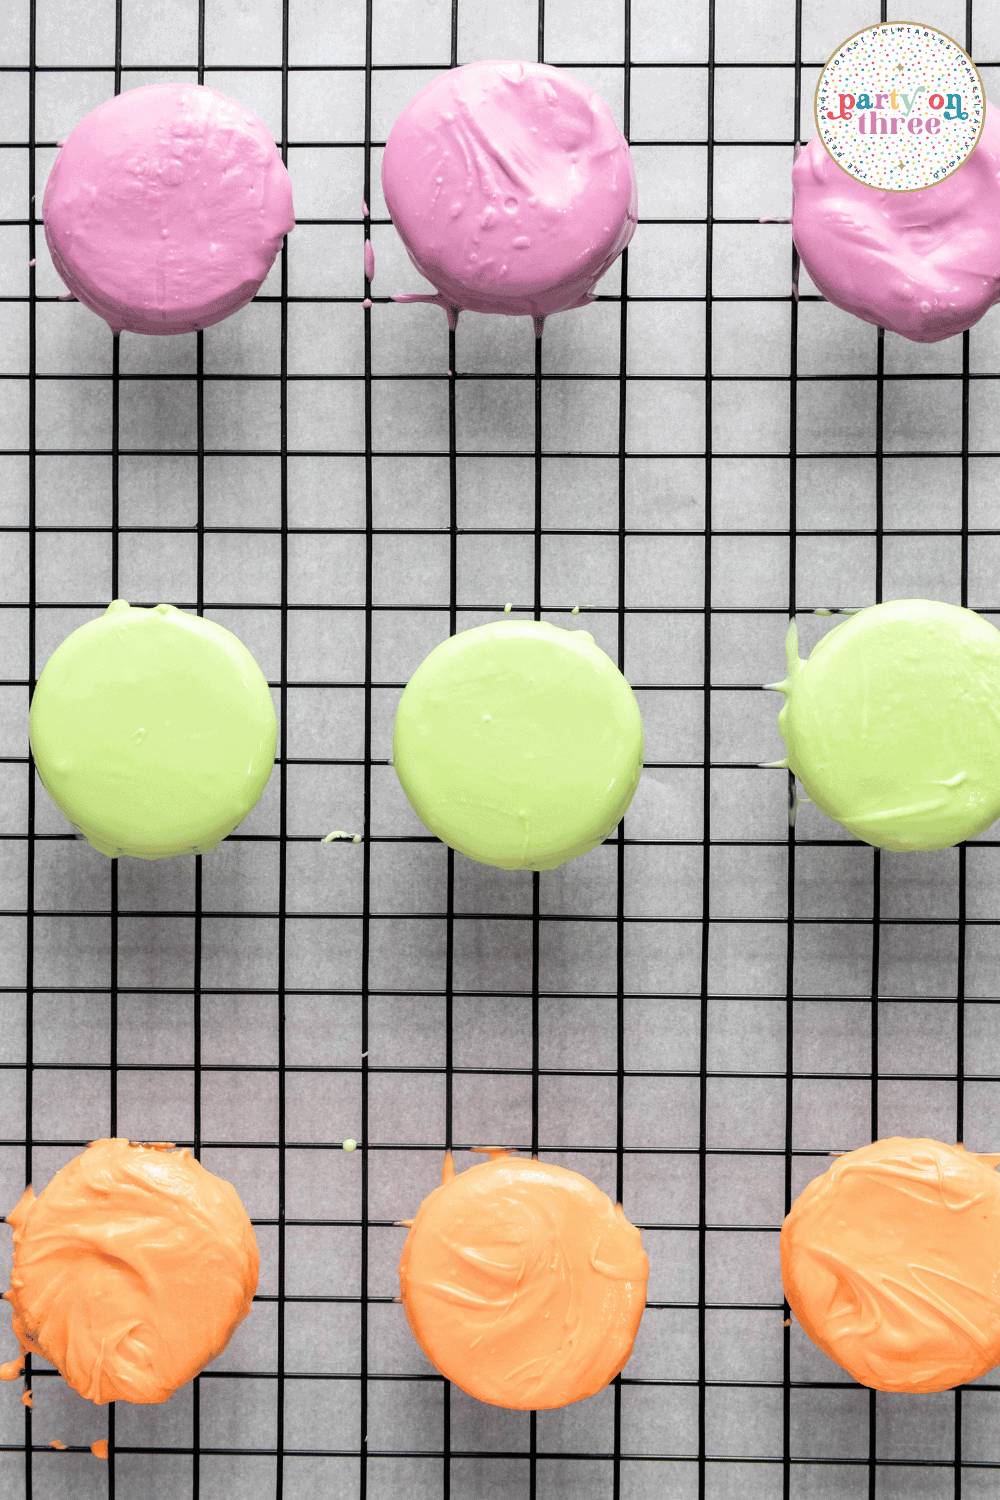
Using a fork or dipping tool, submerge each Oreo into the melted candy. Let the excess drip off, then set the cookie onto the lined baking sheet. For variety, coat 4 Oreos in each color.
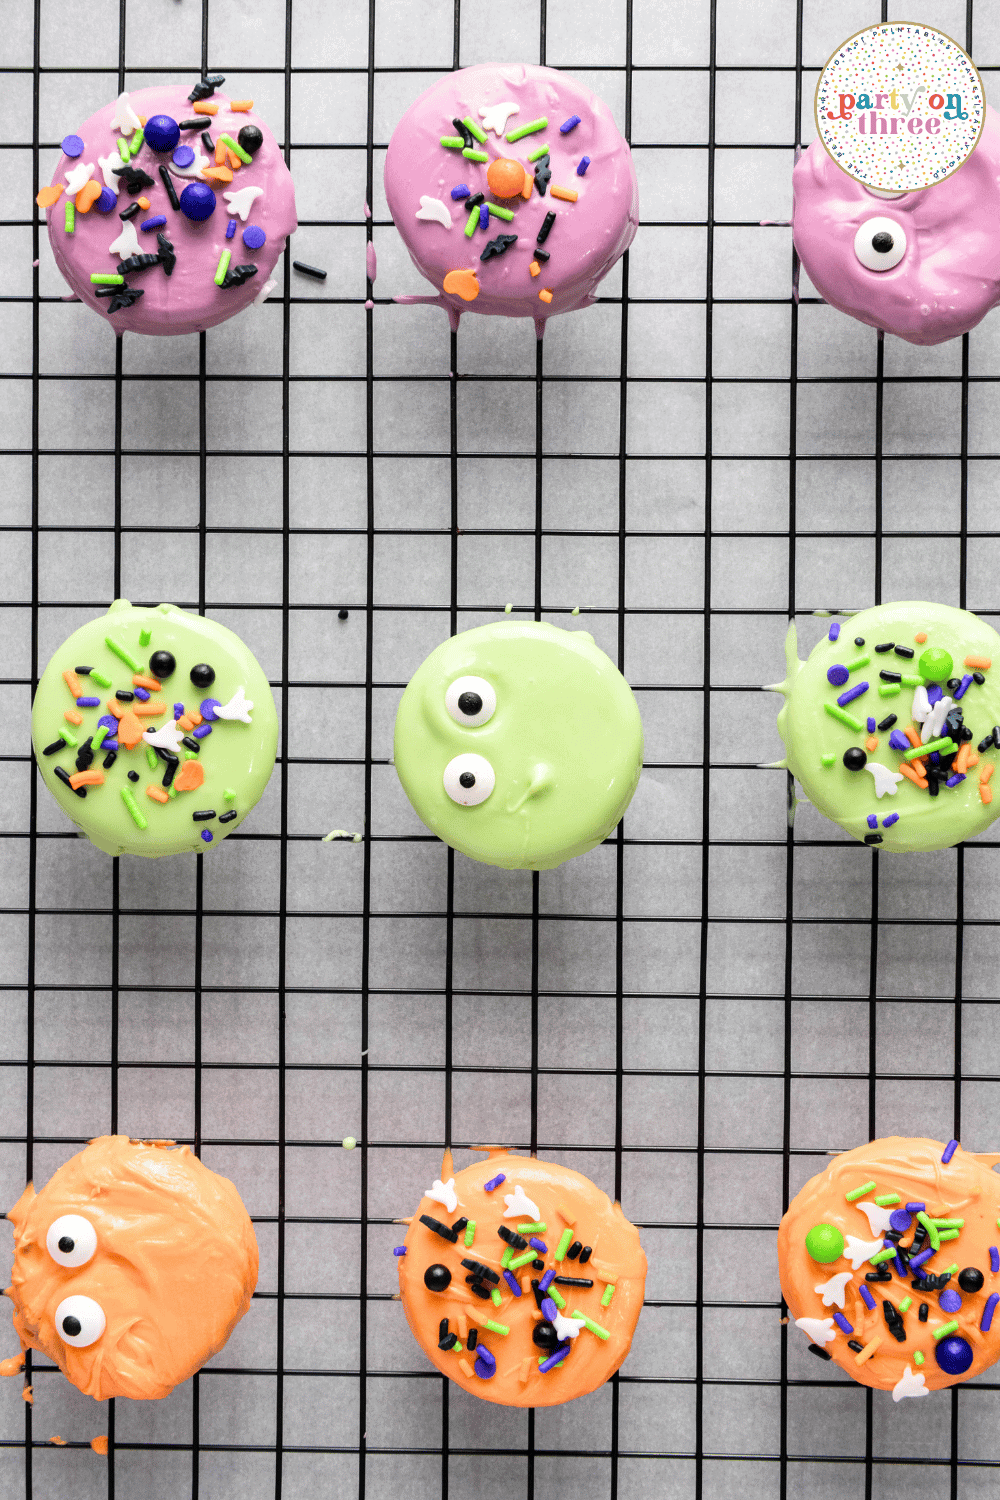
While the candy coating is still wet, add Halloween sprinkles to the top of each Oreo. Mix and match shapes to make them extra festive.
Leave the Oreos at room temperature until the coating is firm, about 30–60 minutes. To speed things up, place the tray in the refrigerator for 15 minutes.
Arrange on a platter for your Halloween party or store in an airtight container until ready to serve.
How to Make Halloween Oreo Treats in a Silicone Mold
If you want perfectly shaped, professional-looking Oreo treats, try using a silicone cookie or candy mold. This method gives the cookies a smooth, even coating of candy melts.
- Melt the candy melts in separate bowls as directed.
- Spoon about 1 tablespoon of melted candy into each cavity of the silicone mold.
- Gently press an Oreo into the melted candy, then spoon more candy over the top until the cookie is fully covered.
- Tap the mold lightly on the counter to release air bubbles and smooth the surface.
- Add Halloween sprinkles on top before the candy hardens.
- Place the mold in the refrigerator for 15–20 minutes, or until the coating is firm.
- Pop the Oreos out of the mold and serve or package for party favors.
Helpful Tips
- Dipping tool – A fork works fine, but a candy-dipping fork keeps the coating smooth.
- Keep it smooth – If candy melts start to thicken while dipping, reheat for 15–20 seconds.
- Quick set option – Refrigerating helps the coating harden faster, but avoid the freezer to prevent cracking.
- Party prep – Make these the night before your party and store at room temperature.
- Flavor twist – Use flavored Oreos like pumpkin spice or mint for an extra seasonal touch.
Substitutions and Variations
Chocolate coating —-Swap candy melts for almond bark, white chocolate, or milk chocolate.
Custom sprinkles – Try fall leaf sprinkles for Thanksgiving or red and green for Christmas.
Drizzle effect – After dipping, drizzle contrasting melted candy over the top for a layered look.
Mini Oreos – Use bite-sized Oreos for smaller portions, perfect for kids’ parties.
Double dip – Coat in one color, let set, then dip halfway into a second color for two-tone Oreos.
How to Store
Store leftover Halloween Oreos in an airtight container in the refrigerator for up to a week.
Common FAQs
Yes. Almond bark, white chocolate, or milk chocolate chips all work. If adding color, use oil-based or gel food coloring only.
Freezing is not recommended, as condensation can cause the candy coating to crack or discolor.
Absolutely! Any Oreo variety works. Try Golden Oreos or seasonal flavors for a fun twist.
These Halloween Oreo Treats are the kind of dessert that looks impressive but takes almost no effort. They’re festive, fun, and the perfect treat for Halloween night. Make a batch this year and watch how quickly they disappear.
Chocolate Covered Halloween Oreo Treats
Ingredients
- 12 Oreo cookies
- Purple green, and orange candy melts
- Halloween sprinkles/edible eyes
Instructions
- Line a baking sheet with parchment paper or a silicone mat.
- Place purple, green, and orange candy melts in separate bowls. Microwave each in 30-second intervals, stirring until melted and smooth.
- Dip 4 Oreos in each color, letting excess drip off. Place on the prepared baking sheet.
- While still wet, top with Halloween sprinkles.
- Let set at room temperature for 30–60 minutes, or refrigerate for 15 minutes.
- Serve on a party platter or store in an airtight container until ready to eat.
Notes
- If candy melts thicken, reheat in the microwave for 15 seconds.
- Avoid freezing, as condensation can ruin the coating.
- Use mini Oreos for bite-sized treats.
- Make ahead the night before your party for easy serving.