
How to Make Hot Chocolate Bombs (Easy DIY Hot Cocoa Bombs)






Published on October 16, 2026
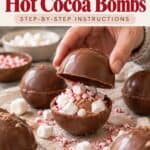
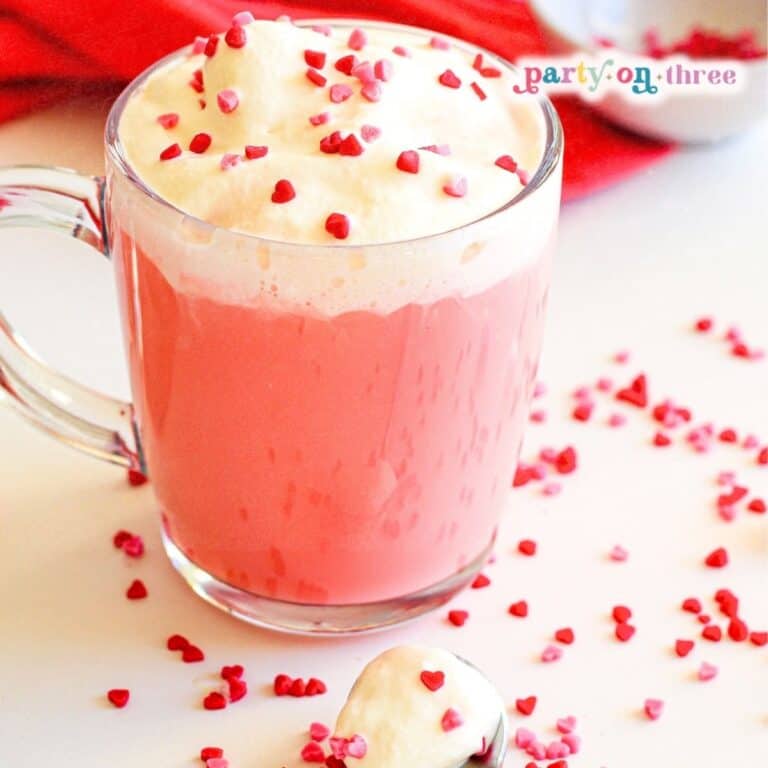
Drop one of these easy hot chocolate bombs into a mug, pour warm milk over the top, and watch the chocolate shell melt away as marshmallows float up through the cocoa. Learning how to make hot cocoa bombs at home takes just a silicone mold, melting wafers, and your favorite cocoa mix, and they make the sweetest homemade gift.
Love Party on Three?
Make us your preferred source on Google so our recipes, printables, and party ideas show up first when you search. One tap and you're set, it's free and it helps us so much.

There are affiliate links in this post – please read my full disclosure policy. As an Amazon Associate, I earn from qualifying purchases.
There’s something a little magical about dropping a chocolate ball into a mug, pouring hot milk over it, and watching it crack open to release a flood of cocoa and marshmallows. Kids love it. Grown-ups secretly love it just as much.
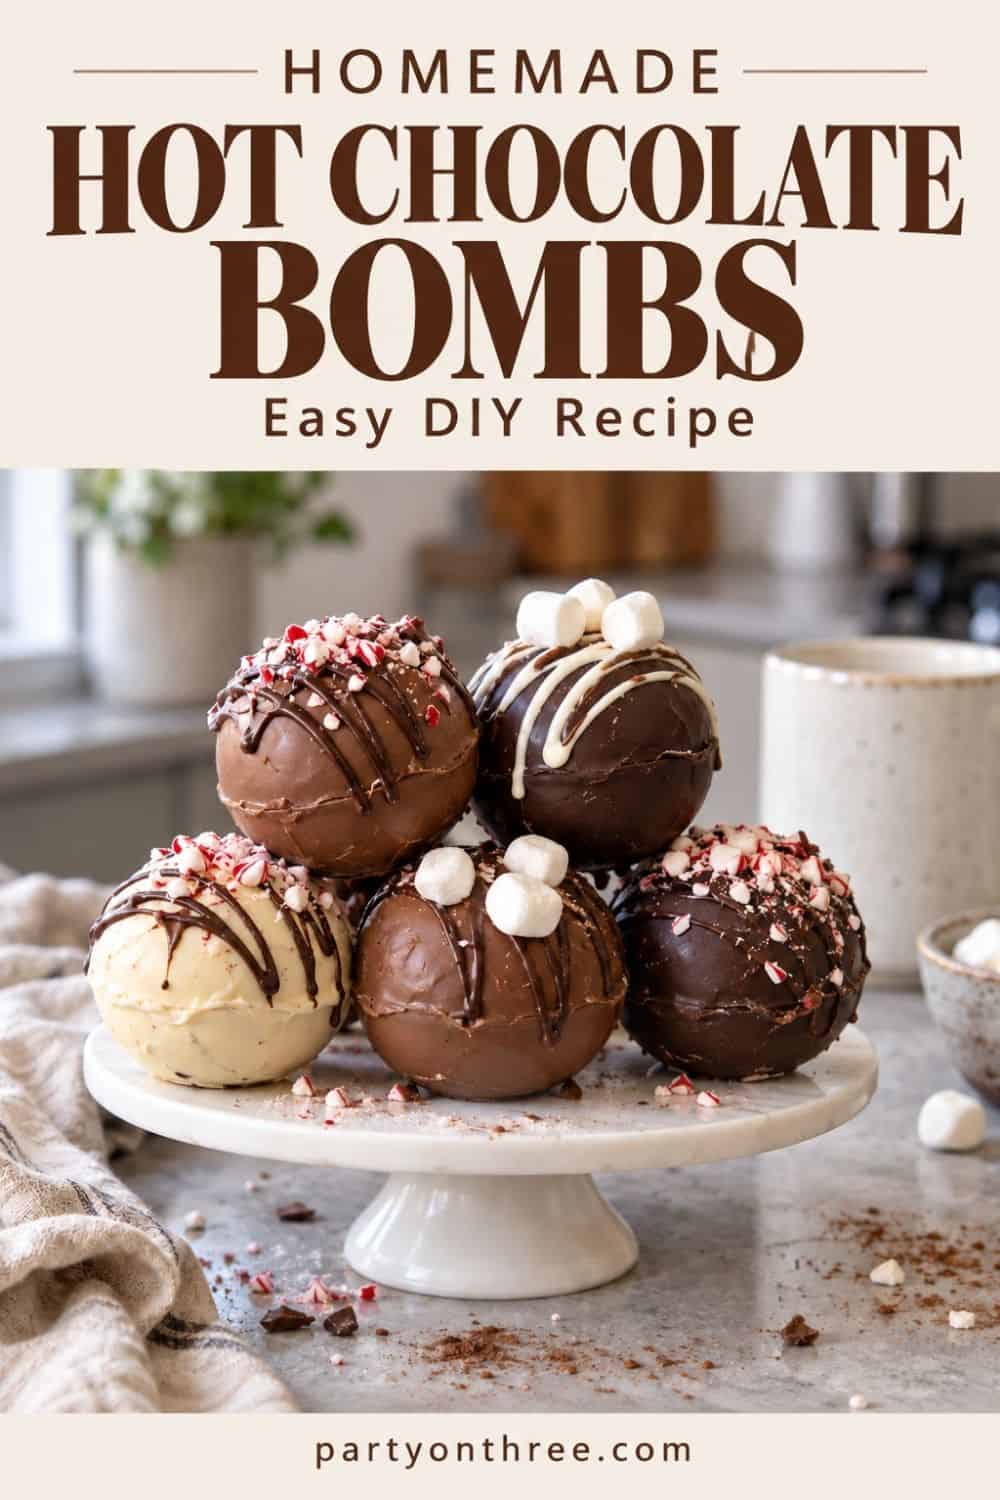
Hot chocolate bombs (also called hot cocoa bombs) are hollow chocolate spheres filled with hot cocoa mix and marshmallows. They look fancy, but they’re surprisingly easy to make at home with a silicone mold and a few simple ingredients.
In this post, I’ll walk you through exactly how to make hot chocolate bombs step by step, plus flavor ideas, tips for sturdy shells, and how to package them as gifts. Once you make one batch, you’ll want to make them for everyone on your list.
❤️Don’t Leave Before You Check Out These Fun Ideas!❤️


What You’ll Need to Make Homemade Hot Chocolate Bombs
Ingredients
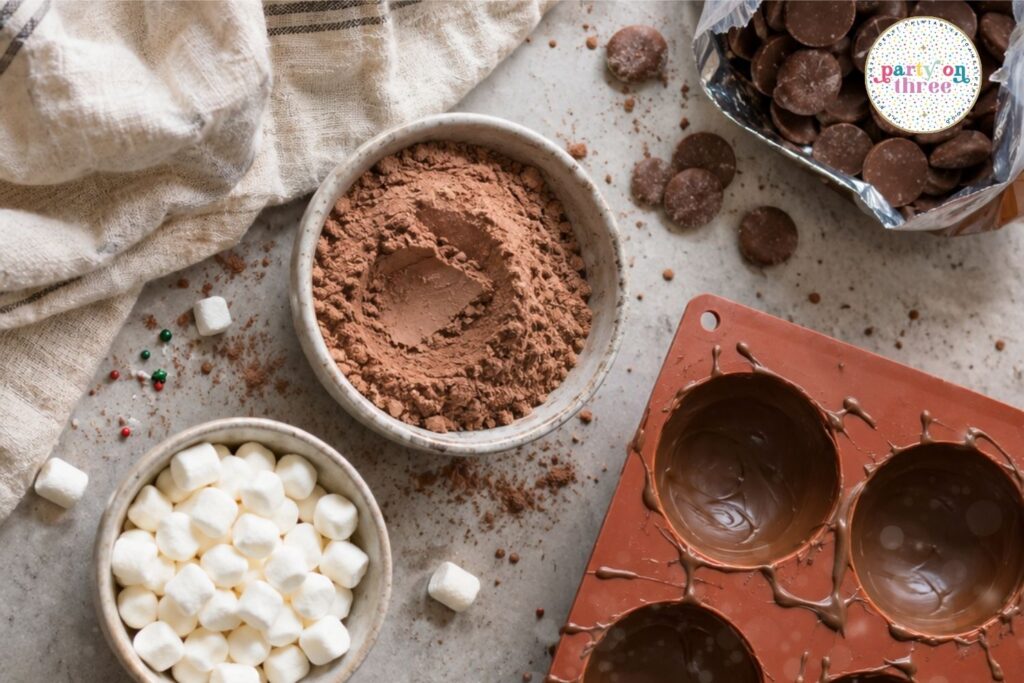
- Chocolate melting wafers (about 12 oz for 6 bombs). Milk, dark, or white all work. Melting wafers set up firm and shiny without tempering, which makes them the easiest choice for beginners.
- Hot cocoa mix (about 2 tablespoons per bomb)
- Mini marshmallows (or dehydrated marshmallow bits, which stay crunchy longer)
- Toppings (optional): sprinkles, crushed peppermint, extra melted chocolate for drizzling
Supplies
- Silicone sphere mold with 2.5-inch cavities (6-cavity molds are the most common)
- Microwave-safe bowl
- Spoon or small silicone pastry brush
- A small plate you can warm (for sealing)
- Piping bag or zip-top bag (for drizzling)
- Disposable gloves (optional, but they keep fingerprints off your shells)
How to Make Hot Chocolate Bombs Step by Step
Step 1: Melt the chocolate
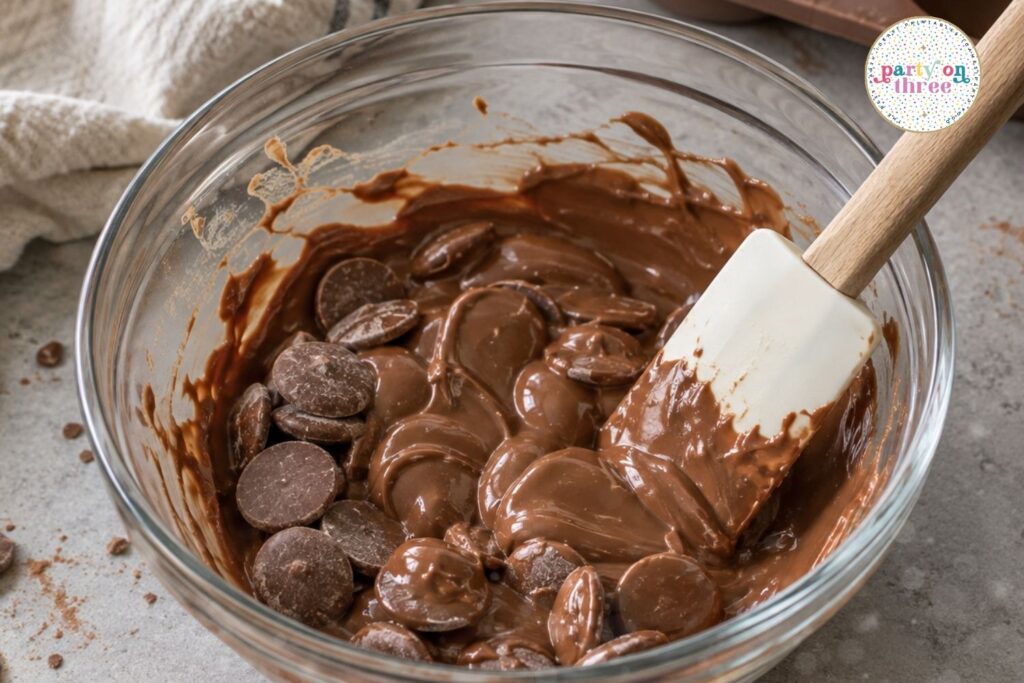
Add about two-thirds of your melting wafers to a microwave-safe bowl. Microwave at 50% power in 30-second bursts, stirring well after each one, until the chocolate is smooth. Stop while a few small lumps remain and stir until they melt. Overheated chocolate gets thick and grainy.
Step 2: Coat the mold
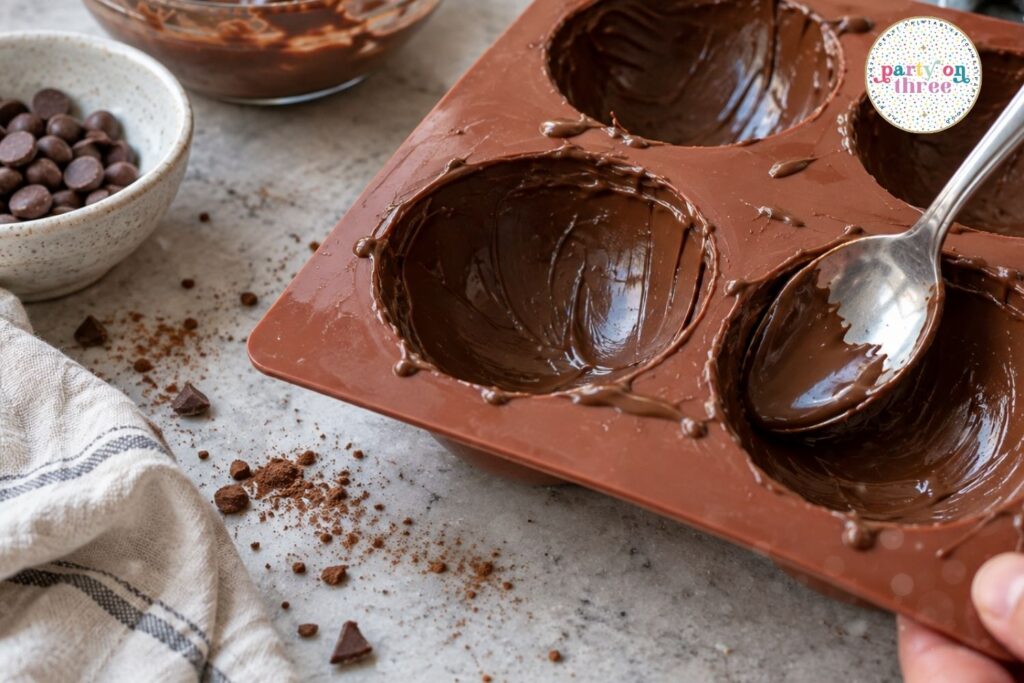
Spoon about a tablespoon of melted chocolate into each cavity. Use the back of the spoon or a pastry brush to spread it all the way up the sides, right to the rim. Make sure there are no bare spots.
Place the mold in the freezer for 5 minutes, or until the chocolate is set.
Step 3: Add a second coat
Rewarm your chocolate if needed, then add a second layer to every cavity. Pay extra attention to the rims, since that’s where shells usually crack. Freeze again for 5 to 10 minutes.
This second coat is the secret to sturdy shells that don’t break when you unmold them.
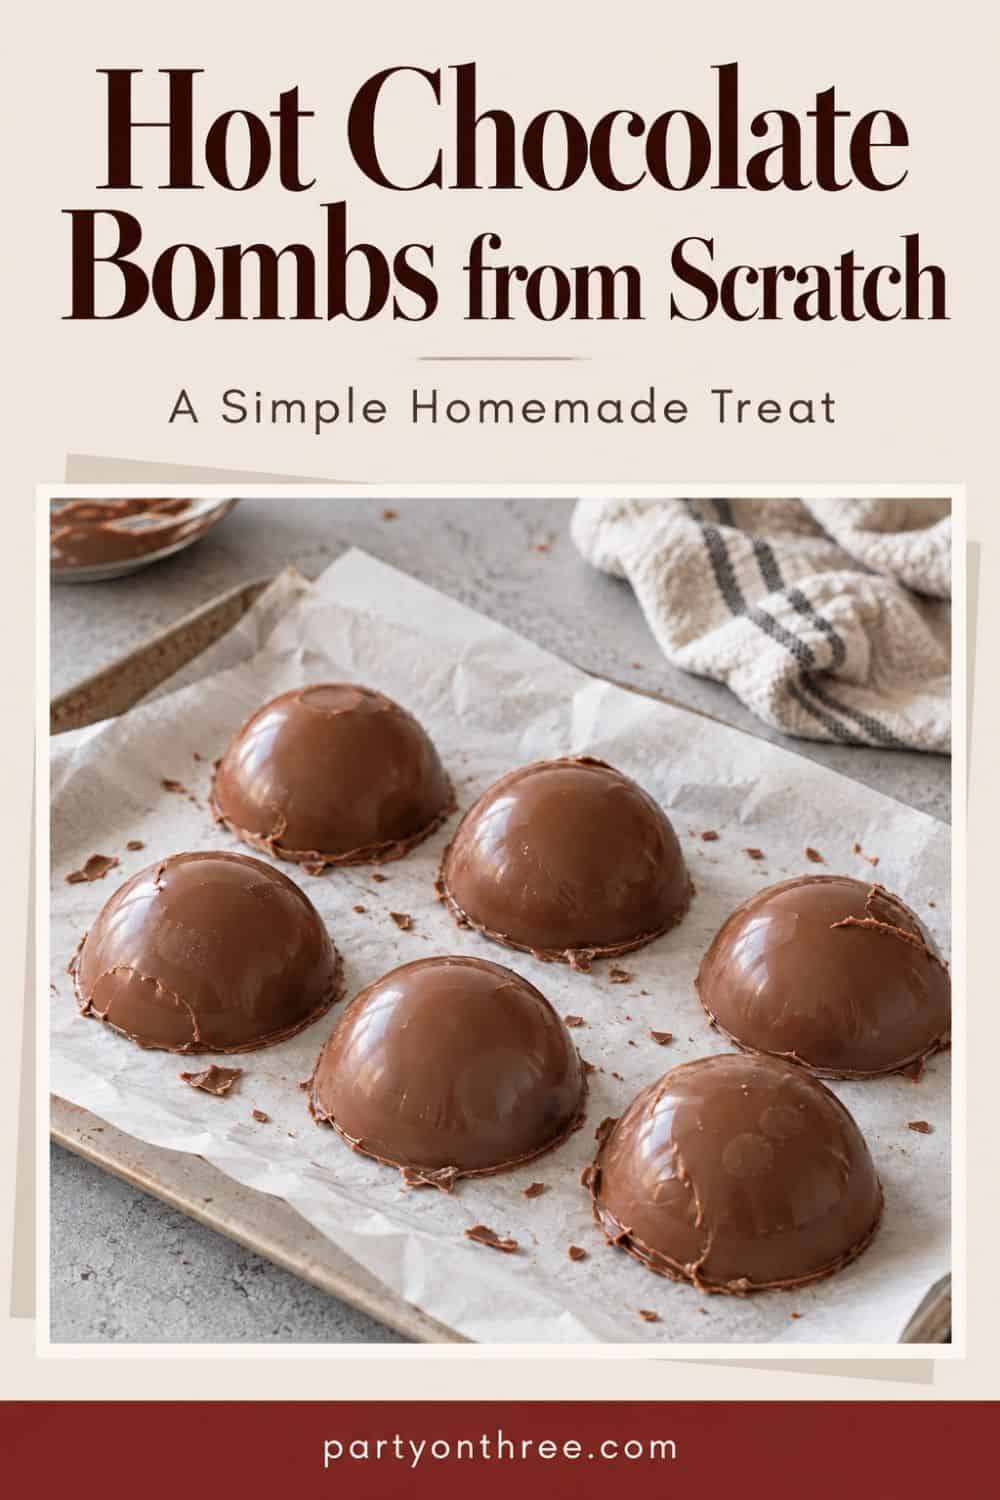
Step 4: Unmold the shells
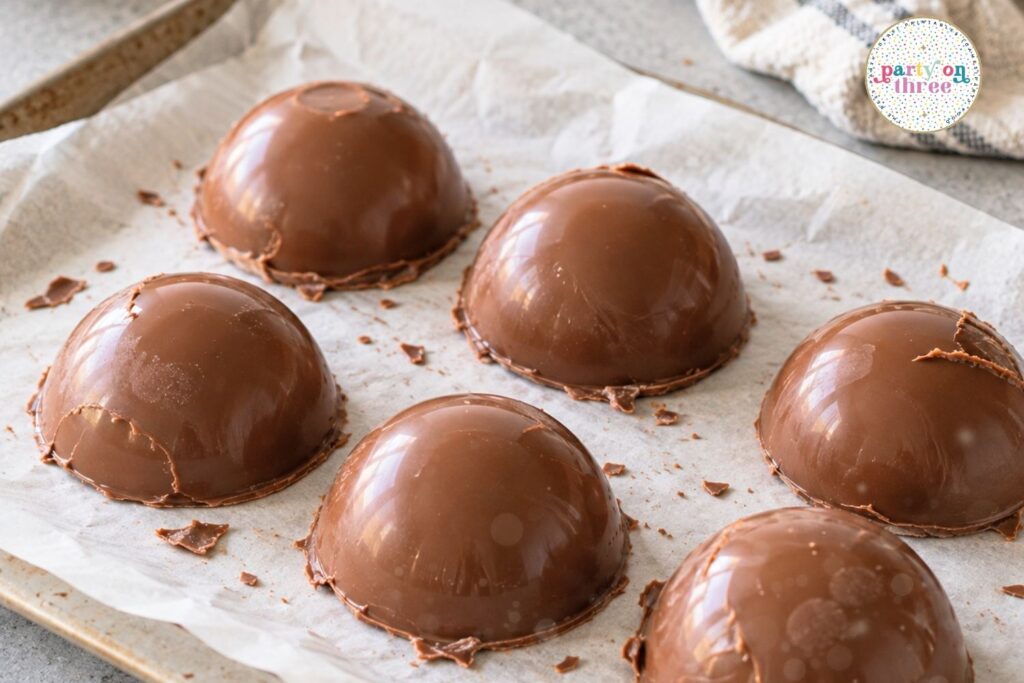
Gently peel the silicone away from each shell, pushing from the bottom rather than pulling on the chocolate. Set the shells on parchment paper. Handle them as little as possible, because warm hands melt chocolate fast.
Step 5: Fill half the shells
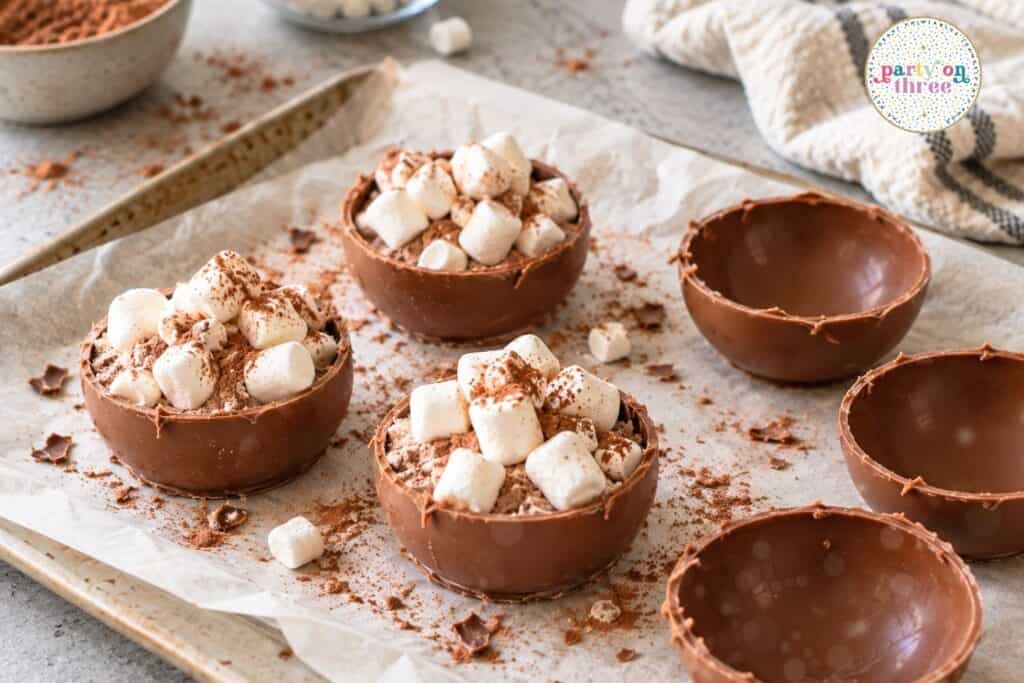
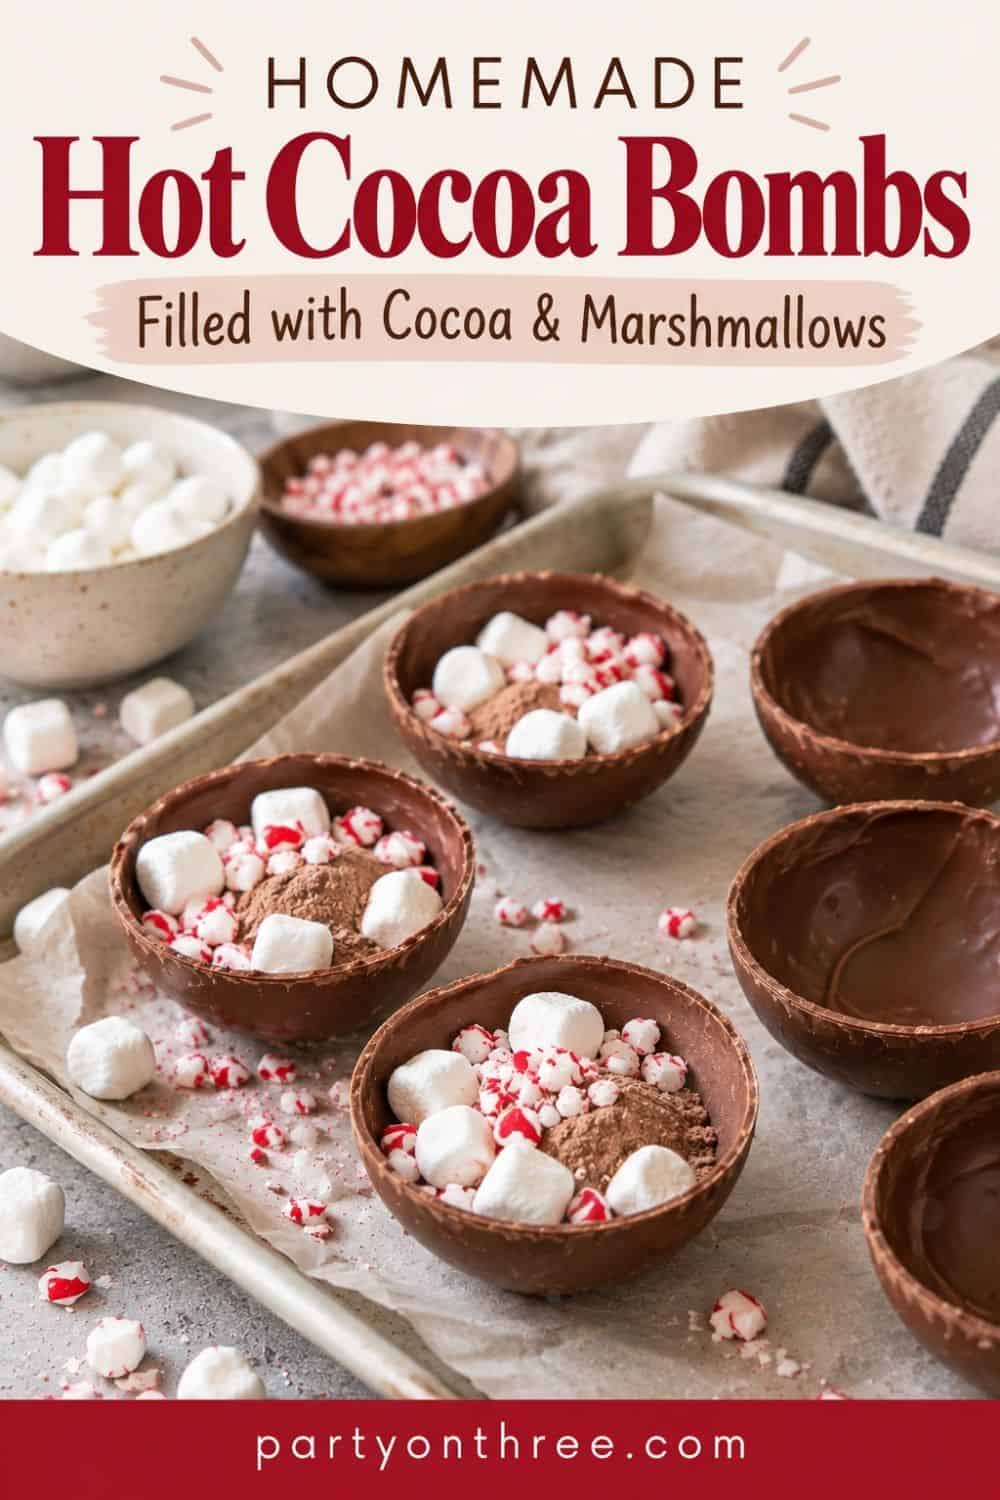
Turn half of the shells right side up. Fill each one with about 2 tablespoons of hot cocoa mix and a small handful of mini marshmallows. Don’t overfill, or the top won’t sit flat.
Step 6: Seal the bombs
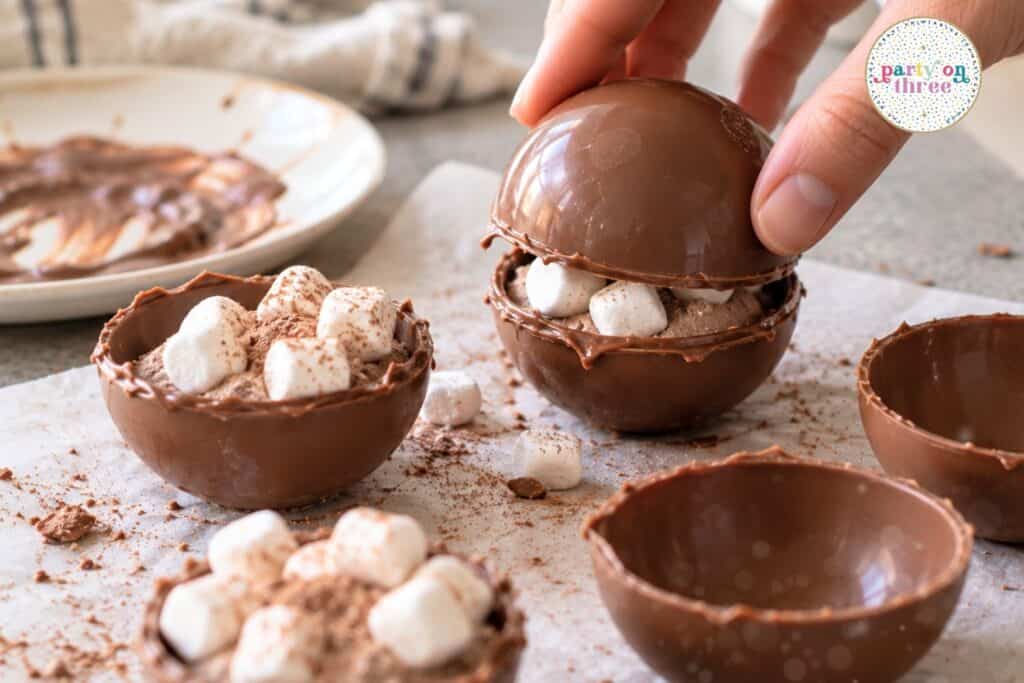
Warm a small plate in the microwave for about 1 minute. Take an empty shell, set it rim-side down on the warm plate for 2 to 3 seconds to melt the edge slightly, then press it onto a filled shell. Hold for a few seconds until it sticks.
If you see a gap, run a little melted chocolate around the seam with your finger or a brush.
Step 7: Decorate
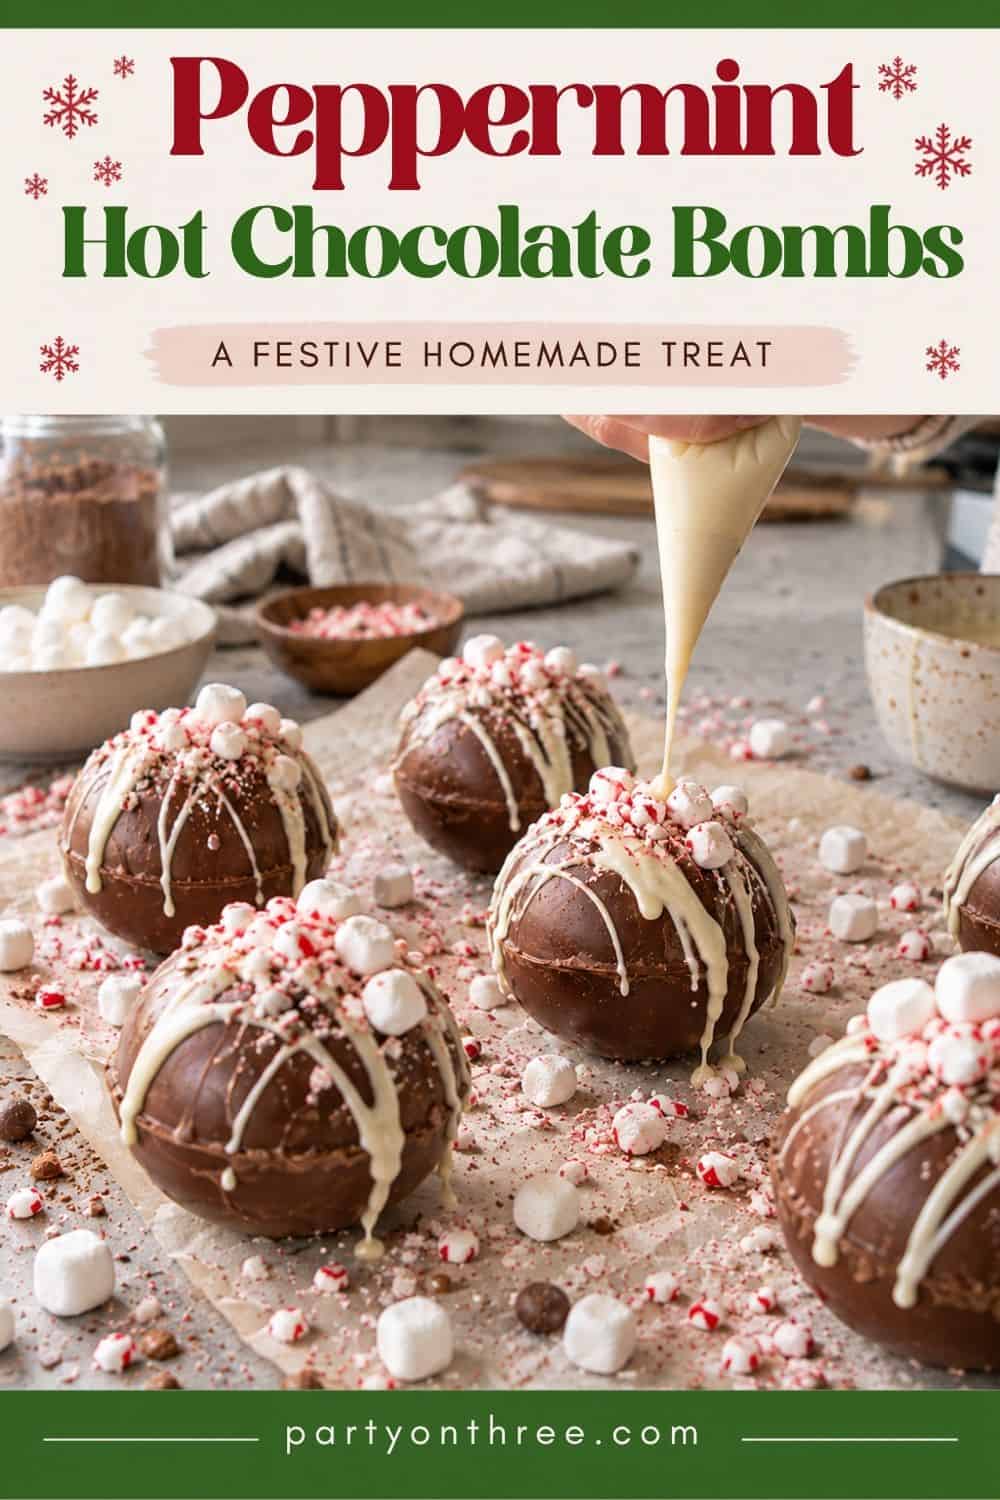
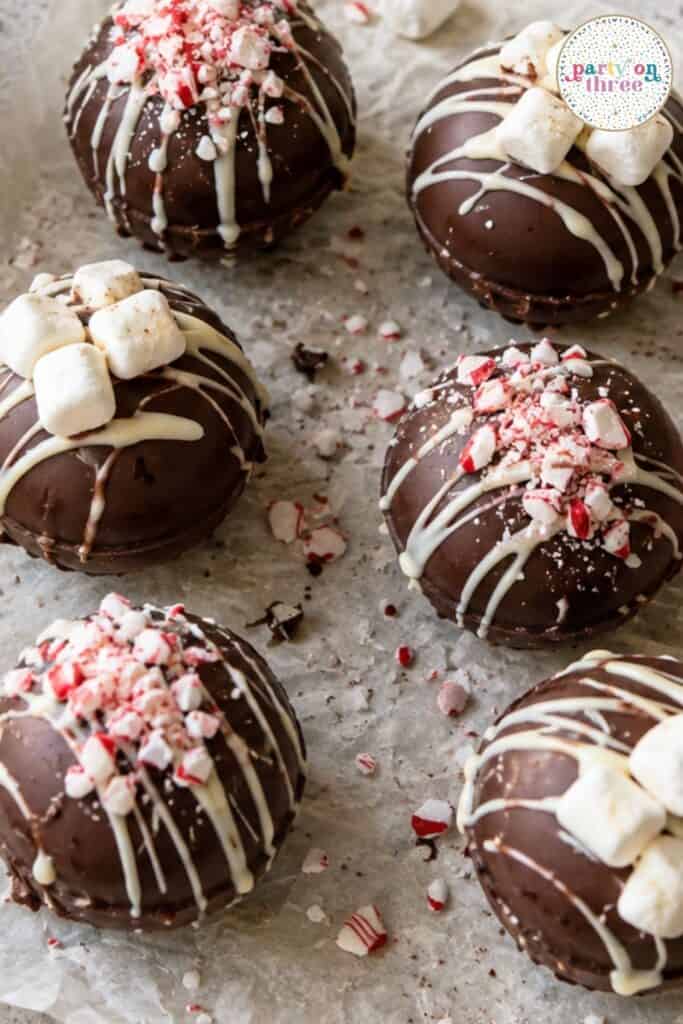
Melt a little extra chocolate in a contrasting color and pour it into a piping bag or zip-top bag with the corner snipped. Drizzle it back and forth over each bomb, then add sprinkles or crushed peppermint before it sets. Let the bombs sit at room temperature until firm.
How to Use a Hot Cocoa Bomb
- Place one hot chocolate bomb in a large mug.
- Heat 8 to 10 ounces of milk until steaming but not boiling.
- Slowly pour the milk over the bomb and watch it melt open.
- Stir well until all the chocolate and cocoa mix dissolve, then enjoy.
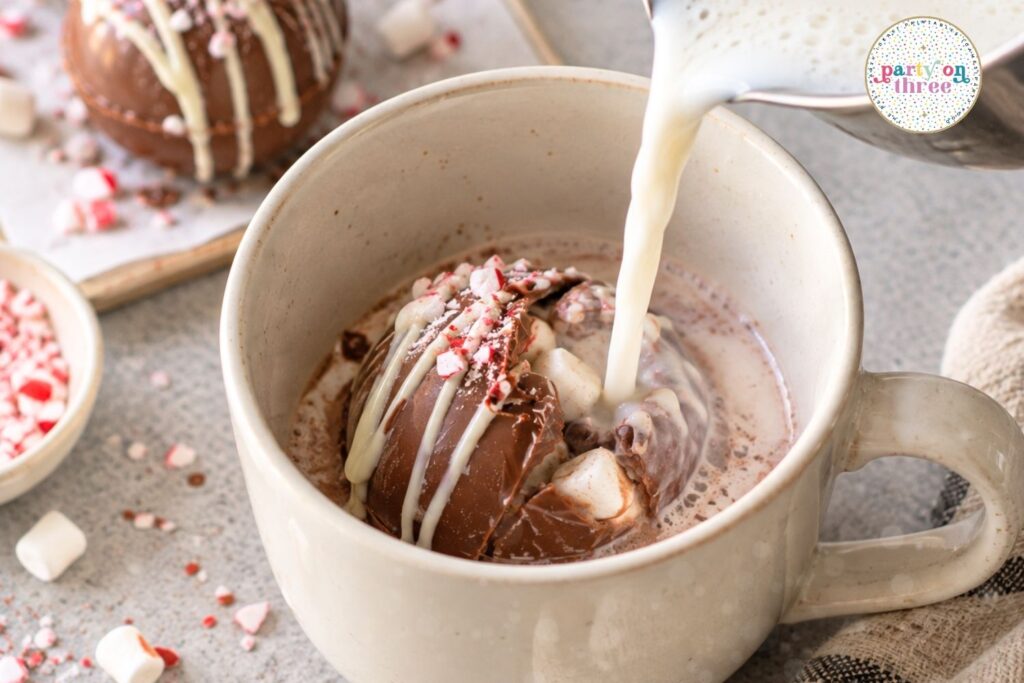
Tip: Pour slowly and directly over the top of the bomb. That gives you the best “burst” moment, which is half the fun.
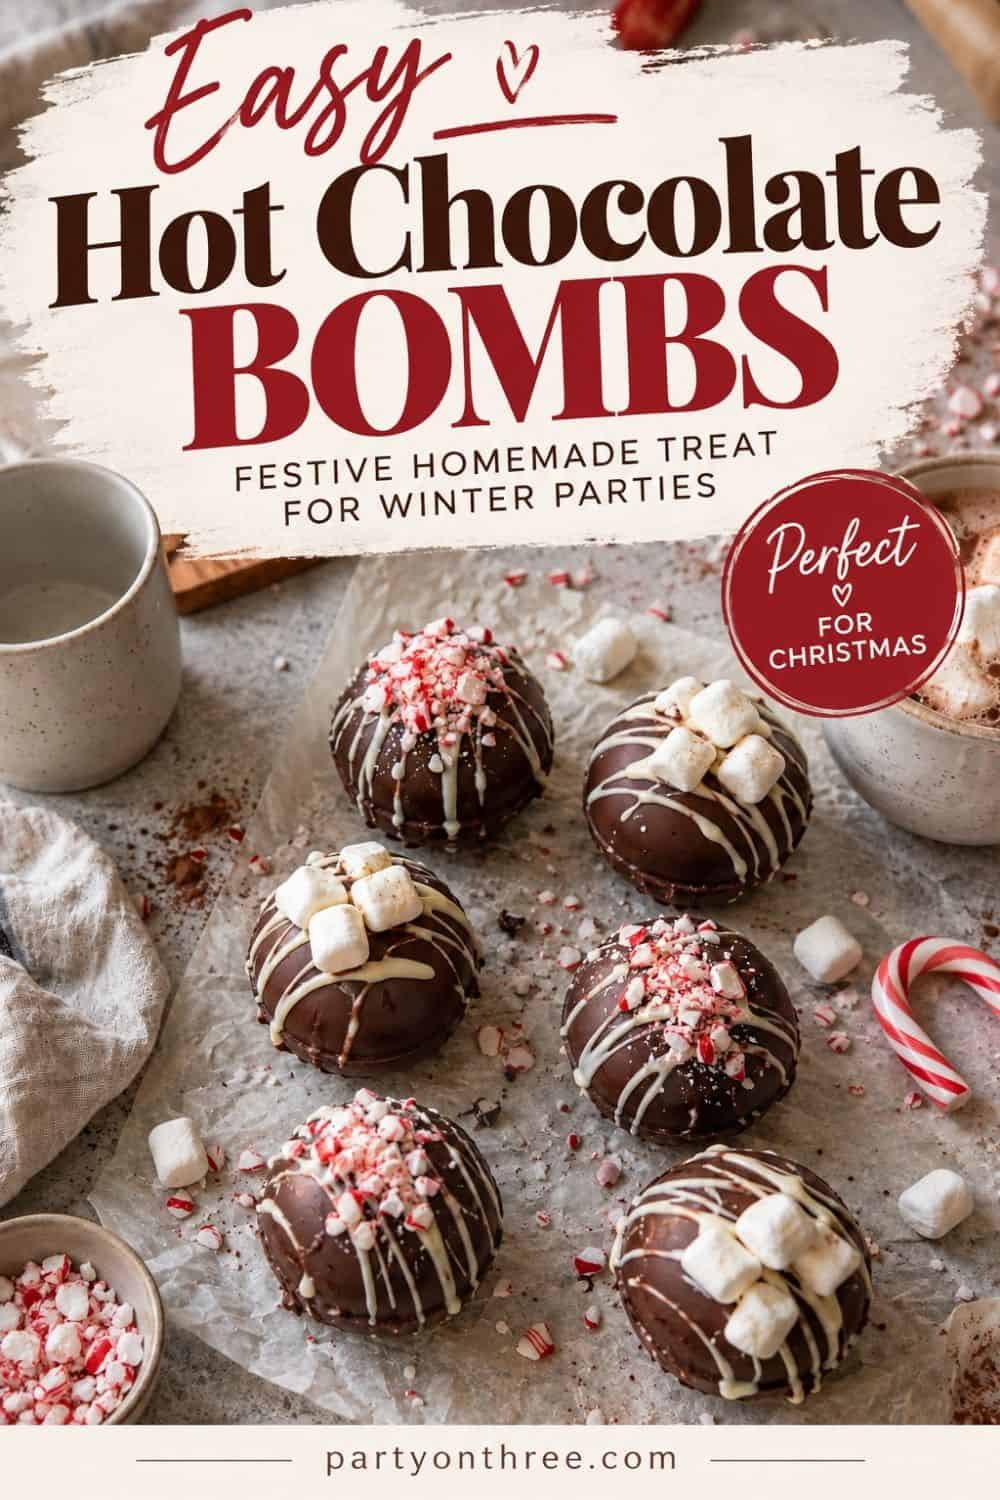
Fun Hot Chocolate Bomb Flavors to Try
Once you’ve got the basic method down, mix and match shells, fillings, and toppings.
- Classic: Milk chocolate shell filled with hot cocoa mix and mini marshmallows, finished with a chocolate drizzle.
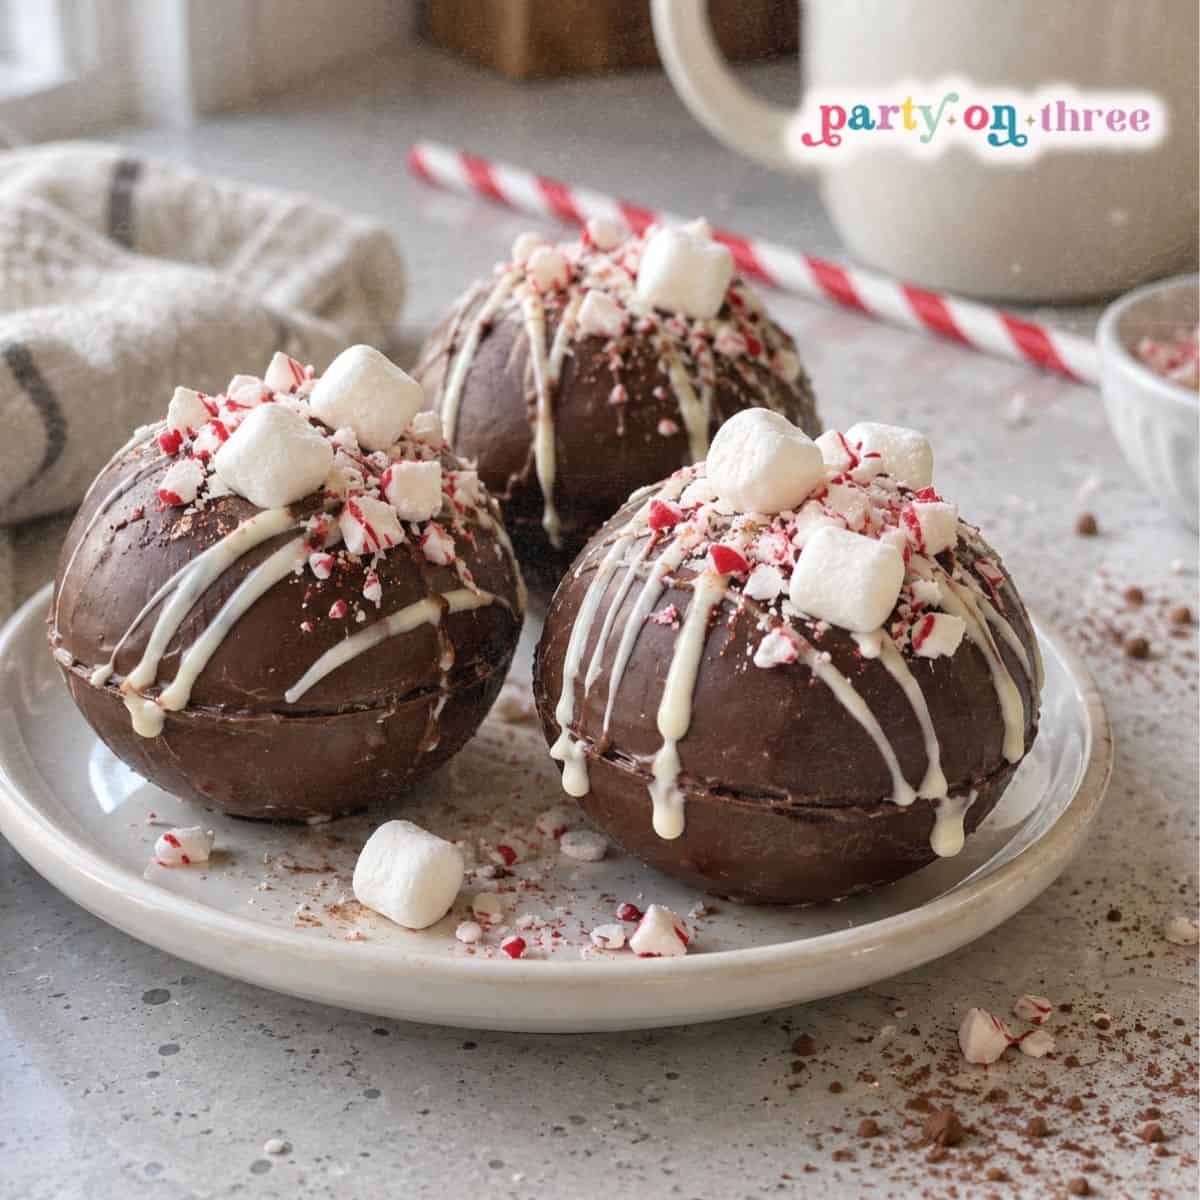
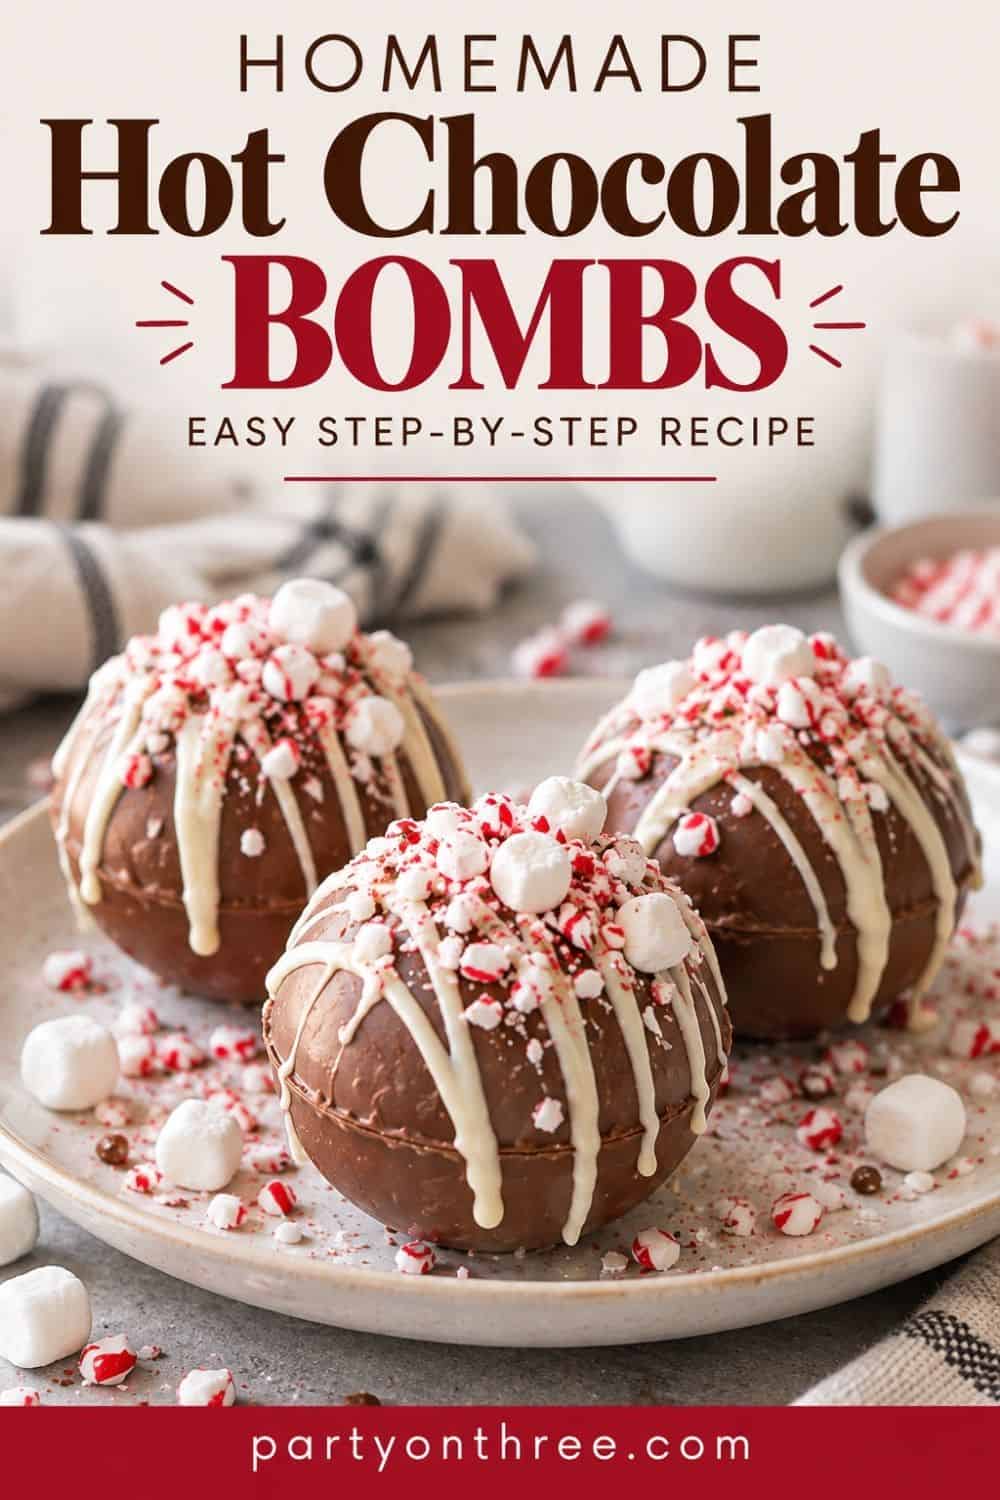
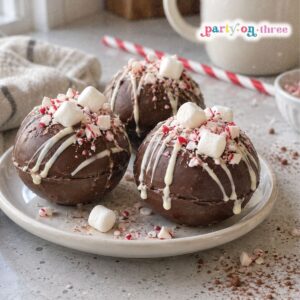
- Peppermint: Dark chocolate shell filled with cocoa mix and crushed candy cane, topped with a white chocolate drizzle and crushed peppermint.
- White chocolate: White chocolate shell filled with white hot cocoa mix and marshmallows, topped with sprinkles.
- Salted caramel: Milk chocolate shell filled with cocoa mix and caramel bits, topped with a caramel drizzle and a pinch of flaky salt.
- S’mores: Milk chocolate shell filled with cocoa mix, marshmallows, and crushed graham crackers, topped with graham crumbs.
- Cookies and cream: White chocolate shell filled with cocoa mix and crushed chocolate sandwich cookies, topped with cookie crumbs.
- Mocha: Dark chocolate shell filled with cocoa mix and 1/2 teaspoon instant espresso, finished with a chocolate drizzle.
For kids, colorful sprinkles inside the shell make the burst extra fun.
Tips for Perfect Hot Cocoa Bombs
- Set your silicone mold on a baking sheet. Silicone’s flexibility is what makes the shells easy to pop out, but it also means the mold can bend when you carry it to the freezer. A baking sheet underneath keeps it flat so the chocolate doesn’t crack.
- Always do two coats. One thin layer almost always cracks.
- Keep your hands cool. Run them under cold water or wear gloves when handling the shells.
- Work in a cool kitchen. Chocolate sets slowly and smudges easily in a warm room.
- Don’t let water touch the chocolate. Even a drop can make it seize and turn grainy.
Troubleshooting
Shells crack when unmolding. The chocolate is too thin, especially at the rim. Add a second coat and build up the edges.
Chocolate is thick and grainy. It overheated or touched water. Start fresh with new wafers and melt at 50% power.
Halves won’t stick together. The plate isn’t warm enough. Rewarm it, or seal the seam with a little melted chocolate.
White streaks on the shells. That’s bloom from temperature changes. Store the bombs at room temperature, not in the fridge.
Bomb doesn’t fully melt. The milk isn’t hot enough. Use steaming milk and stir well.
How to Store Hot Chocolate Bombs
Store finished hot chocolate bombs in an airtight container at cool room temperature, away from sunlight and heat. They’ll keep for about 2 to 3 weeks.
Skip the refrigerator. The temperature change can cause condensation and white streaks on the chocolate. If your house runs warm, a cool pantry or basement shelf works best.
Because they keep so well, you can make a big batch in early December and have gifts ready to go.
How to Package Hot Chocolate Bombs as Gifts
Hot chocolate bombs make one of the easiest homemade gifts for teachers, neighbors, coworkers, and stocking stuffers.
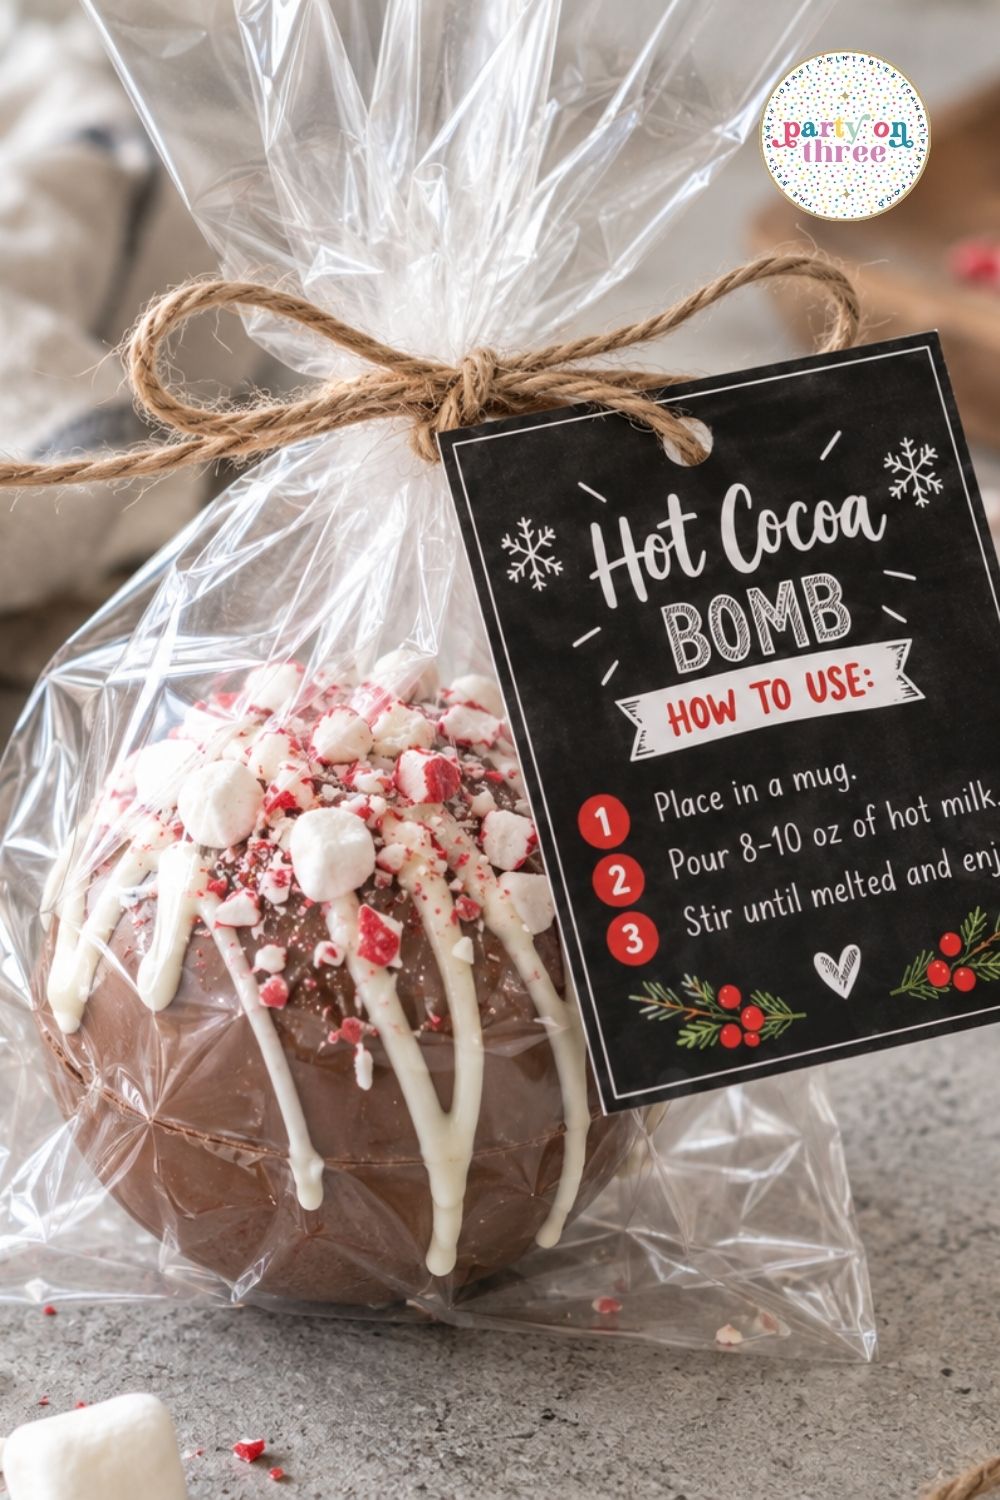
- Cellophane treat bags: Place one bomb in a clear bag, gather the top, and tie it with jute twine or ribbon.
- Cupcake liners: Set each bomb in a paper or foil liner first so it doesn’t roll around.
- Gift boxes: Clear plastic ornament-style boxes or bakery boxes with a window show them off beautifully.
- Mug gifts: Tuck a bomb into a holiday mug with a candy cane for a complete gift.
Don’t forget a tag with instructions so the recipient knows what to do. Grab my free printable hot cocoa bomb tags here. [LINK TO TAGS POST]
Hot Chocolate Bombs FAQ
What size mold do I need for hot chocolate bombs?
A 2.5-inch silicone sphere mold is the standard size. It holds enough cocoa mix and marshmallows for one 8 to 10 ounce mug.
Can I make hot chocolate bombs without a mold?
Yes. You can use a silicone muffin pan or even the inside of a sturdy plastic ornament. The shape won’t be a perfect sphere, but they’ll still taste great.
Do I need to temper the chocolate?
Not if you use chocolate melting wafers or candy melts. They’re made to set firm and shiny without tempering. Regular chocolate chips are harder to work with and may stay soft.
How many hot chocolate bombs does this recipe make?
This recipe makes 6 hot chocolate bombs using a 6-cavity mold (12 halves).
Can I use water instead of milk?
You can, but milk makes a much richer, creamier cup. Oat milk and almond milk both work well too.
How far ahead can I make them?
Up to 2 to 3 weeks ahead when stored in an airtight container at cool room temperature.
Easy Hot Chocolate Bombs
Equipment
- 6-cavity silicone sphere mold (2.5-inch)
- Microwave-safe bowl
- Spoon or pastry brush
- Small plate
Ingredients
- 12 oz chocolate melting wafers milk, dark, or white
- 3/4 cup hot cocoa mix about 2 tablespoons per bomb
- 1 cup mini marshmallows
- 2 oz contrasting melting wafers for drizzling (optional)
- Sprinkles or crushed peppermint optional
Instructions
- Microwave two-thirds of the melting wafers at 50% power in 30-second bursts, stirring between each, until smooth.
- Spoon about 1 tablespoon of chocolate into each mold cavity and spread it up the sides to the rim. Freeze 5 minutes.
- Add a second coat, focusing on the rims. Freeze 5 to 10 minutes until firm.
- Gently peel the shells out of the mold and set them on parchment paper.
- Fill 6 halves with 2 tablespoons hot cocoa mix and a few mini marshmallows.
- Warm a plate for 1 minute. Touch the rim of an empty half to the plate for 2 to 3 seconds, then press it onto a filled half to seal.
- Drizzle with melted contrasting chocolate and add toppings. Let set at room temperature.
- To serve, place a bomb in a mug and pour 8 to 10 oz of hot milk over it. Stir and enjoy.