
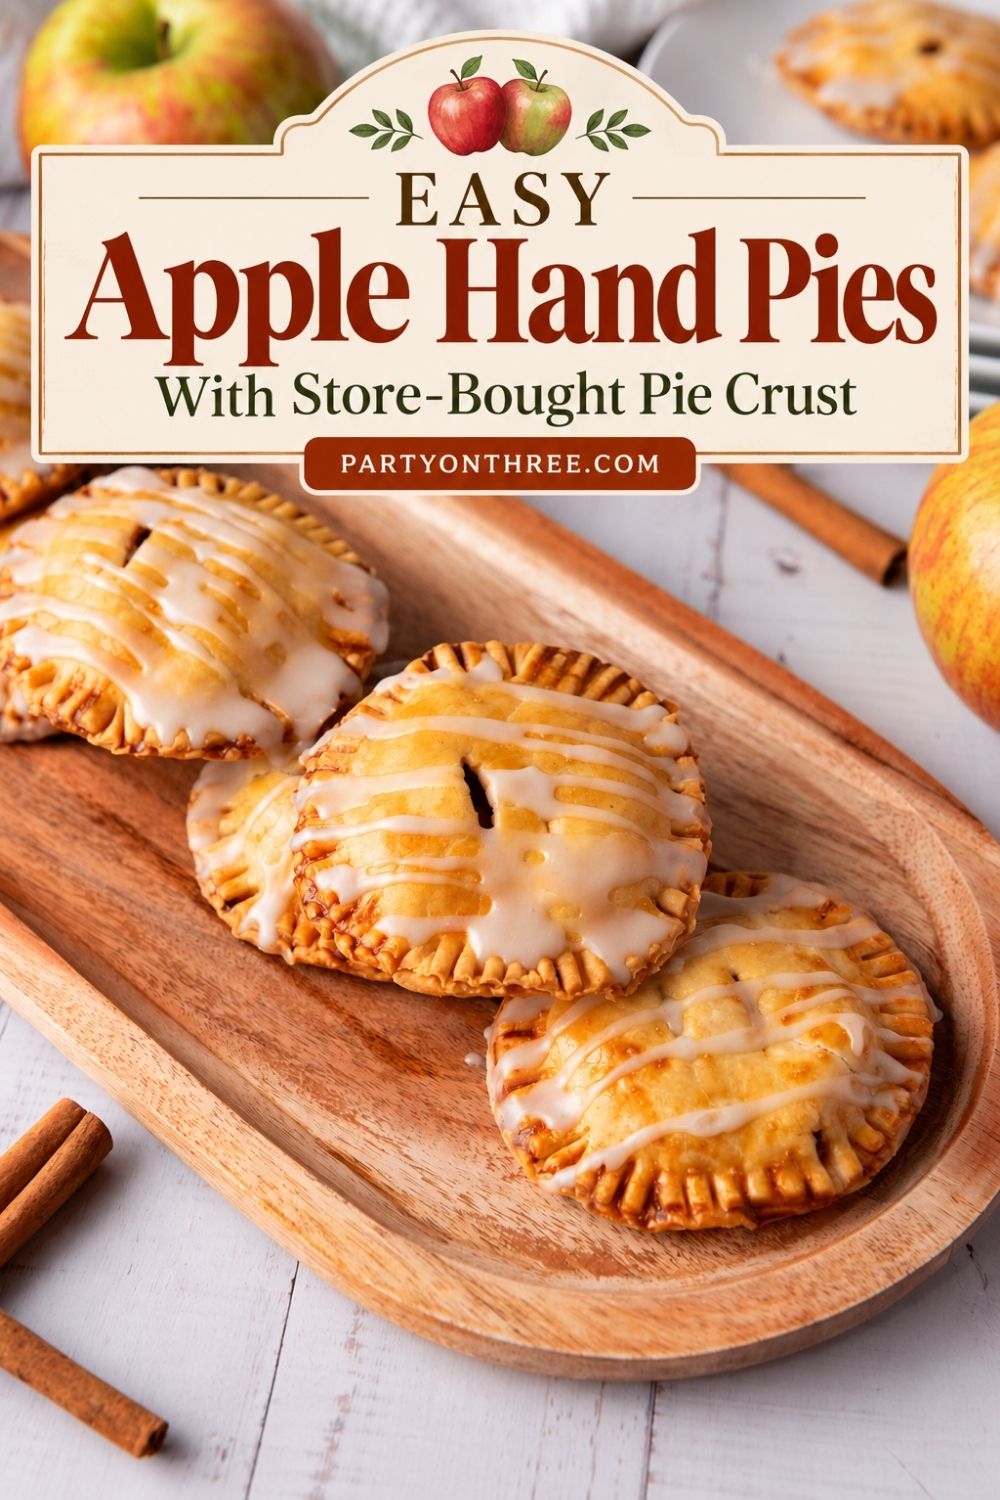
Easy Apple Hand Pies with Store-Bought Pie Crust











Published on September 28, 2026
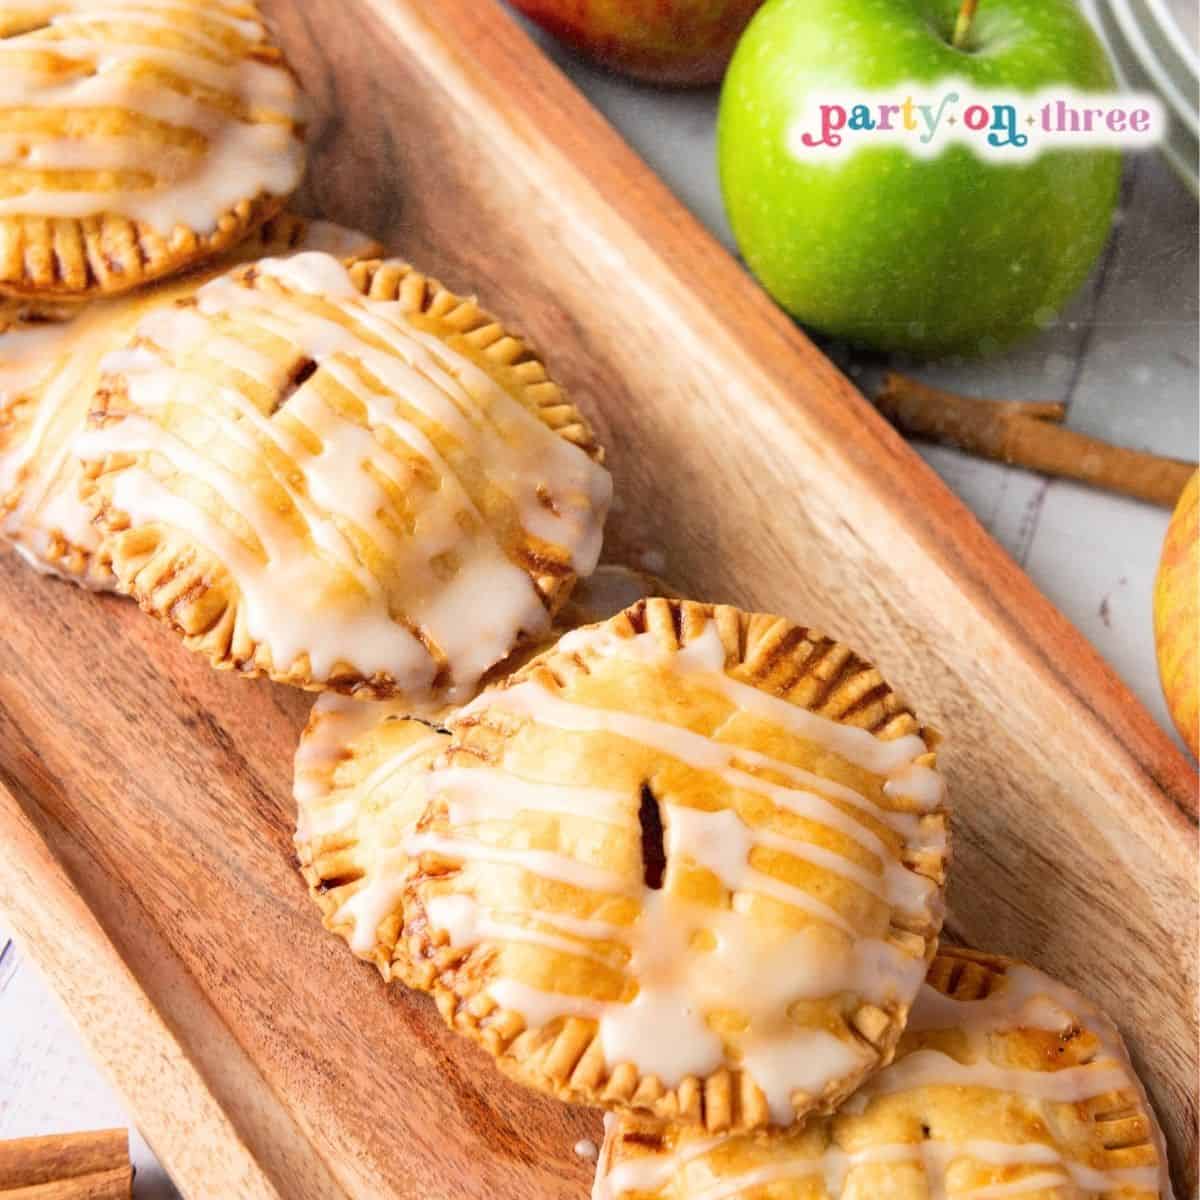
These easy apple hand pies are like having your own mini apple pie, no fork required. A mix of tart Granny Smith and sweet Honeycrisp apples gets cooked down with cinnamon and brown sugar, tucked into flaky store-bought pie crust, and baked until golden. A drizzle of simple vanilla glaze finishes them off. Using premade pie crust means you skip the fussy dough work and still get that buttery, homemade taste, making these one of my favorite easy apple desserts for busy fall days.
Love Party on Three?
Make us your preferred source on Google so our recipes, printables, and party ideas show up first when you search. One tap and you're set, it's free and it helps us so much.

There are affiliate links in this post – please read my full disclosure policy. As an Amazon Associate, I earn from qualifying purchases.
Whether you’re packing them for lunchboxes, serving them at a Thanksgiving gathering, or enjoying one warm with your morning coffee, these handheld apple pies are the perfect way to use up fresh apples this season.
If you want more fall party food ideas to go with these, check out our fall party food roundup, our fall appetizer recipes, or my favorite fall drink, the caramel apple dirty soda.
Quick Look: Easy Apple Hand Pies with Store-Bought Pie Crust
- •Prep Time: 15 minutes
- •Cook Time: 25 minutes
- •Total Time: 50 minutes
- •Servings: 12
- •Perfect For: Fall and Thanksgiving
Summarize & save this recipe on

❤️Don’t Leave Before You Check Out These Fun Ideas!❤️


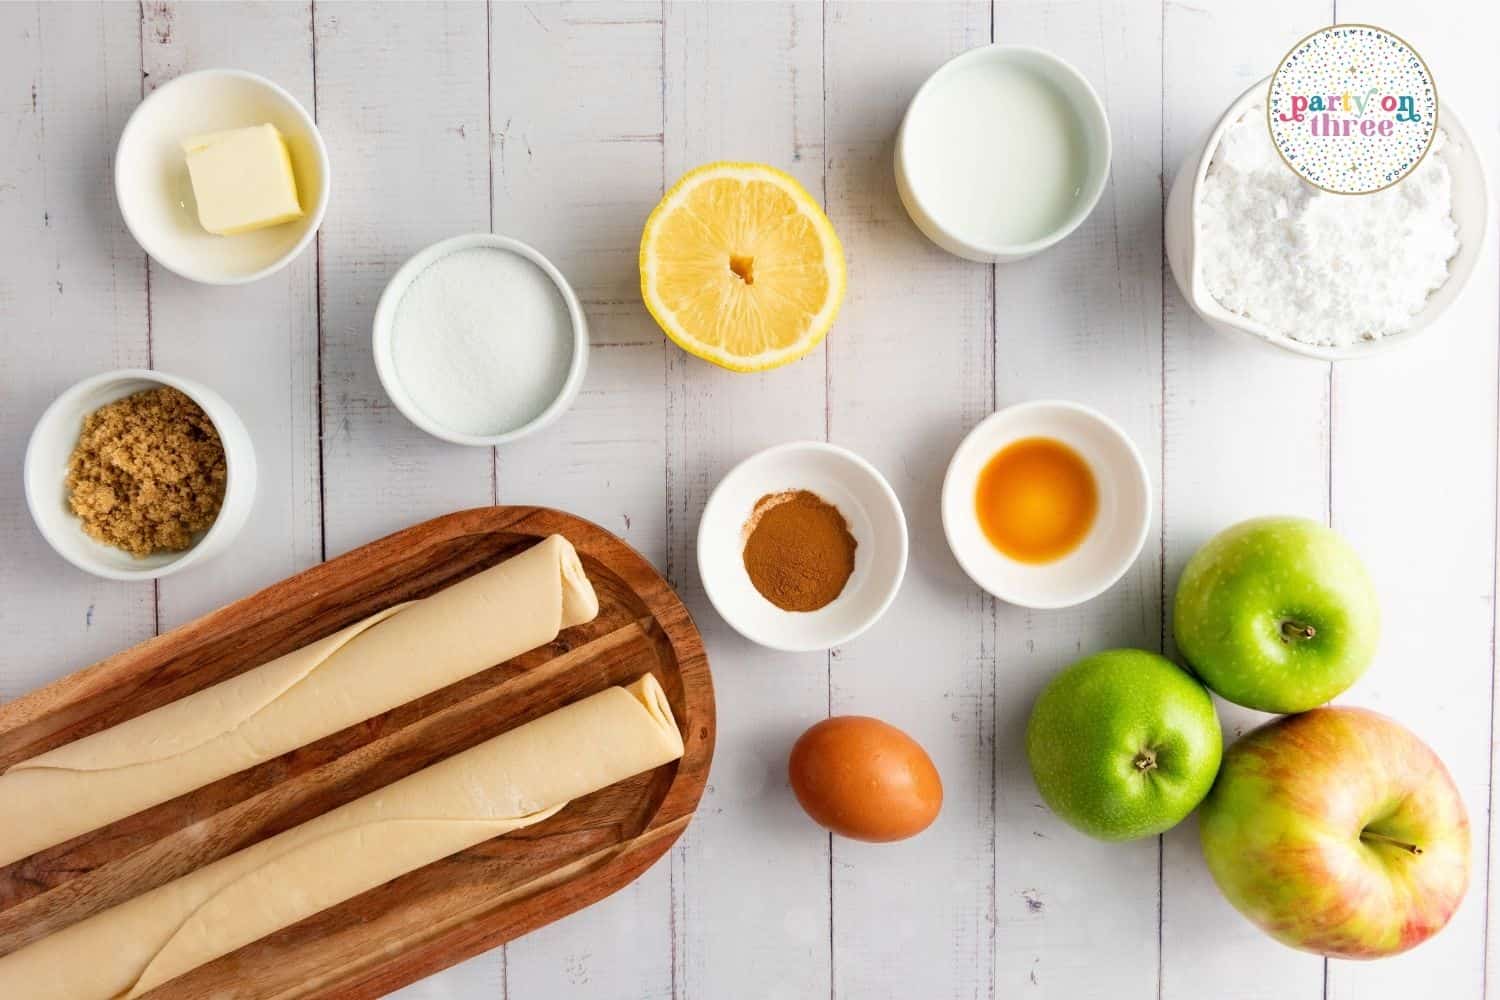
What You’ll Need for Apple Hand Pies with Premade Pie Crust
Granny Smith Apples: These bring the tartness that keeps the filling from tasting like straight sugar.
Honeycrisp Apple: Adds sweetness and a little crunch even after cooking.
Granulated Sugar: Sweetens the filling and helps it caramelize a bit in the pan.
Brown Sugar: Gives the filling that deeper, almost caramel flavor.
Ground Cinnamon: The classic fall flavor, don’t skip it.
Lemon Juice: Brightens everything up and keeps the apples from browning too fast.
Butter: Cooks the apples down and adds richness to the filling.
Store-Bought Pie Crust: The shortcut that makes this whole recipe doable on a weeknight, let it sit at room temp a few minutes so it’s easier to roll.
Egg: Beaten for the egg wash that gives the crust that golden bakery shine.
Powdered Sugar: The base of the glaze, sift it if it’s clumpy.
Milk: Thins the glaze to the right drizzling consistency.
Vanilla Extract: Rounds out the glaze so it isn’t just plain sweet.
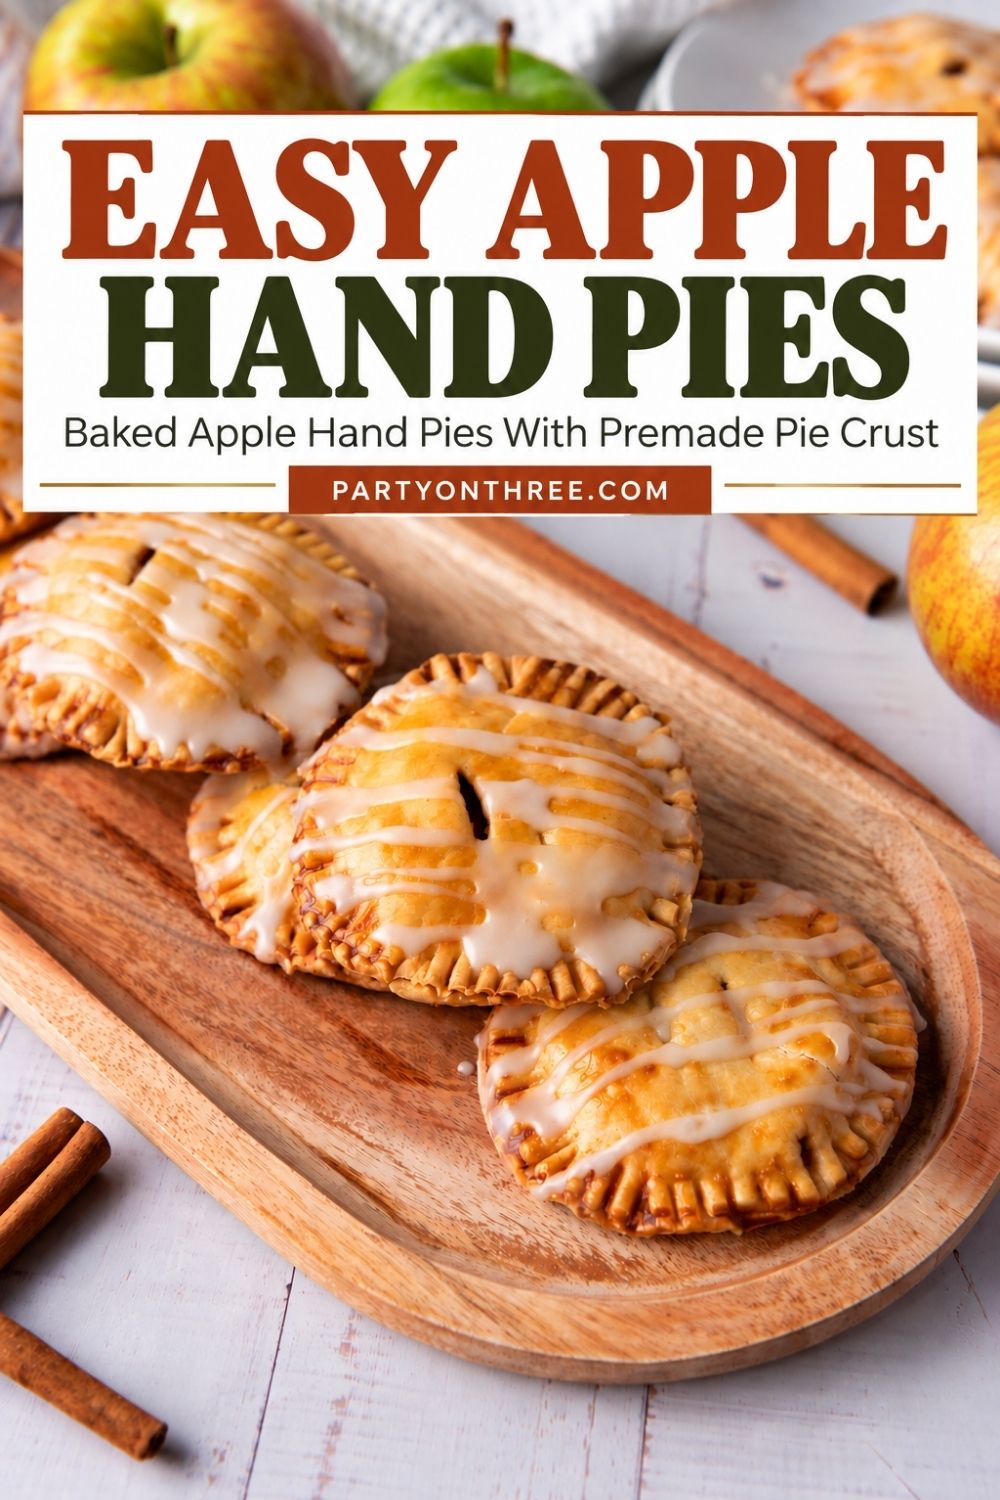
How to Make Apple Hand Pies
Step 1: Melt the butter in a medium saucepan over medium heat, then toss in the diced Granny Smith and Honeycrisp apples along with the granulated sugar, brown sugar, cinnamon, and lemon juice.
Step 2: Let that cook down for 5 to 7 minutes, stirring occasionally, until the apples soften just slightly but still have some bite. You’re not making applesauce here, so pull it off the heat once they start to look glossy.
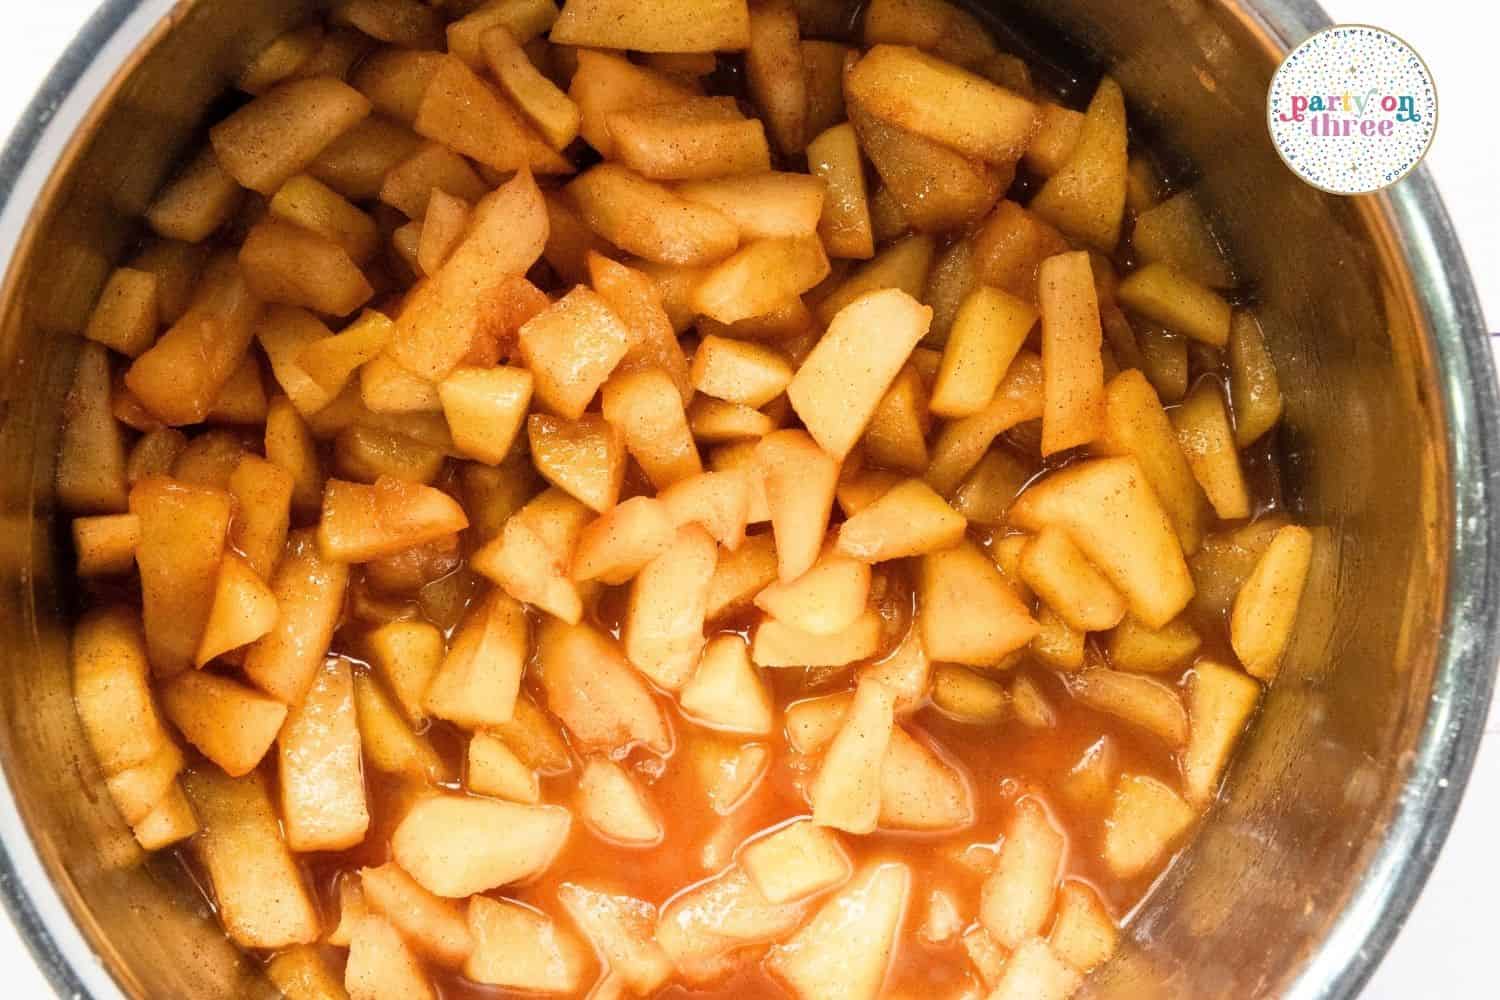
Step 3: Spread the filling on a plate or shallow dish so it cools faster, you don’t want warm filling melting your pie crust before it even hits the oven.
Step 4: While that cools, preheat your oven to 400°F and line a baking sheet with parchment paper.
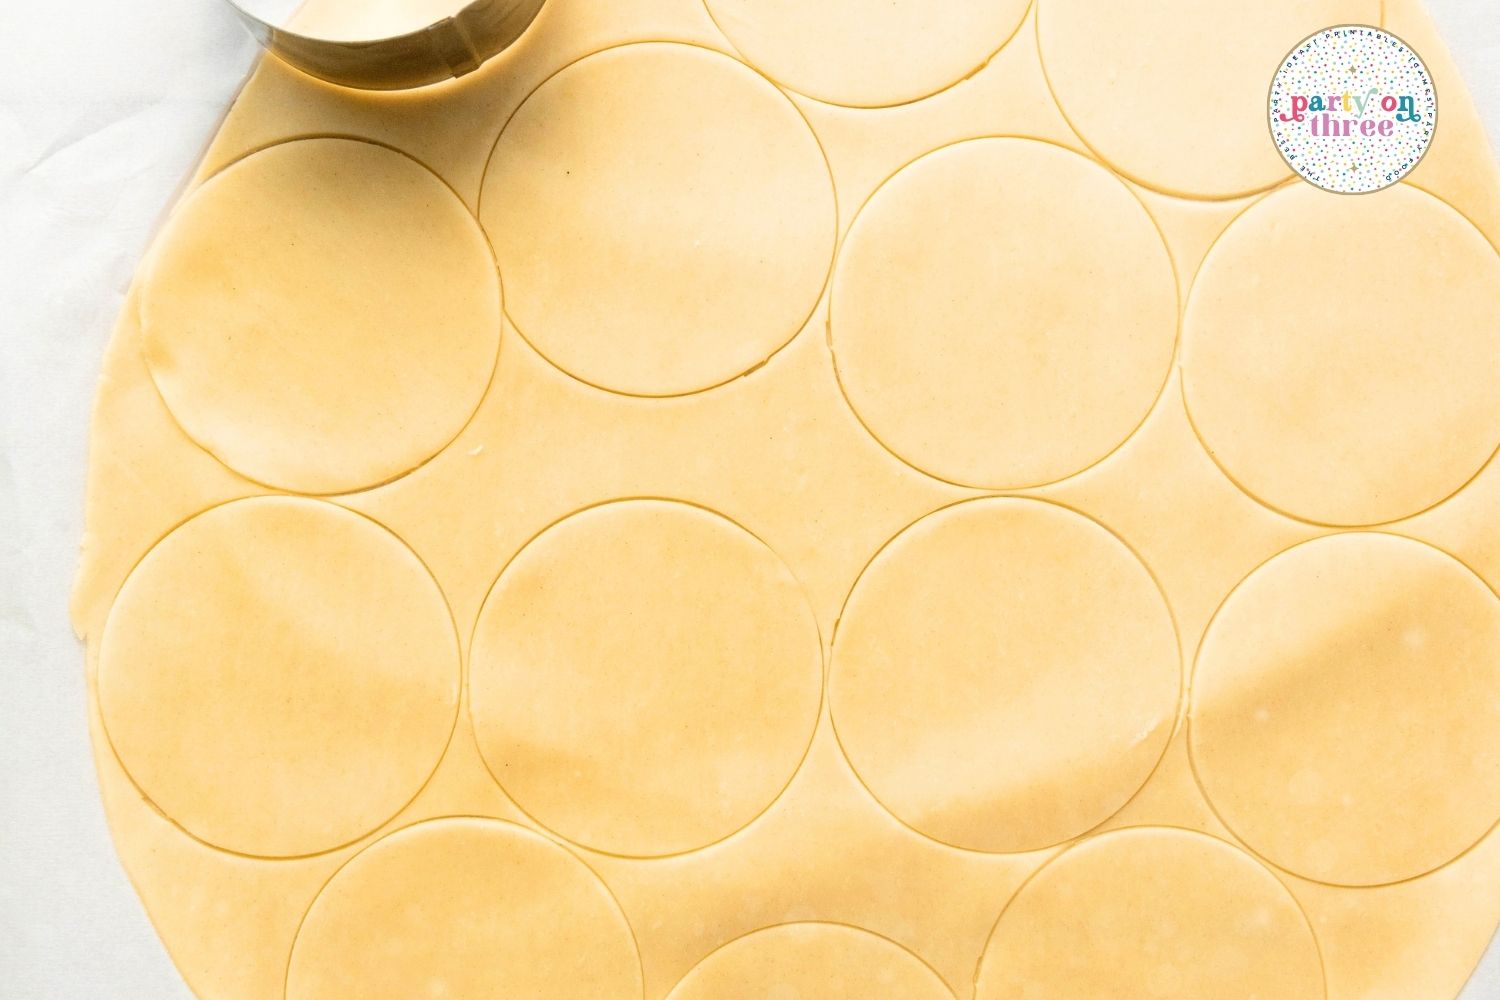
Step 5: Unroll the pie crusts on a lightly floured surface and cut circles about 4 to 5 inches across using a cookie cutter or the rim of a glass. You should get roughly 12 pies out of two crusts once you piece together the scraps.
Step 6: Spoon a small amount of the cooled apple filling into the center of half the dough circles, being careful not to overfill or they’ll leak while baking.
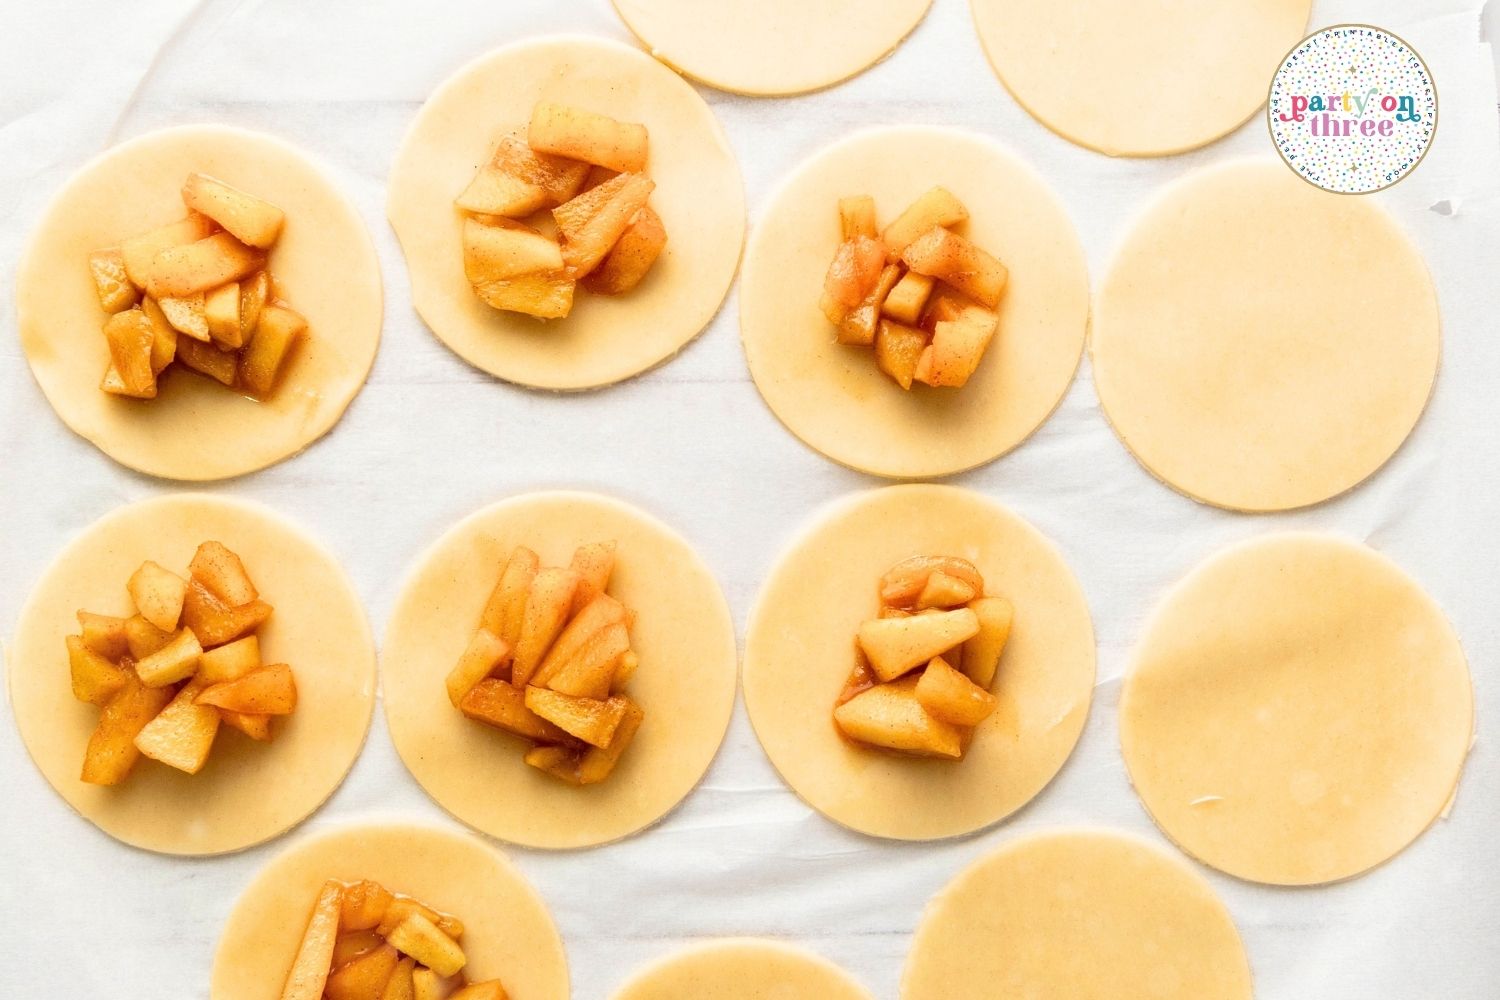
Step 7: Lay a second circle on top of each filled one and press the edges together with your fingers to seal.
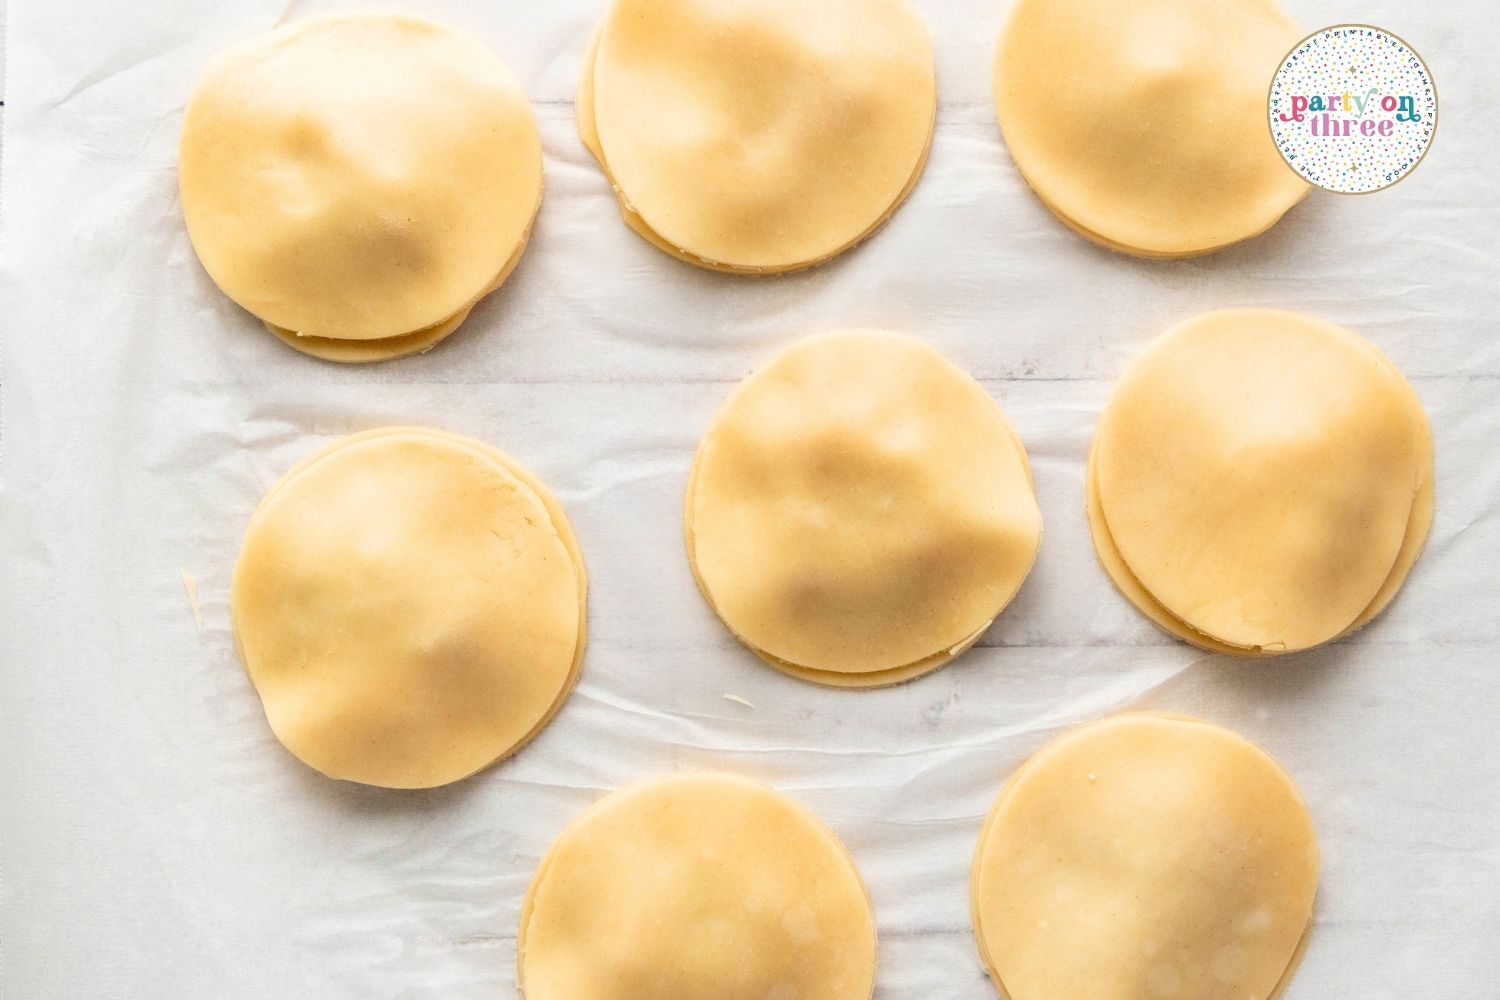
Step 8: Crimp all the way around with a fork so nothing escapes in the oven, this is what gives them that classic hand pie look.
Step 9: Brush the tops with the beaten egg, then cut two small slits in each one so steam has somewhere to go.
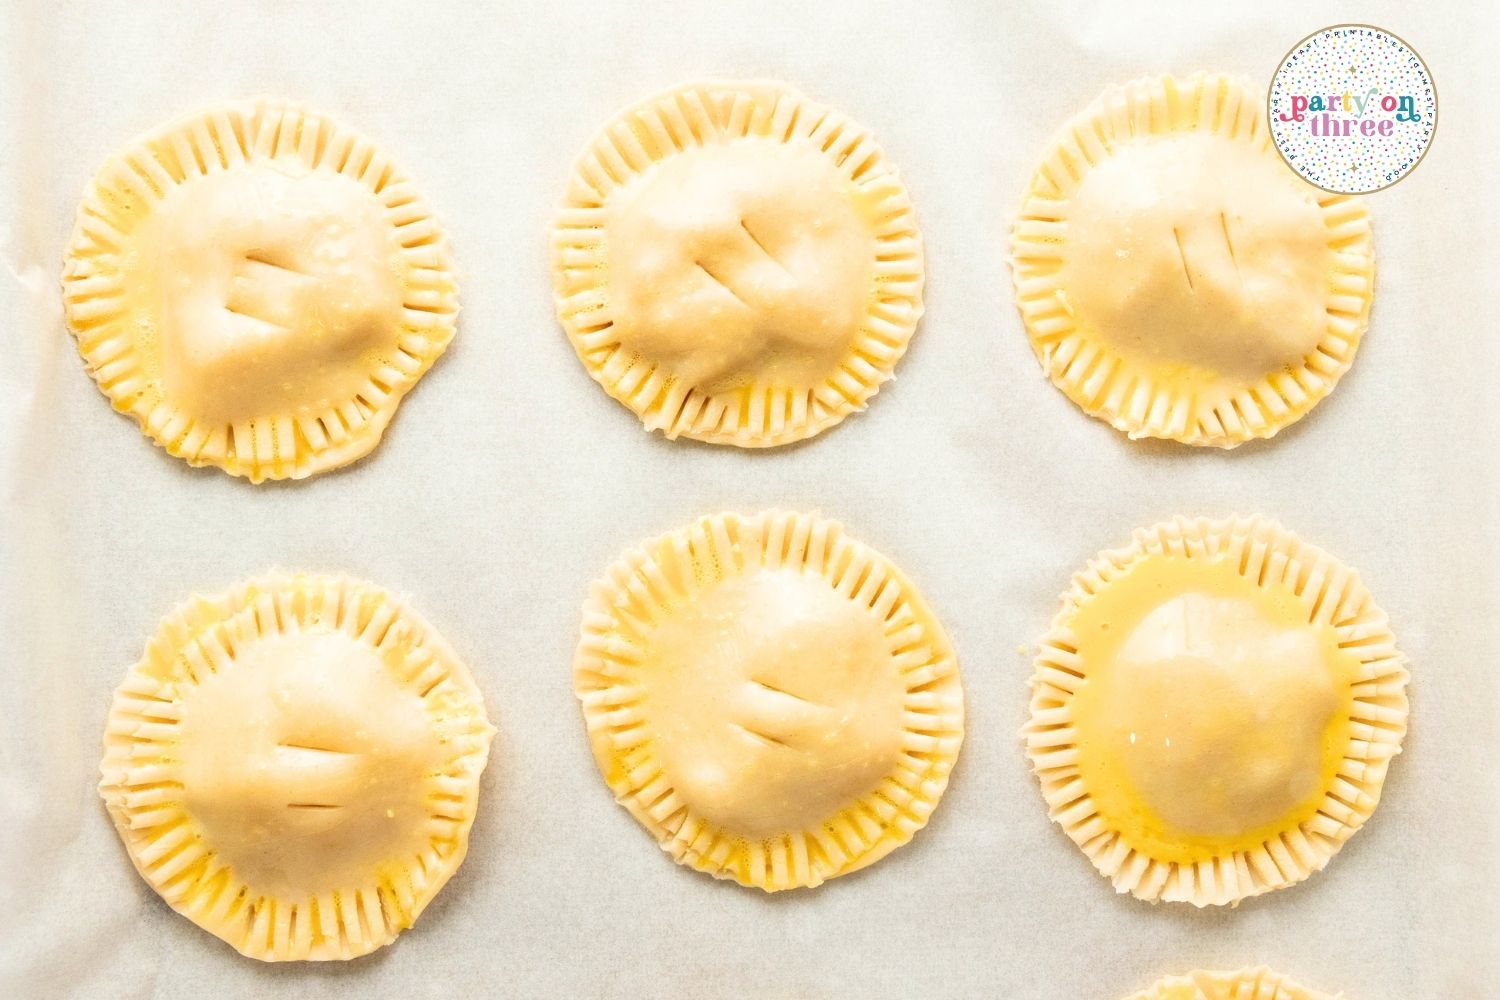
Step 10: Bake for 20 to 25 minutes, until they’re deep golden brown on top. Let them cool on the sheet for about 10 minutes before you touch them, the filling needs a minute to set.
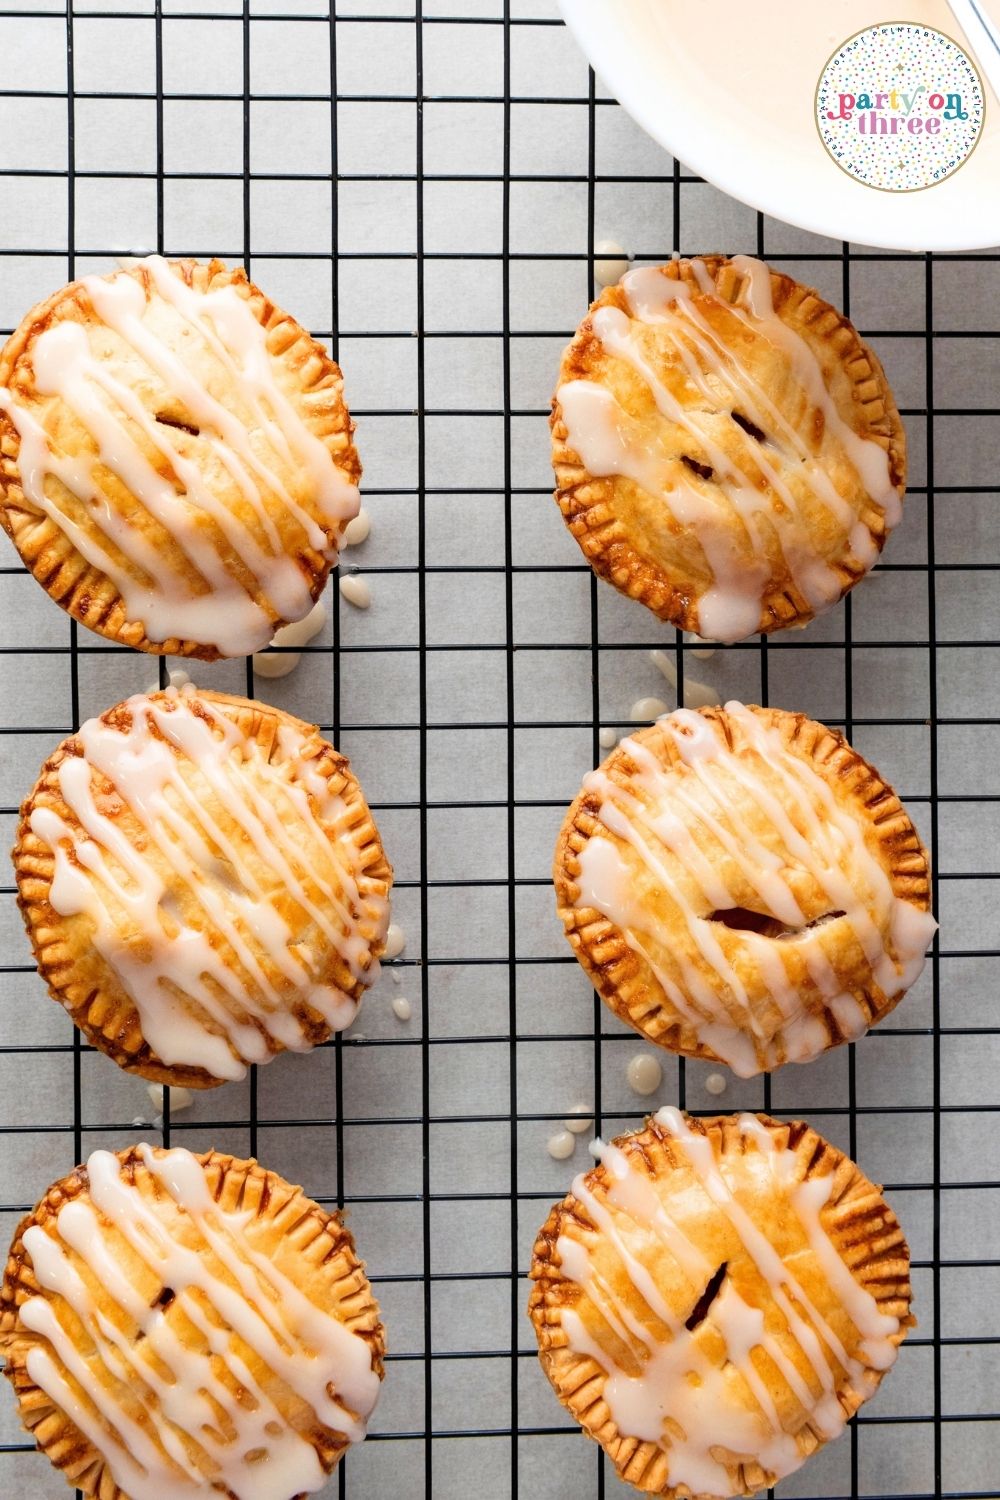
Step 11: Whisk together the powdered sugar, milk, and vanilla until smooth and pourable, then drizzle it over the cooled pies and let it set for a few minutes before serving.
Tips for Making the Best Hand Held Apple Pies
Make Ahead:
- You can cook the apple filling up to two days ahead and keep it in the fridge until you’re ready to assemble.
- Assembled, unbaked pies can be frozen on the tray and baked straight from frozen, just add a few extra minutes in the oven.
Storage:
- Baked hand pies keep at room temperature in an airtight container for about 2 days.
- For longer storage, refrigerate them for up to 5 days and warm in the oven before serving.
Serving:
- These are best served slightly warm so the glaze is just a little soft.
- Set them out on a platter for a fall party alongside other easy fall desserts so people can grab and go.

Easy Swaps for These Simple Apple Hand Pies
Apple Choices: Any firm baking apple works if you don’t have Granny Smith or Honeycrisp on hand.
- Braeburn or Gala apples give a slightly sweeter filling.
- Mixing two varieties always gives better flavor than using just one.
Crust Options: Store-bought pie crust is the easy route, but puff pastry works too for a flakier bite.
- Puff pastry will puff up more, so give them a little extra room on the tray.
- Homemade pie dough works great if you’ve got the time.
Spice Variations: Cinnamon is classic, but you can build on it easily.
- Add a pinch of nutmeg or allspice for a warmer, spiced flavor.
- A little cardamom gives these a slightly different, cozy twist.
Glaze Swaps: The vanilla glaze is simple, but you can dress it up.
- Add a pinch of cinnamon to the glaze for extra fall flavor.
- Swap the milk for caramel sauce thinned with a little cream for a caramel drizzle instead.

Frequently Asked Questions
Yes, you can make the filling up to two days ahead, or assemble the whole pies unbaked and freeze them until you’re ready to bake.
That usually happens when there’s too much filling or the edges weren’t crimped tightly enough. A thin fork crimp all the way around does the trick.
Definitely, puff pastry gives you a flakier, more layered pie, just give them a little extra space on the baking sheet since they puff up more.
Yes, peeling keeps the filling smooth and tender instead of chewy, which matters a lot in a small hand pie.
Let the pies cool most of the way before glazing. If they’re too warm, the glaze just melts right off instead of setting.

Quick Apple Hand Pies

Ingredients
For the Filling
- 2 smaller Granny Smith apples, peeled, cored, and diced
- 1 Honeycrisp apple, peeled, cored, and diced
- 3 tablespoons granulated sugar
- 1 tablespoon brown sugar
- 1 teaspoon ground cinnamon
- 1 tablespoon lemon juice
- 1 tablespoon butter
For the Assembly
- 2 sheets store-bought pie crust
- 1 egg, beaten (for egg wash)
For the Glaze
- 1 cup powdered sugar
- 1-2 tablespoons milk
- 1/4 teaspoon vanilla extract
Instructions
- Cook the diced apples with butter, both sugars, cinnamon, and lemon juice over medium heat for 5-7 minutes until slightly softened, then cool.
- Preheat oven to 400°F and line a baking sheet with parchment paper.
- Roll out pie crusts and cut into 4-5 inch circles.
- Add a spoonful of filling to half the circles and top with remaining circles, pressing edges to seal.
- Crimp edges with a fork, brush with egg wash, and cut two small slits in each top.
- Bake 20-25 minutes until golden brown, then cool slightly.
- Whisk powdered sugar, milk, and vanilla into a glaze and drizzle over the cooled pies.