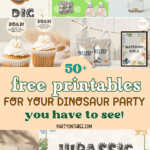
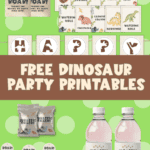
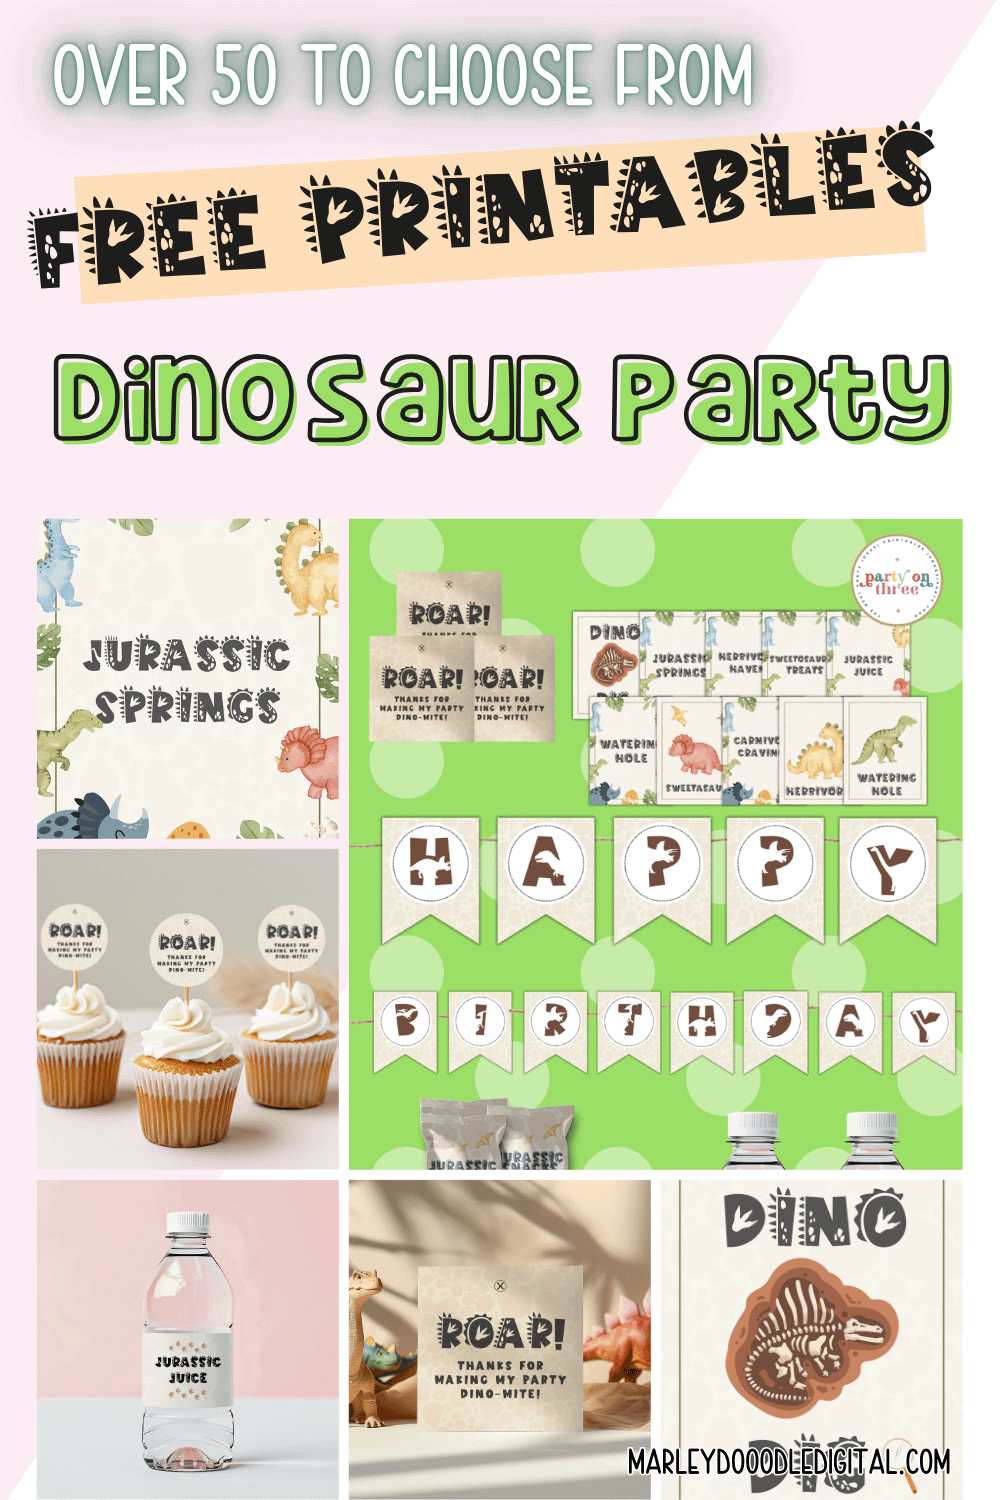
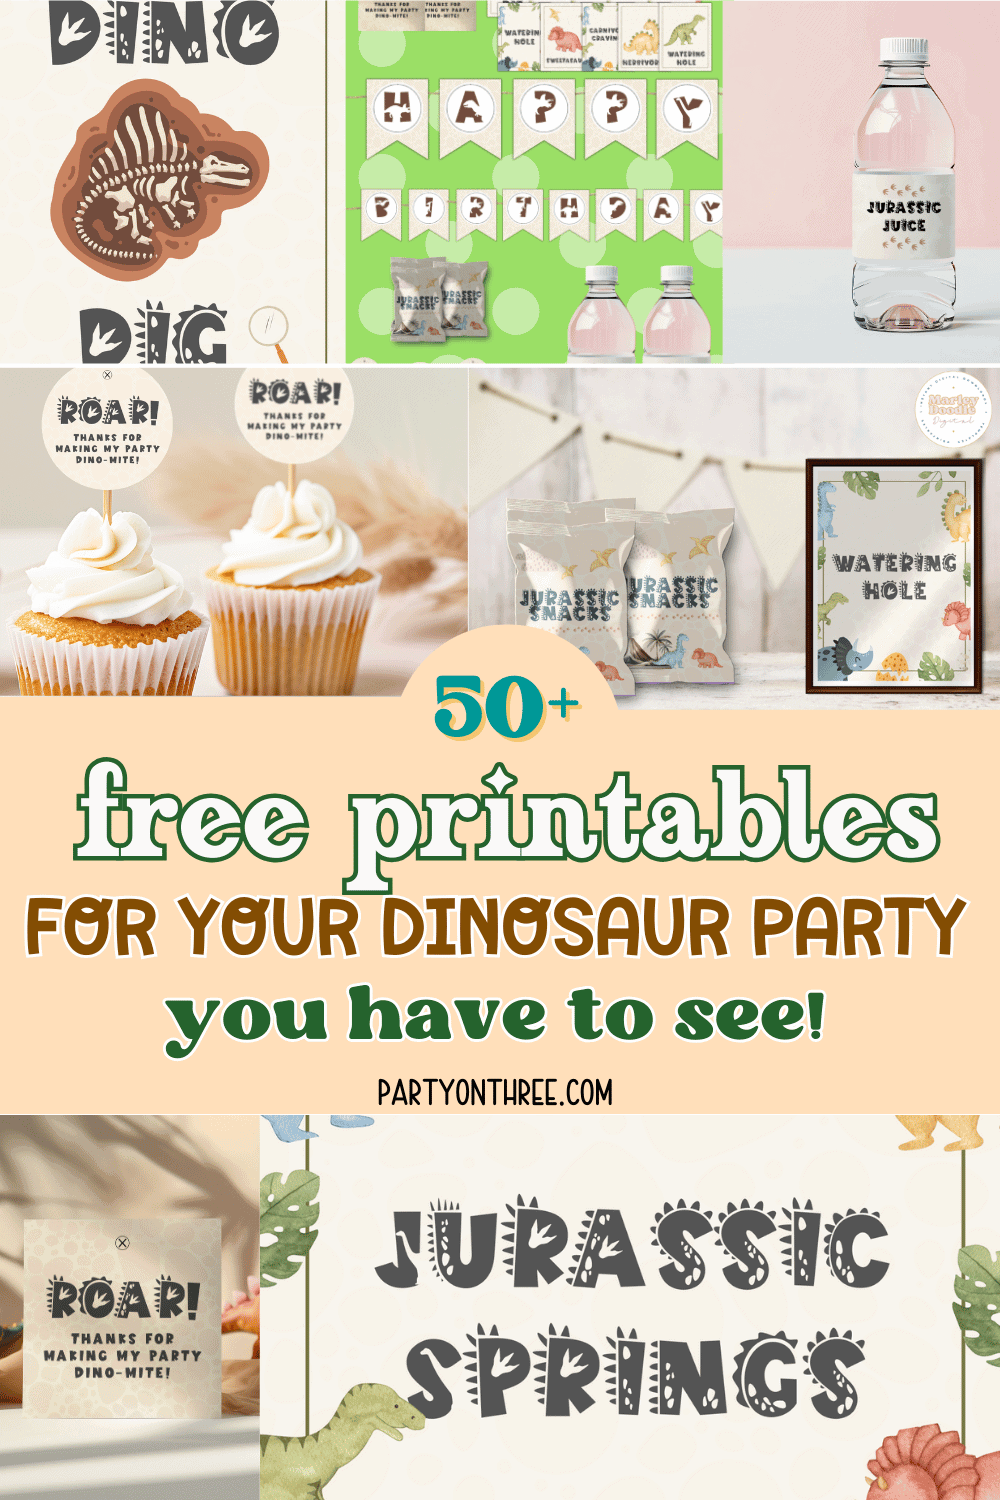
Dinosaur Birthday Party Printables (Free!)

Published on April 7, 2025
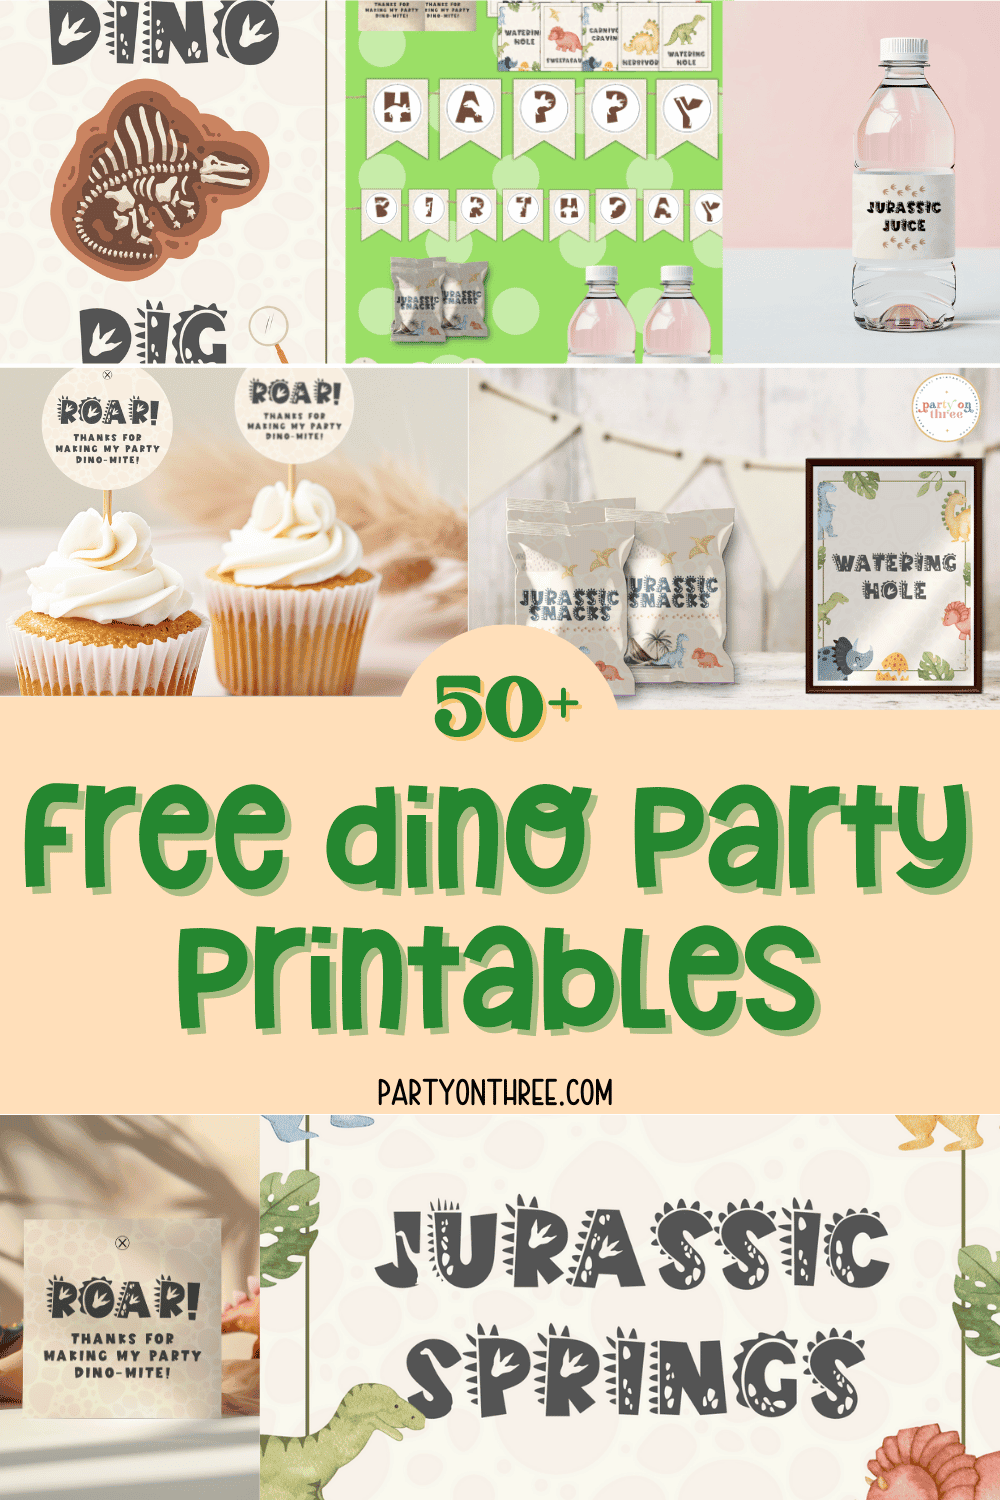
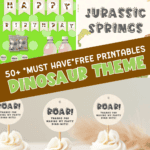
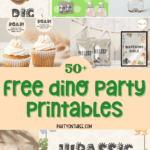
Host a ROAR-some Celebration with These Free Dinosaur Party Printables! Planning a prehistoric party? This dino-themed printable pack has everything you need to make your celebration stand out with ease and style, and includes over 50 printables!
Love Party on Three?
Make us your preferred source on Google so our recipes, printables, and party ideas show up first when you search. One tap and you're set, it's free and it helps us so much.
There are affiliate links in this post – please read my full disclosure policy. As an Amazon Associate, I earn from qualifying purchases.
If your little one is wild about dinosaurs, you’re going to love this free printable party pack! Packed with colorful decorations, treat toppers, banners, and more, this set helps you create a fun and cohesive dinosaur party without the stress. Whether you’re organizing a birthday bash, a themed playdate, or a classroom celebration, these easy-to-use printables will take your party from basic to Jurassic in no time. Just download, print, and start prepping for a party that’s guaranteed to be dino-mite!
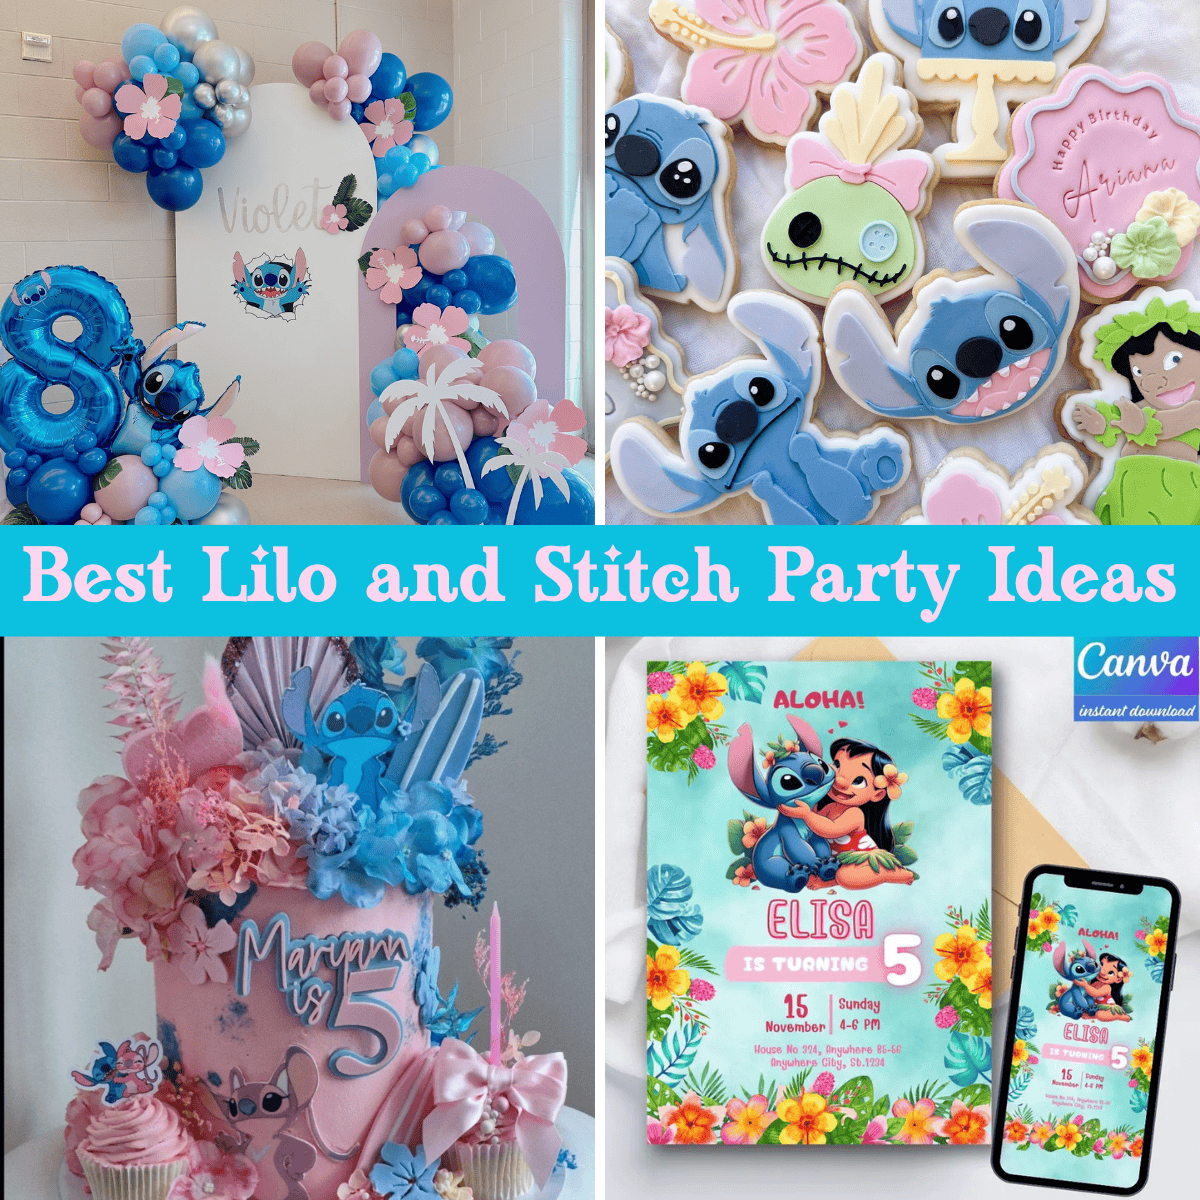
❤️Don’t Leave Before You Check Out These Fun Ideas!❤️
This digital file is an instant download that you will receive via download link after subscribing. Our printables are for personal use only. No physical product will be shipped. Printables can be found AT THE BOTTOM OF THIS POST.
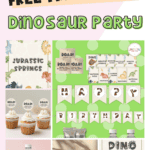
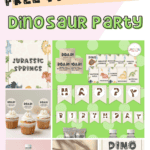
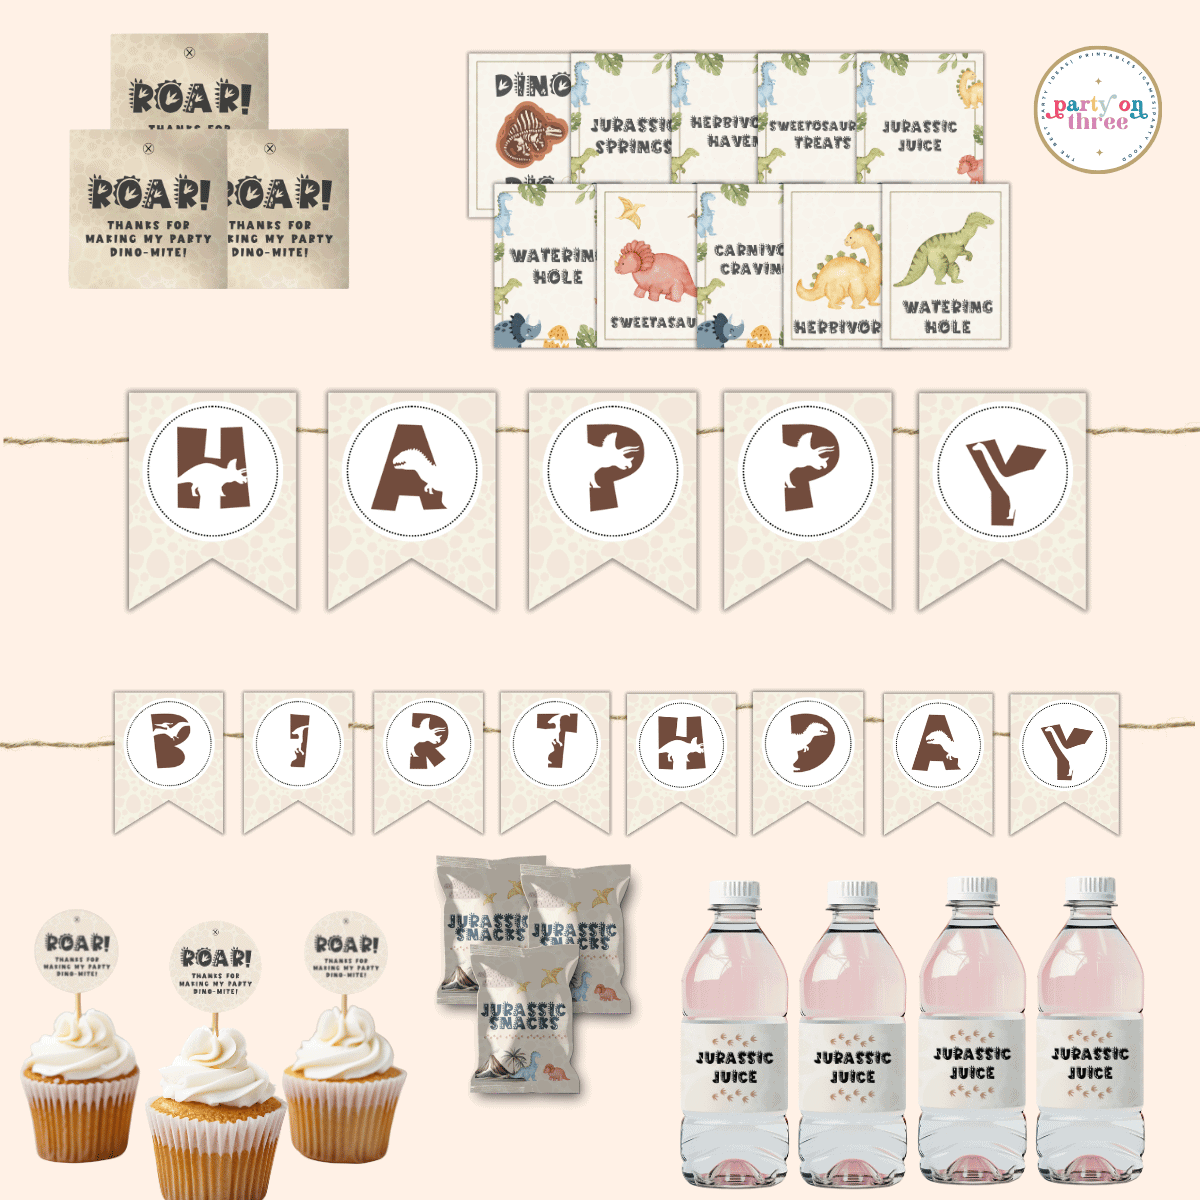
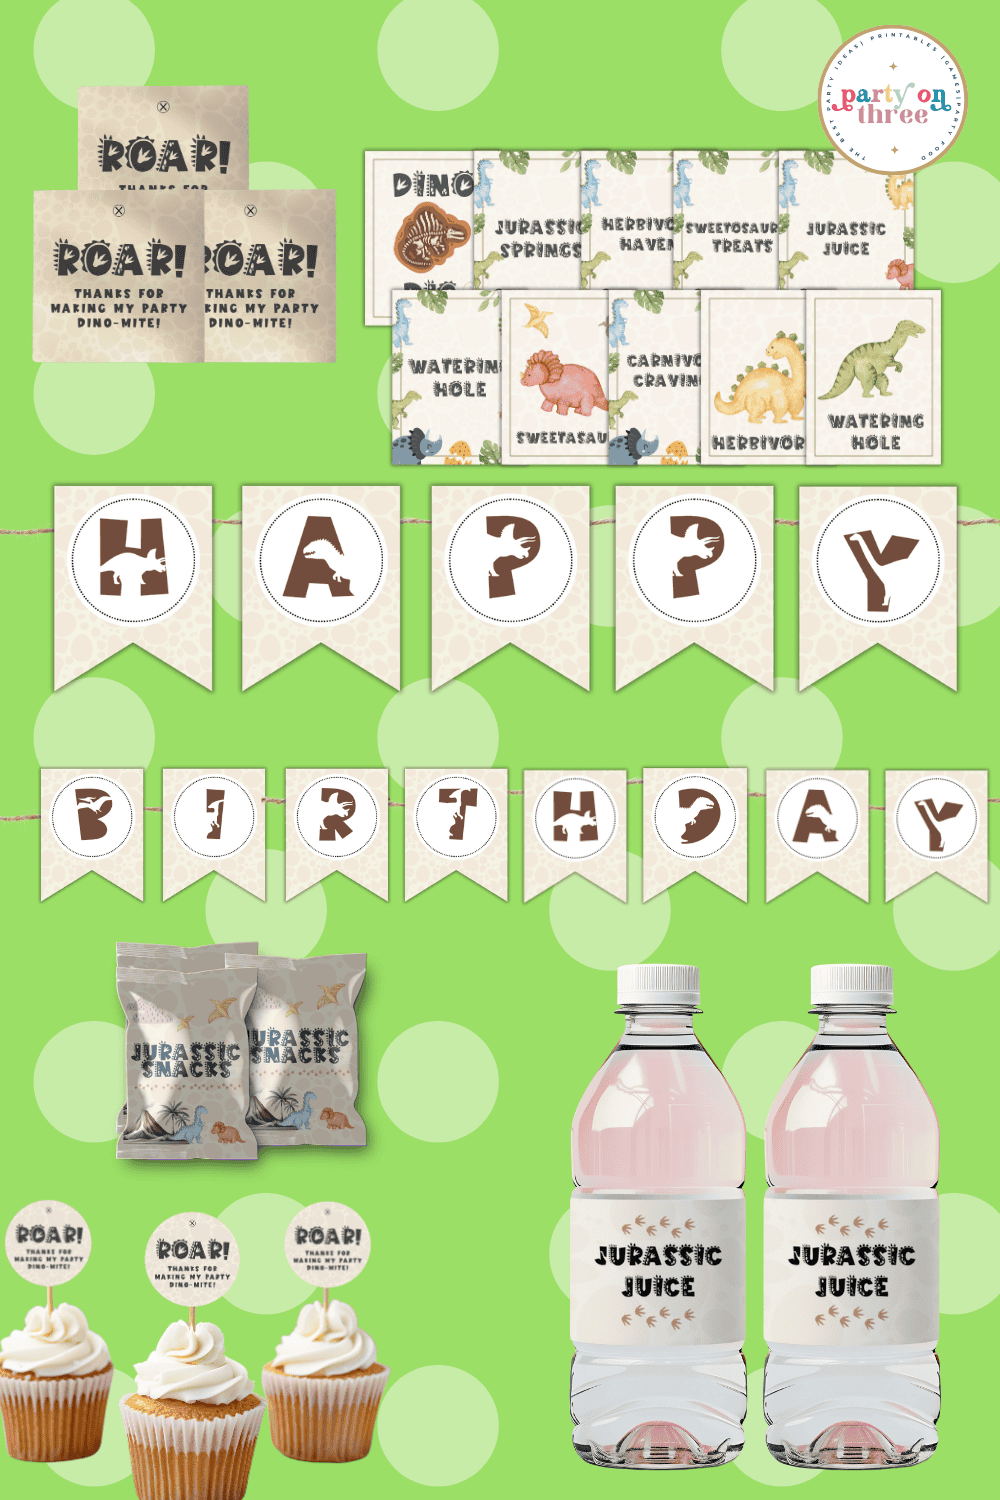
🌟What’s Included
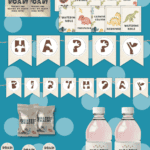
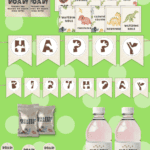
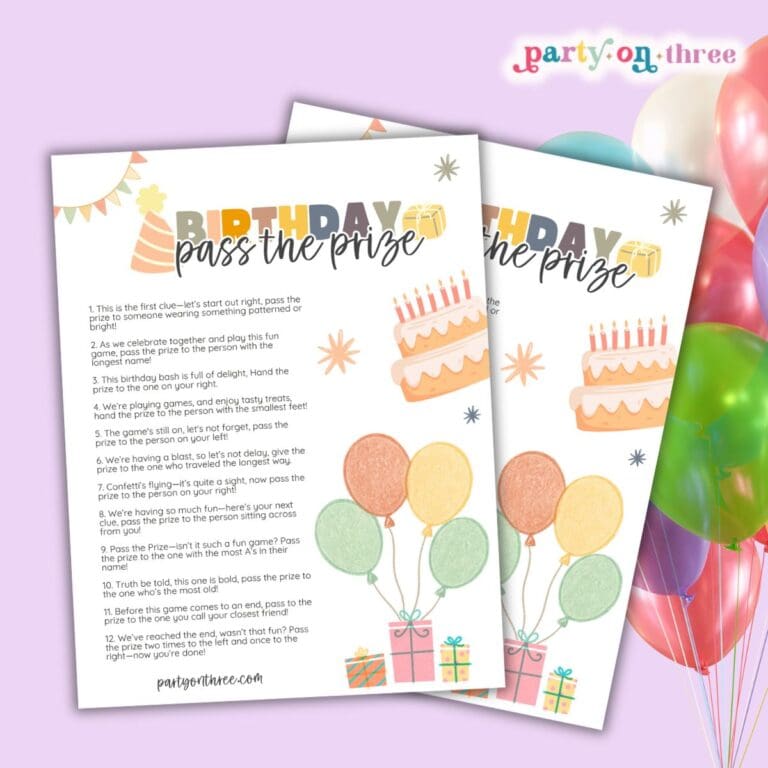
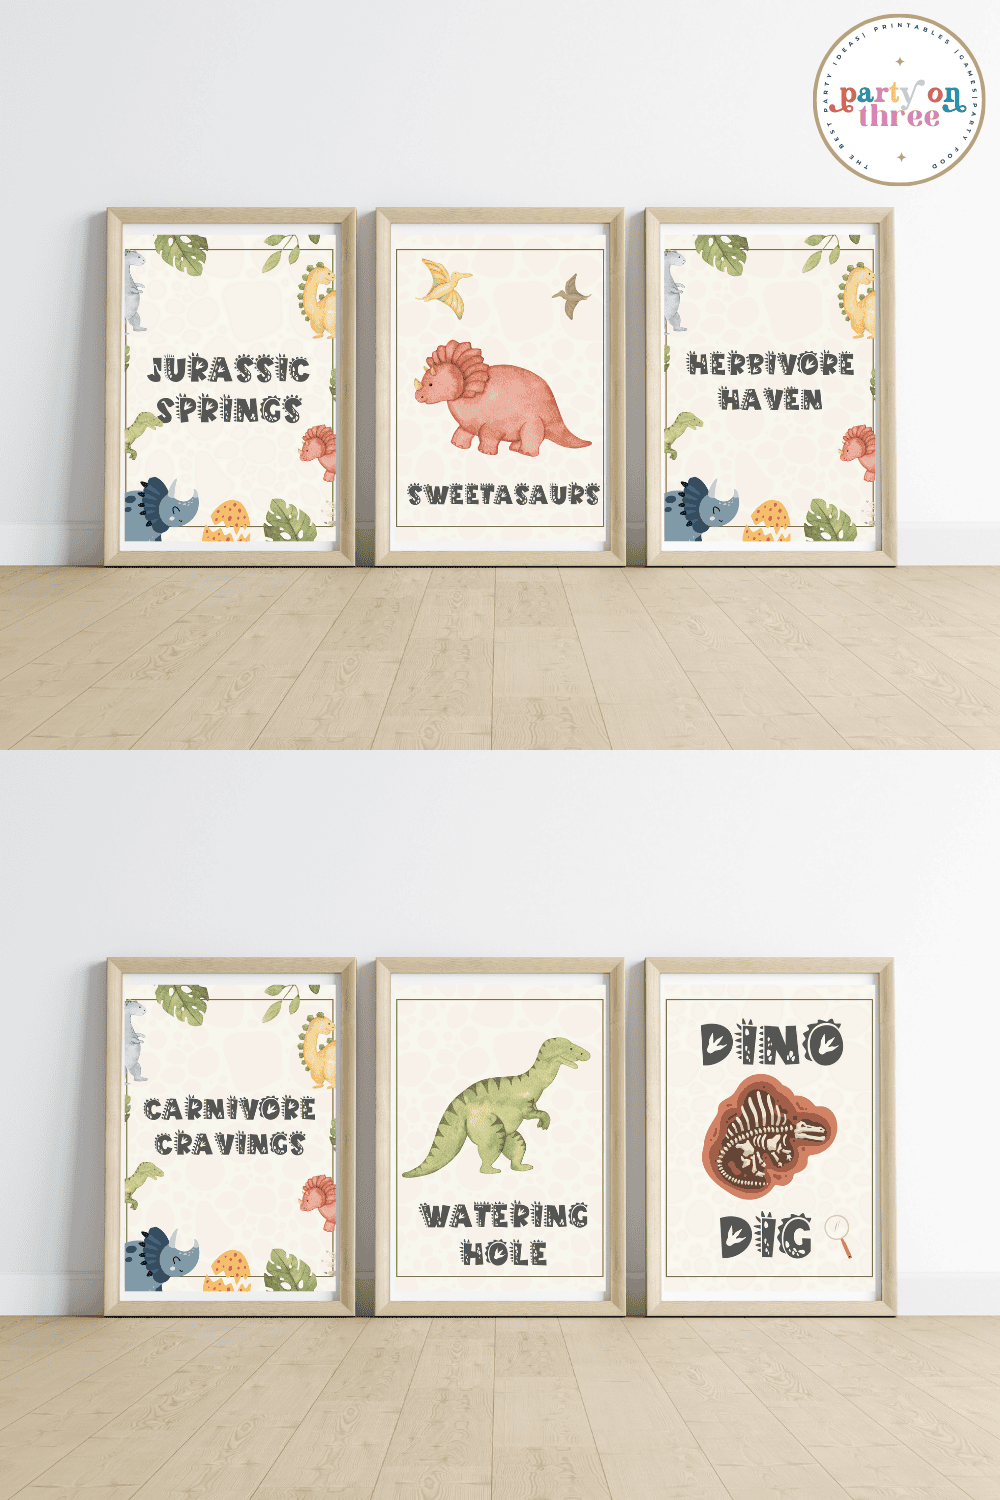
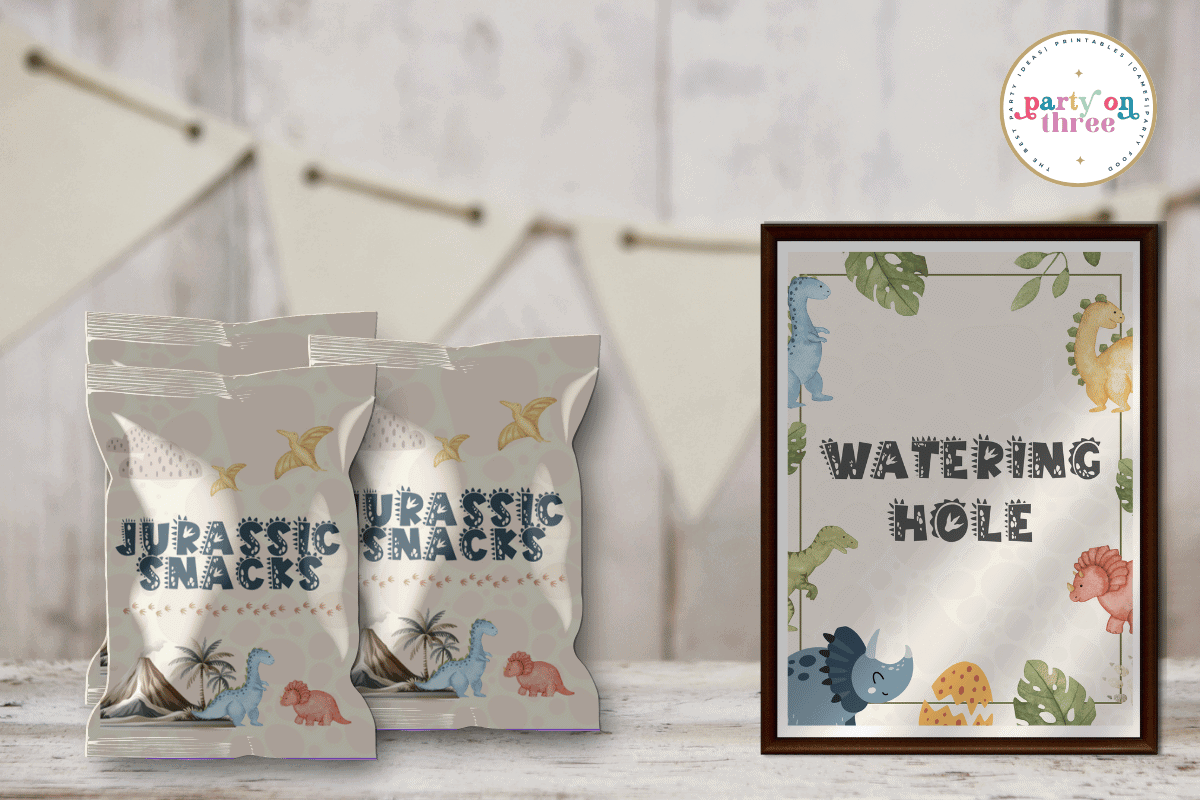
10 Themed Party Signs
Decorate your food and drink tables with fun dinosaur sayings and labels.
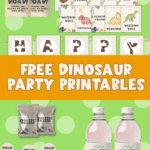
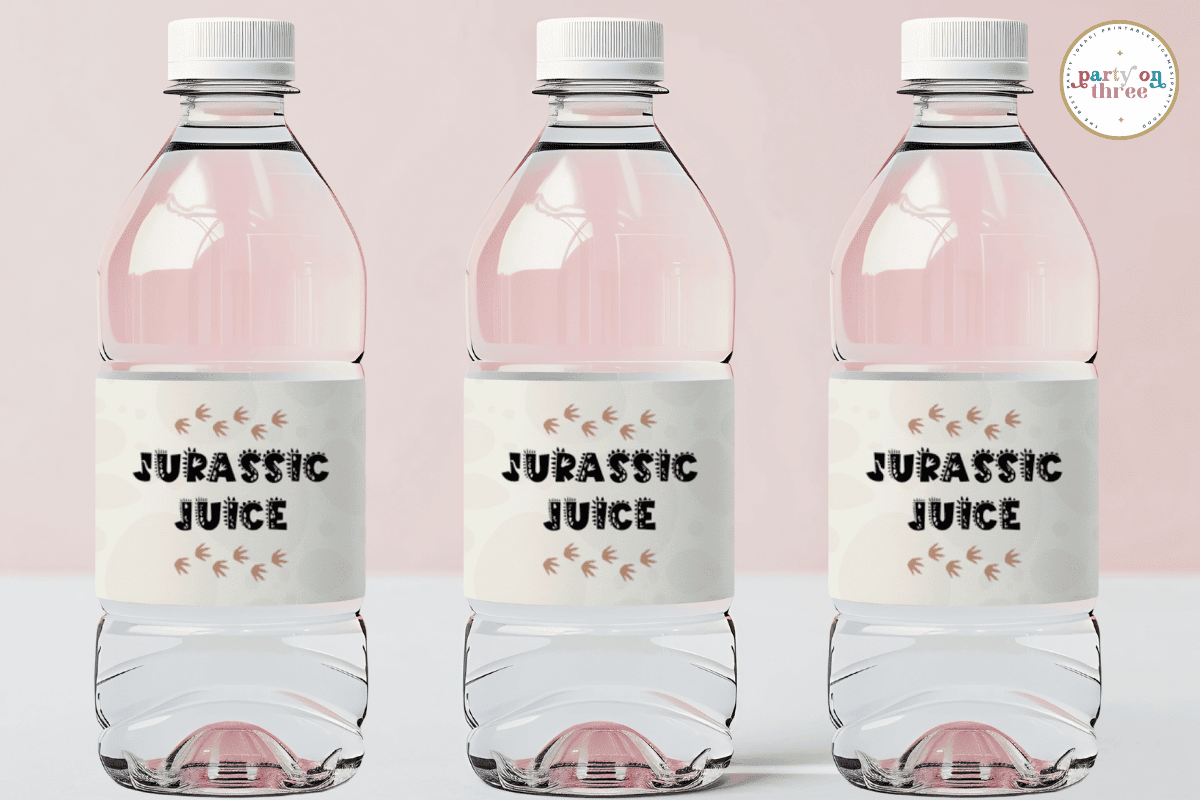
Water Bottle Labels (2 Designs)
Dress up drinks with “Jurassic Juice” or “Dino Springs” wrappers for an extra playful touch..
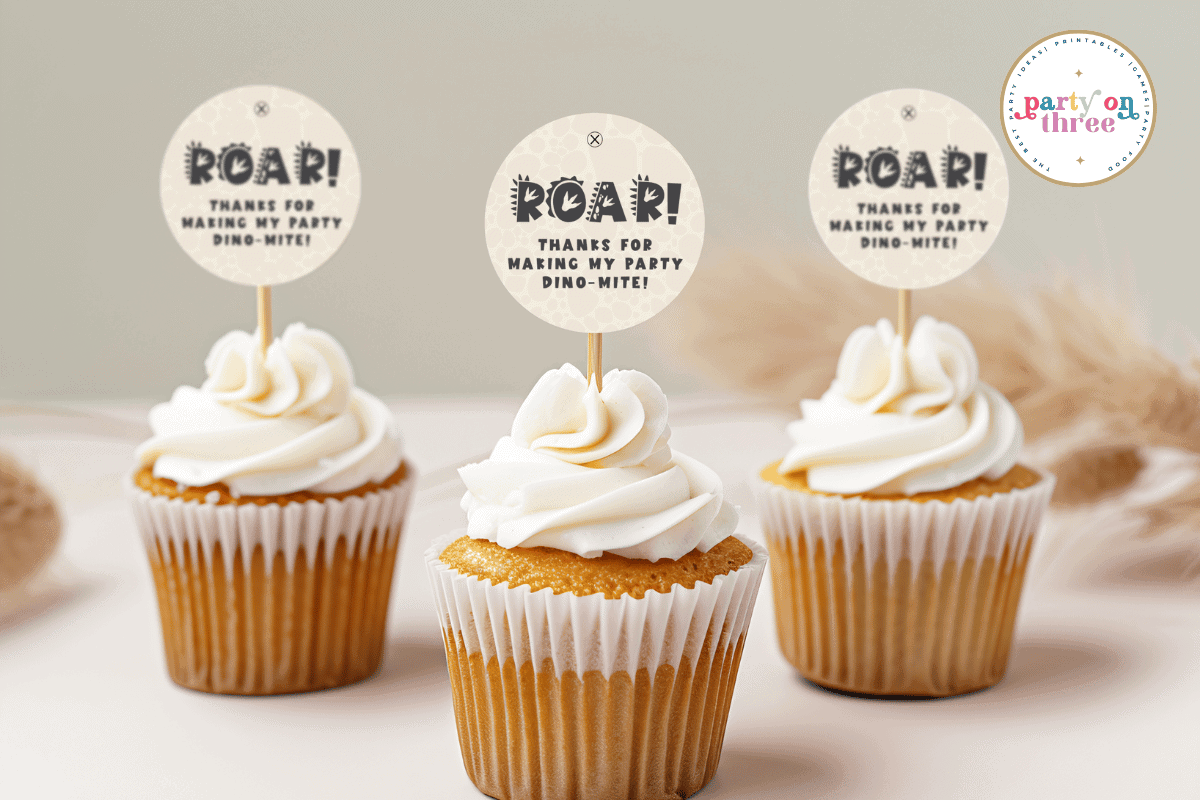
Cupcake Toppers
Cut and glue these cute circles to toothpicks and pop them into cupcakes for instant party flair.
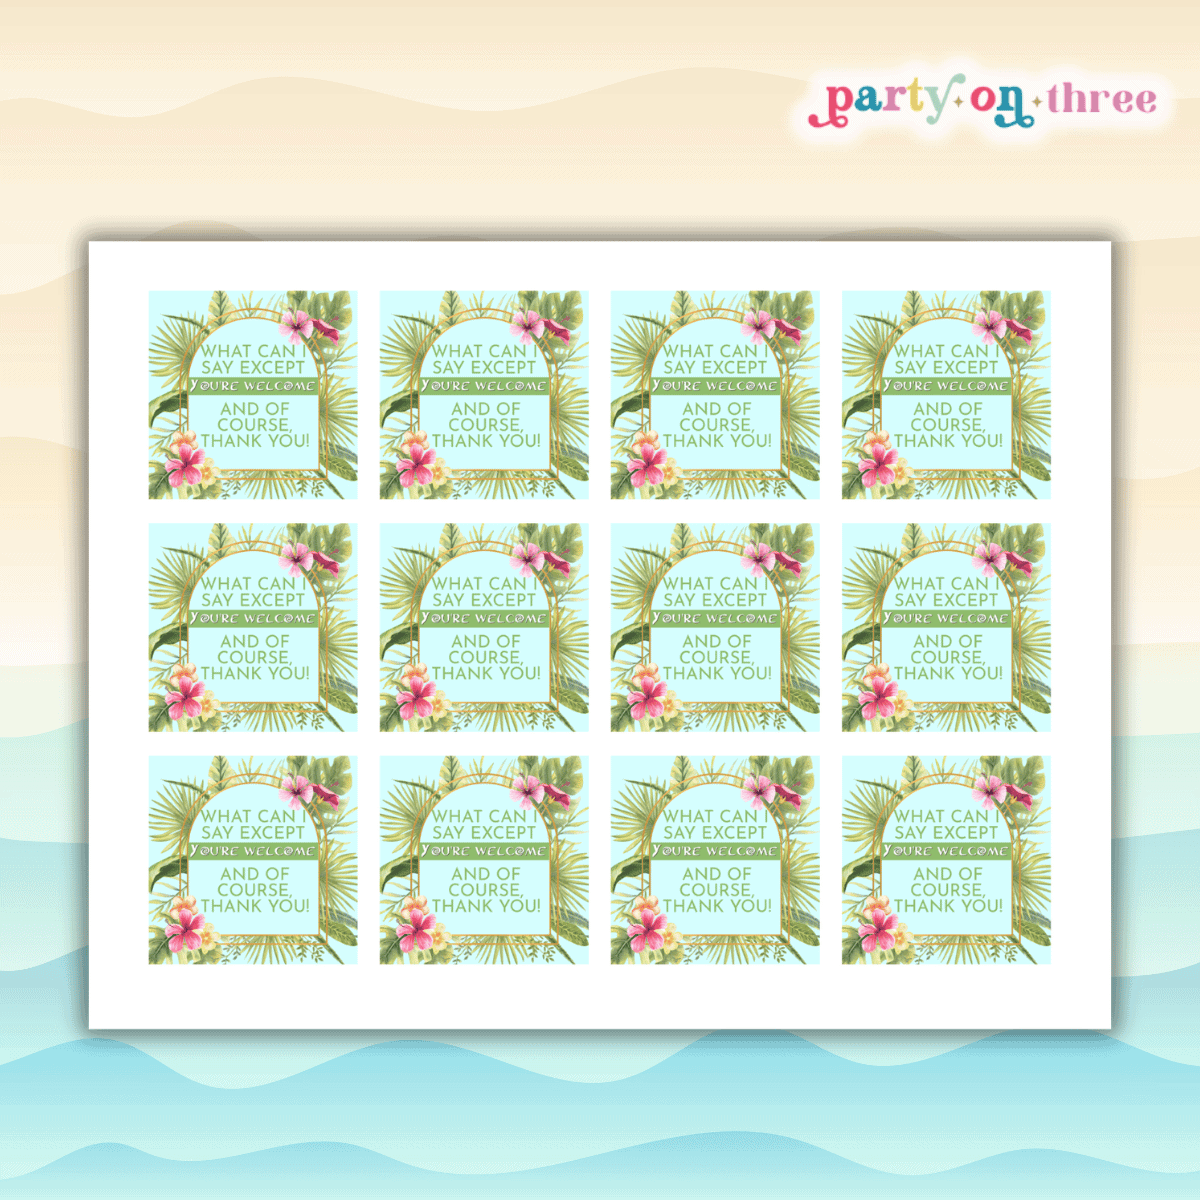
Thank You Tags
Square tags you can attach to favors or treat bags for a sweet send-off.

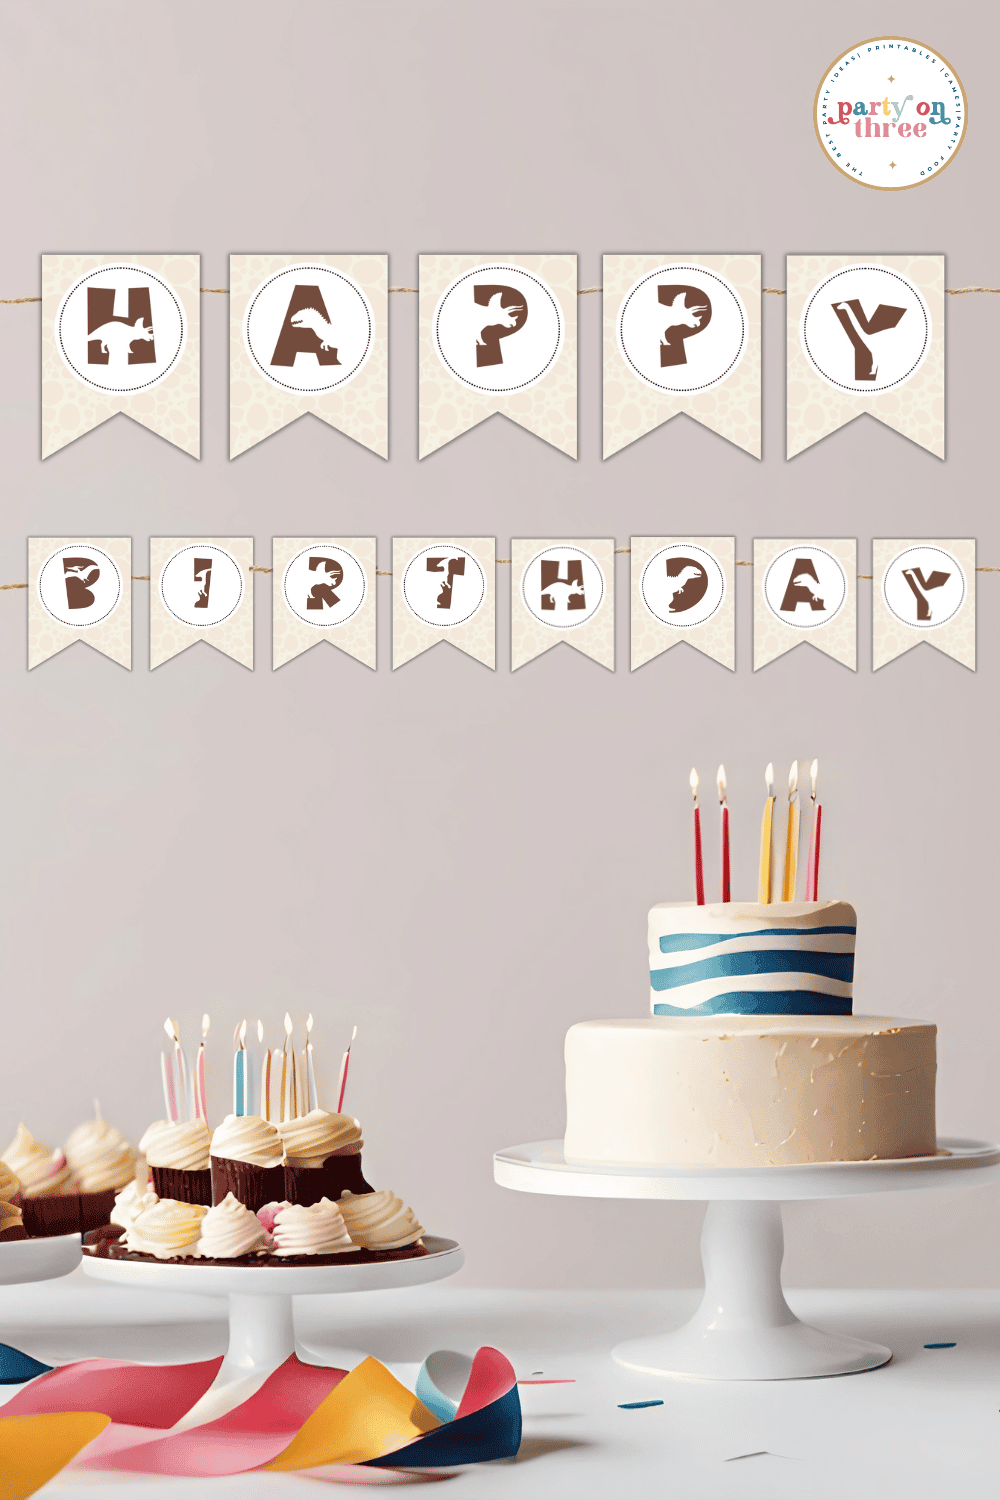
Dinosaur Banner
The full alphabet is included so you can customize your message to say anything from “Happy Birthday” to “Dino Party.”
Custom Chip Bag Wrappers
Wrap individual chip bags or snacks for a unique and festive display.
📌What You’ll Need
Cardstock or heavy-weight paper (great for toppers, tags, and signs)
Thin Brochure Paper – for the chip bags. This not the same as regular paper, and it gives the bags a glossier finish like the ones you would see at the grocery store.
Paper Crimper – (optional for realistic chip bag edges)
Tape Runner – to glue the edges of the chips bags together.
Sticker Paper – (for water bottle labels)
Scissors or paper trimmer – to cut out the printables.
✨Printing and Downloading
You’ll receive a digital file instantly after subscribing, just download and get started!
Most items (signs, toppers, banners, and tags) can be printed as usual on your home printer using cardstock. For water bottle labels, print on sticker paper for easy application.
🖨️How to Print Chip Bags
Step 1: Use the Right Paper
Use glossy brochure paper (32–48 lb) for vibrant, professional-looking chip bags. It holds color well and wraps neatly around snack bags.
Step 2: Printer Settings
Before printing, change your printer settings to:
- Paper Type: Glossy or Presentation Paper
- Quality: High or Best
- Scale: 100%
- Orientation: Landscape (if needed by template)
Always do a test print first.
Step 3: Print
Print your design and allow ink to dry fully if using an inkjet printer to prevent smudging.
✂️How to Assemble Chip Bags
Once printed, assembly is quick and easy! Here’s how to put them together:
Step 1: Cut down the Edges
Using scissors or a paper trimmer, cut along the edges of each chip bag design to remove any white borders or excess paper. The cleaner your edges, the more polished your final product will look.
Step 2: Position the Snack Bag
Lay the printed wrapper face-down on a flat surface. Place your individual snack (like a mini chip bag or treat-filled baggie) in the center. The design should be horizontal, and the bag should be positioned so there’s even space on the left and right sides.
Step 3: Wrap the Bag
Fold one side of the paper over the snack bag, then fold the other side over it, overlapping slightly in the back. Apply double-sided tape or glue along the inside edge of the top layer and press to seal the wrapper into a tube shape.
Step 4: Seal the Bottom Edge
Press the bottom of the wrapper flat, then apply tape or glue to the inside of the flap and press to close tightly. If you want a realistic, crimped look, run the sealed edge through a paper crimper before moving on.

Step 5: Slide the Snack Down
Gently push the snack down so it sits snugly at the bottom of the wrapper. This gives the bag a full, puffed-up appearance and helps with the final seal.
Step 6: Seal the Top
Fold and seal the top edge just like you did the bottom. Again, you can use the crimper here if you want to give both ends that authentic chip bag finish.
Extra Tip:
If you’re not using individual snack bags, you can fill the wrapper with a handful of chips or treats directly, just be sure to line it with a small clear bag first for food safety and easier cleanup.
💡Helpful Tips
- Brochure paper is flexible and works better than photo paper for folding.
- Heavy white cardstock is perfect for signs and cupcake toppers.
- Regular printer paper works in a pinch but won’t be as sturdy.
- Check your ink levels before starting.
- No printer? Your local print shop or an online service can help you out.
- Need A4 or a different paper size? Adjust the settings in your printer preferences.
🎯Favorite Printable Supplies
Here are some of our favorite materials and supplies we use so we get the best quality out of our printables!
No products found.
With our free printable dinosaur party pack, putting together a themed celebration has never been easier. All you need is your printer, a few basic supplies, and a dino-loving crowd. Add a cake, a few games, and some roar-worthy excitement, and your party will be one for the (pre)history books!