Easy DIY Chocolate Covered Oreos (Great for Birthdays!)

Published on April 10, 2025
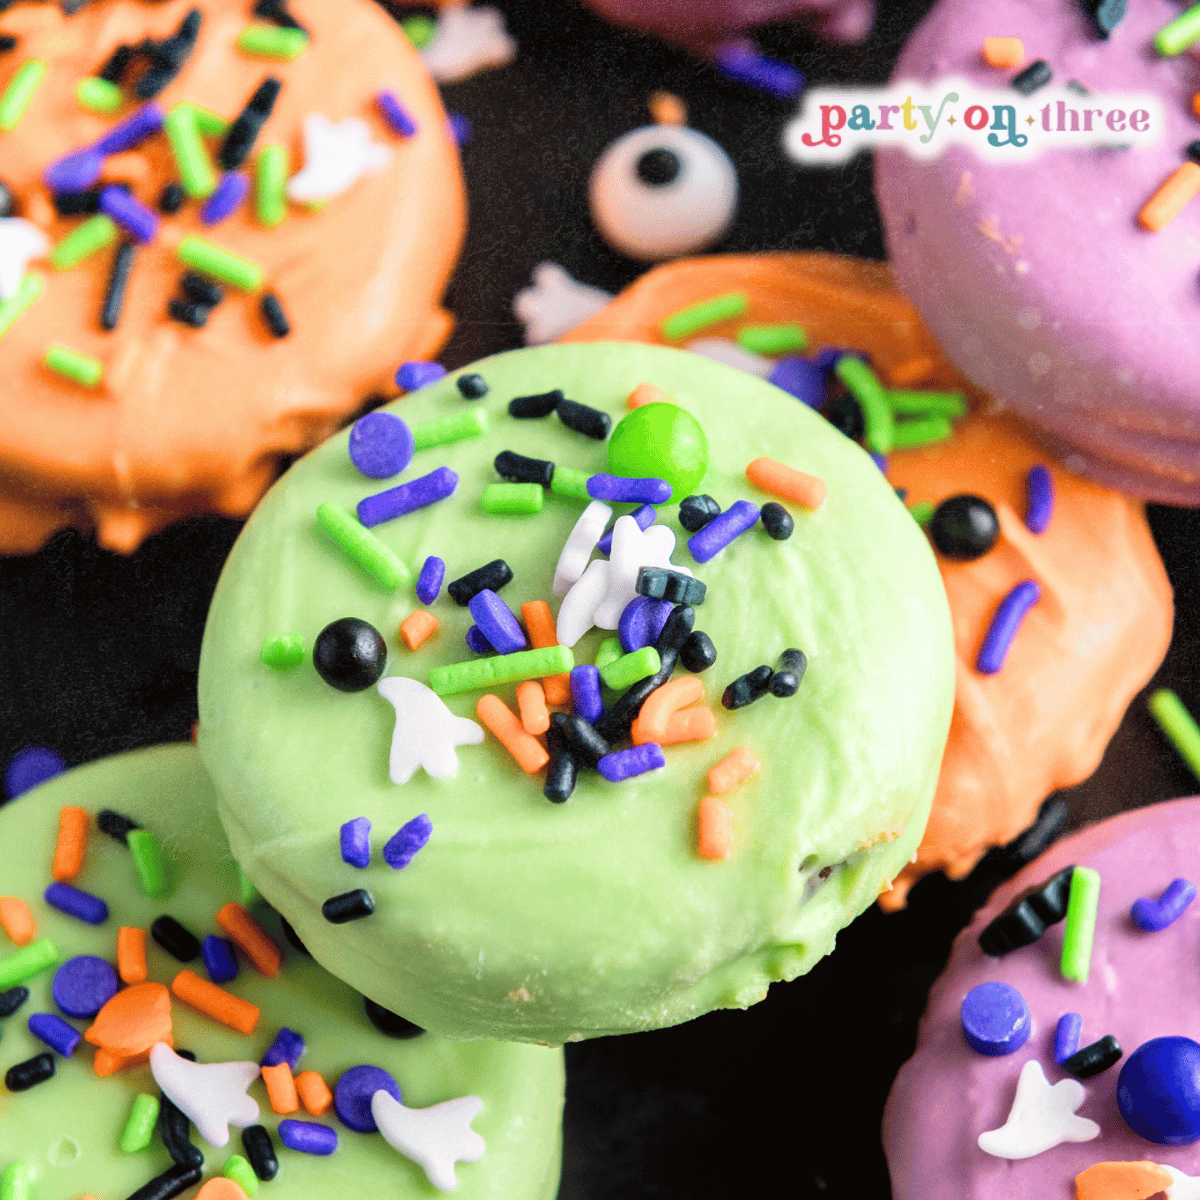
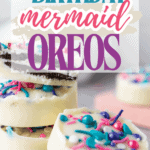
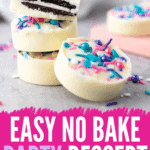
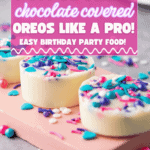
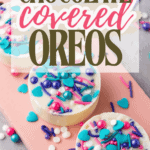
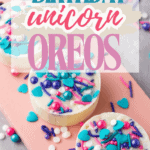
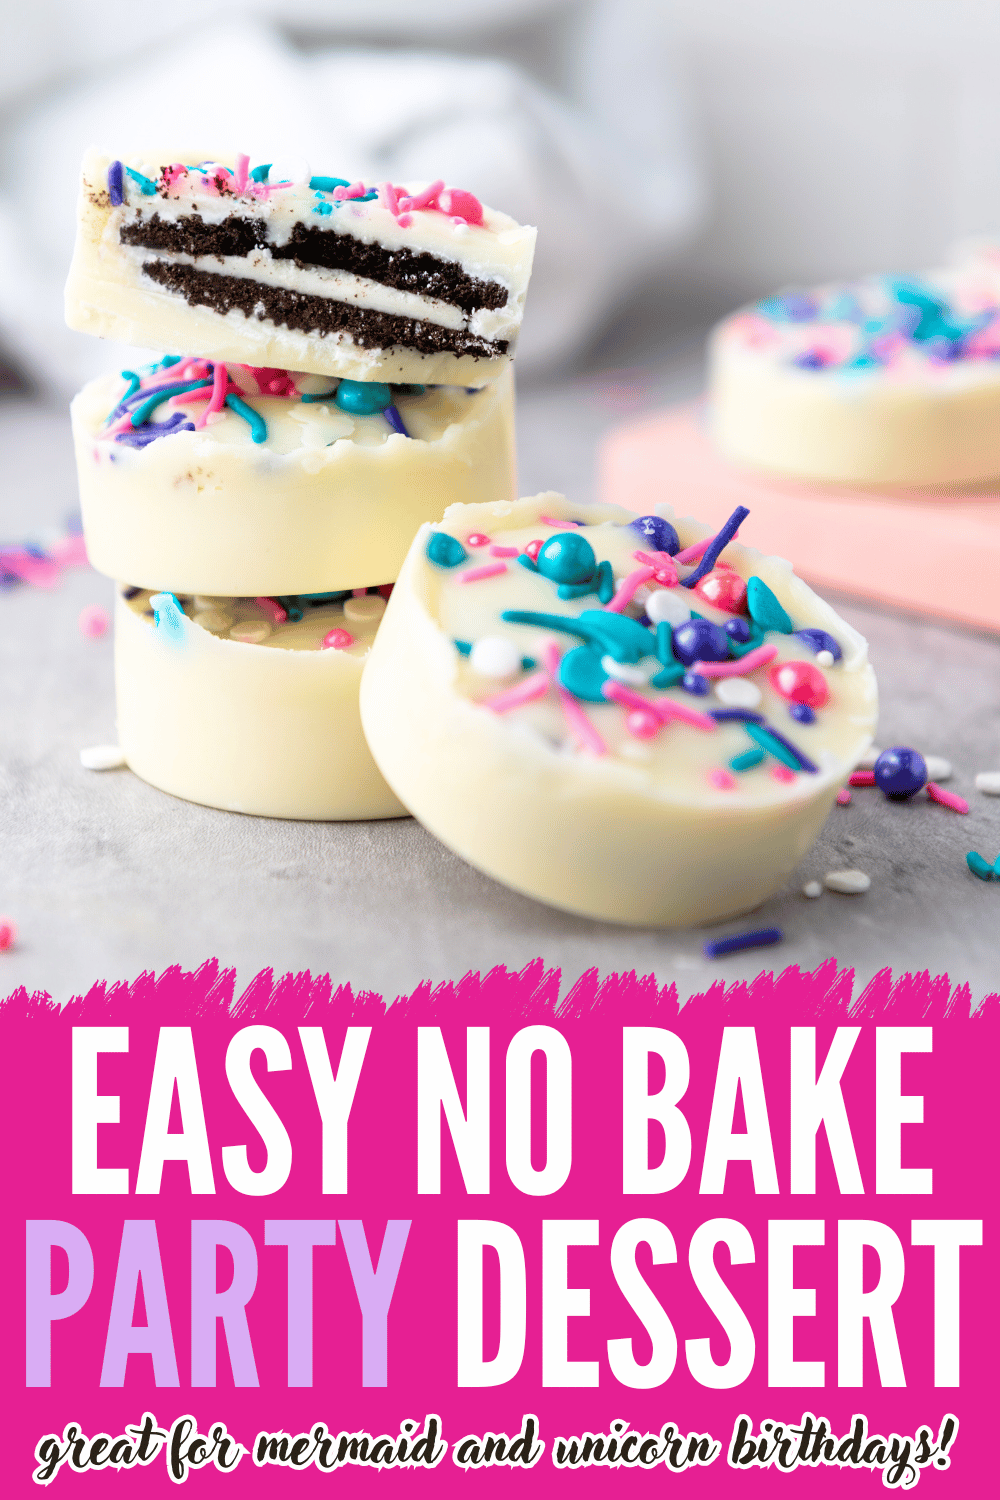
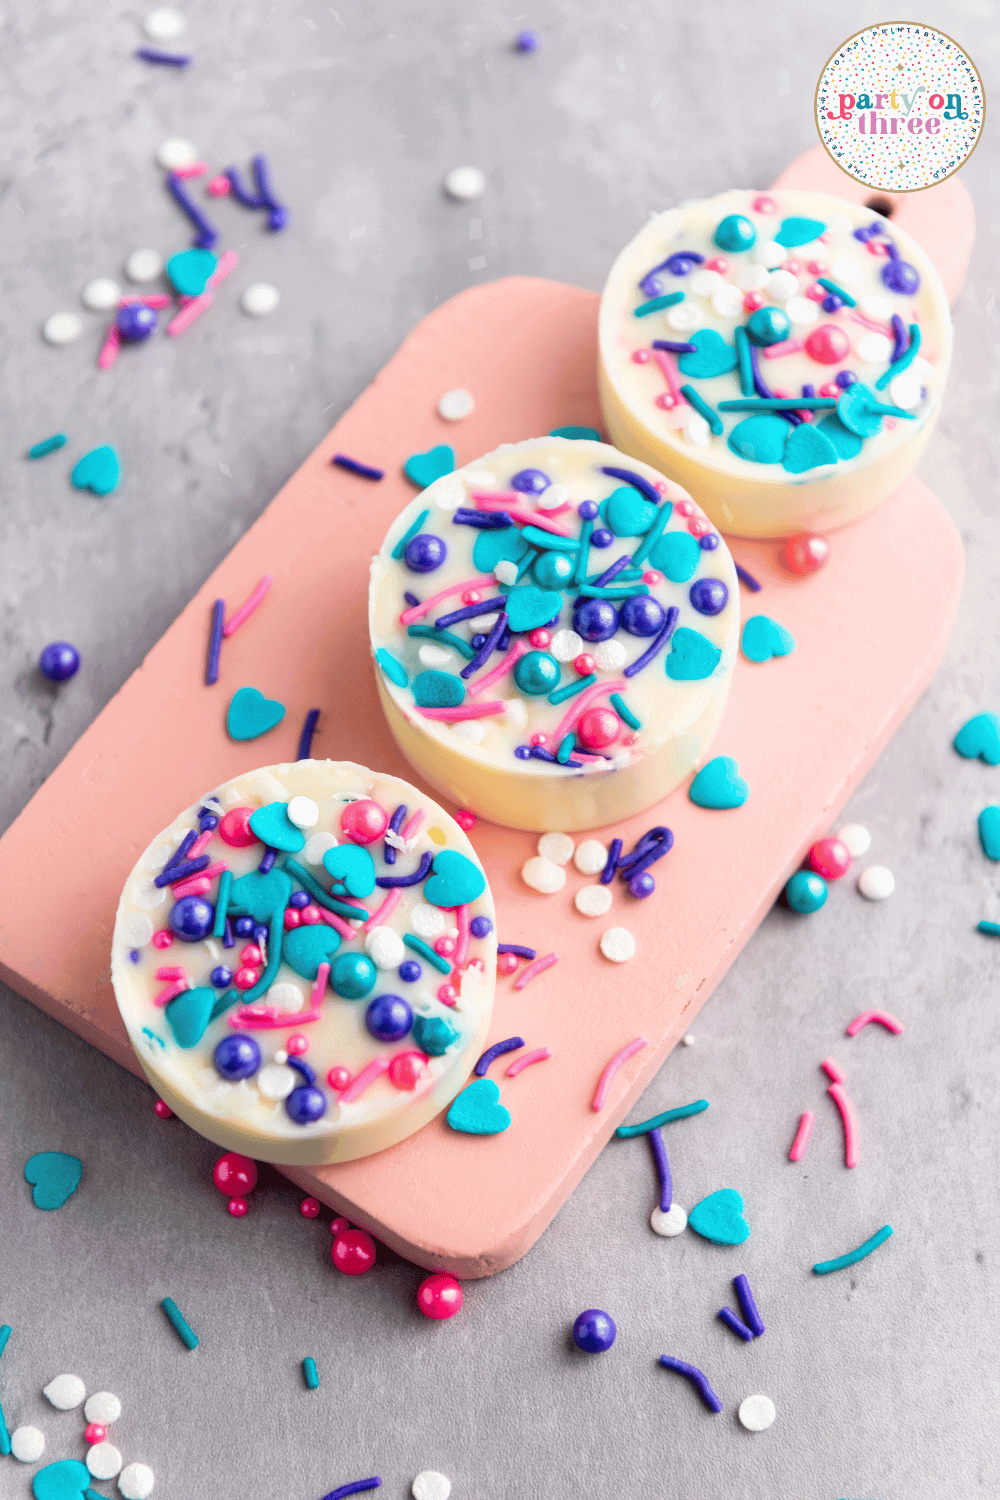
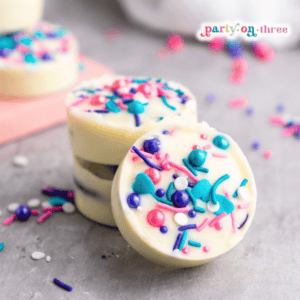
These easy DIY white chocolate covered Oreos are perfect for your next gathering and look even better mermaid or unicorn birthday party! A dreamy dessert idea that looks fancy but takes just minutes to make. Just like the professional treat makers!

Love Party on Three?
Make us your preferred source on Google so our recipes, printables, and party ideas show up first when you search. One tap and you're set, it's free and it helps us so much.
There are affiliate links in this post – please read my full disclosure policy. As an Amazon Associate, I earn from qualifying purchases.
Whether you’re planning a whimsical mermaid bash or a sparkly unicorn celebration, these white chocolate covered Oreos are your new secret weapon. They’re fun to make, completely customizable, and they give that Pinterest-perfect wow factor with barely any effort. Moms, this is the kind of dessert that makes you look like you hired a pro but really just took you five minutes in the kitchen.
We also have these fun cake pops that are super simple to make and you can customize the colors based on the chocolate you use.
❤️Don’t Leave Before You Check Out These Fun Ideas!❤️


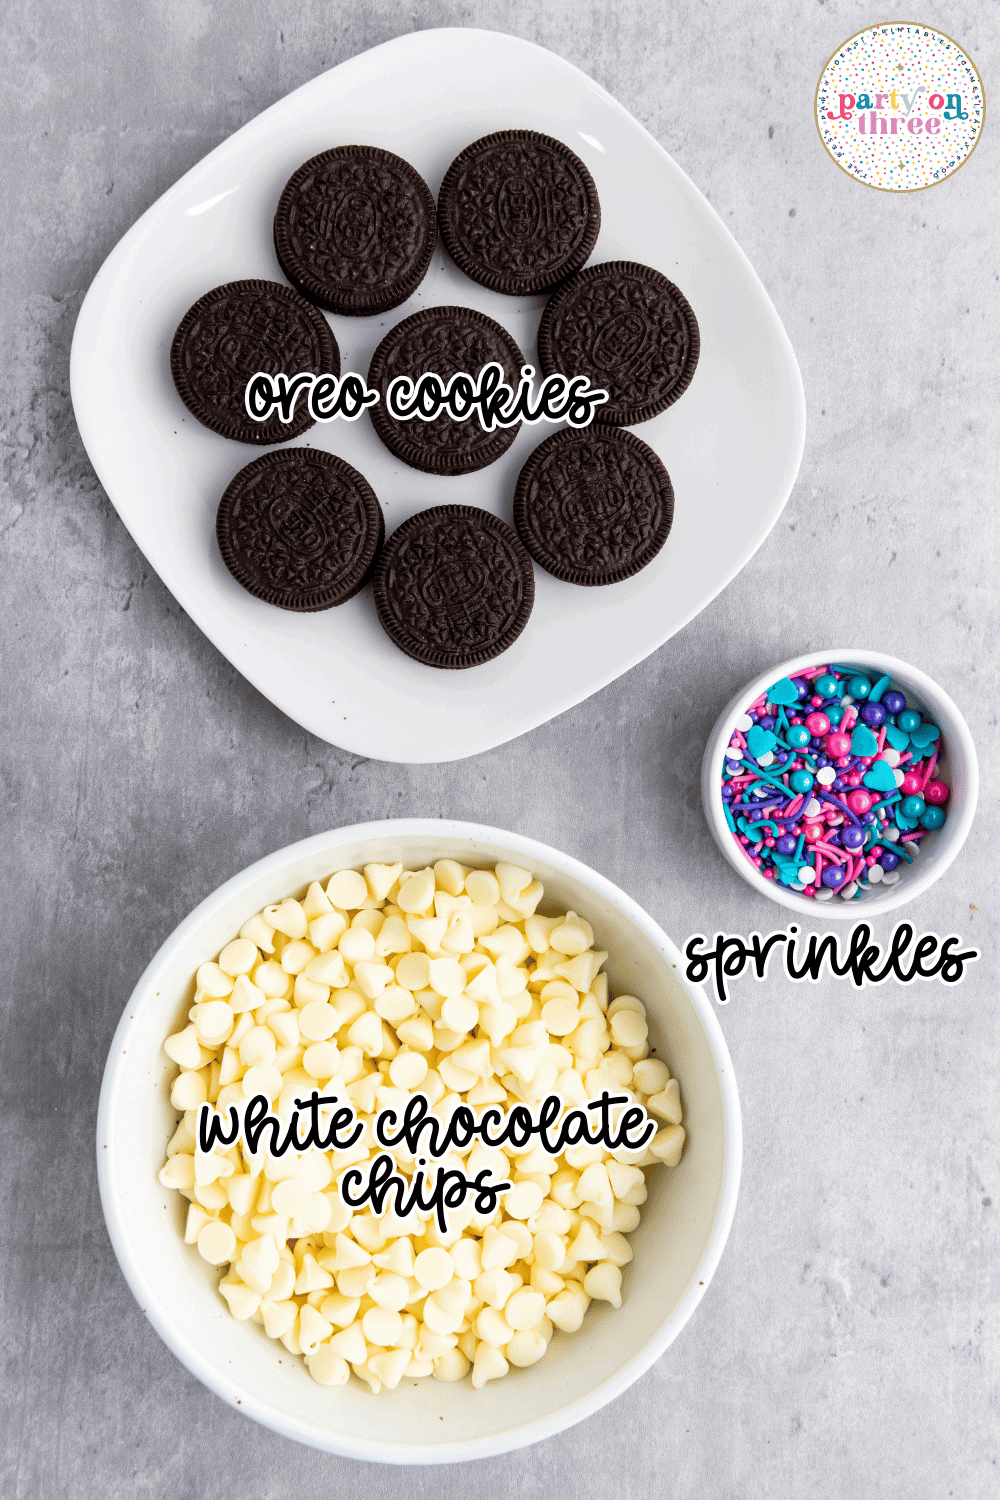
Ingredients Needed
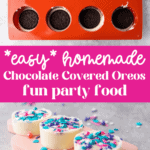
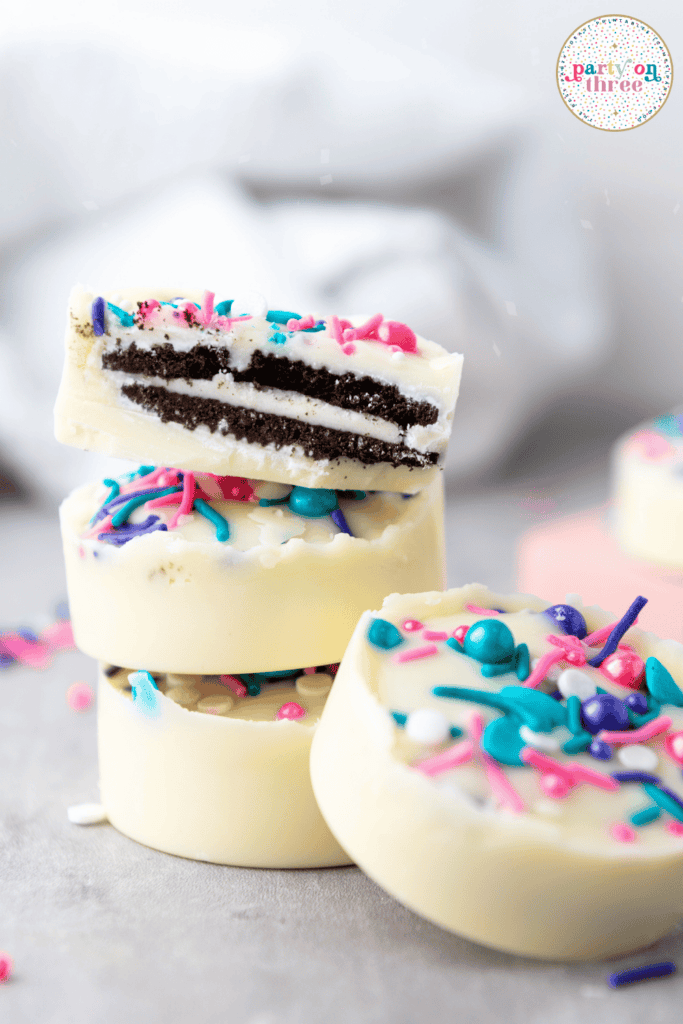
Oreos – Classic chocolate sandwich cookies add crunch and rich flavor. Golden Oreos also work great for a lighter look or for those who want a different flavor.
White Chocolate Chips – For the best texture and taste, go with Ghirardelli. The chocolate melts smooth and sets with a lovely snap.
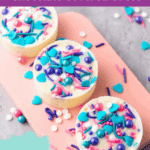
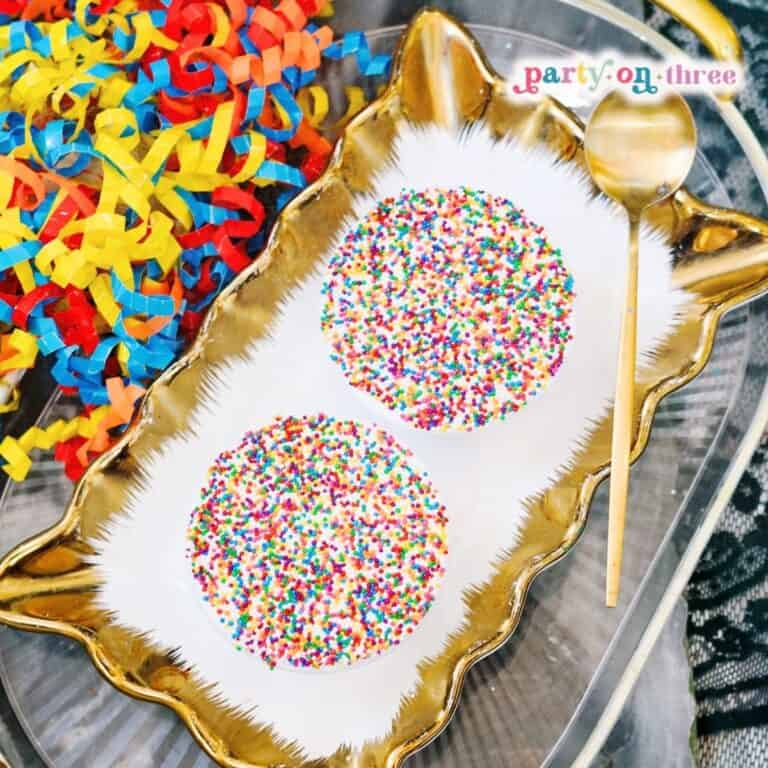
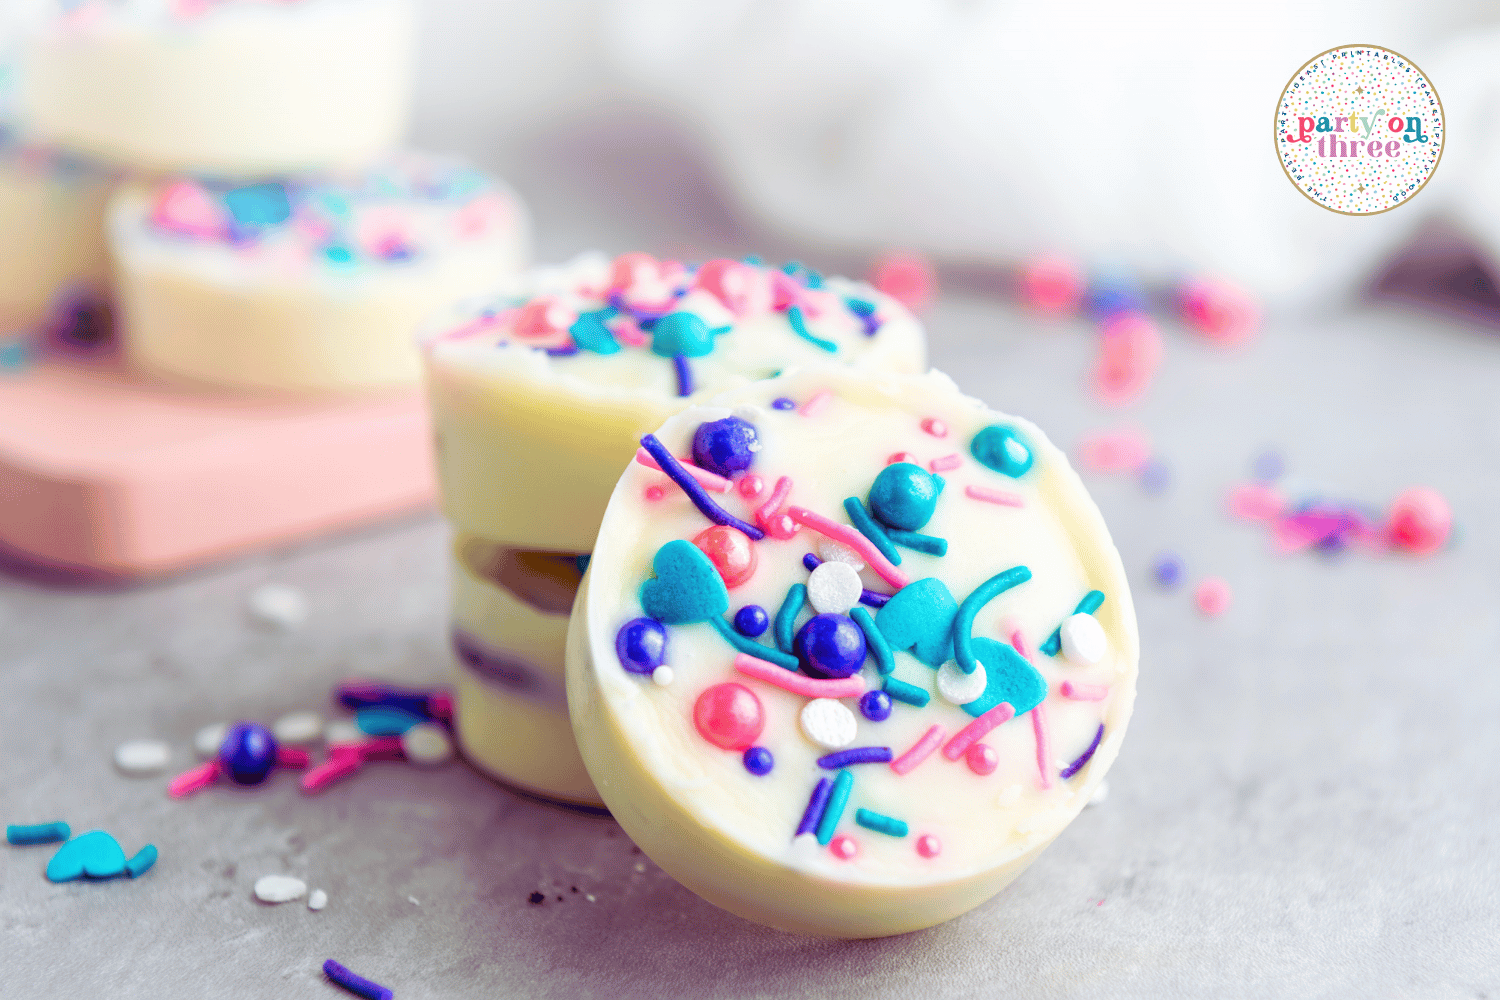
Colorful Sprinkles – Choose a blend that fits your party theme. Mermaid vibes? Think teal, lilac, and seafoam. Unicorn party? Mix in pastels and pearls.
Supplies Needed:
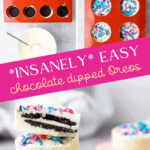
Silicone mold – while you don’t have to use a mold, the chocolate covered Oreos come out perfect every time and the mold is what gives them their shape. Plus, these really help to speed up the process instead of hand dipping.
No products found.
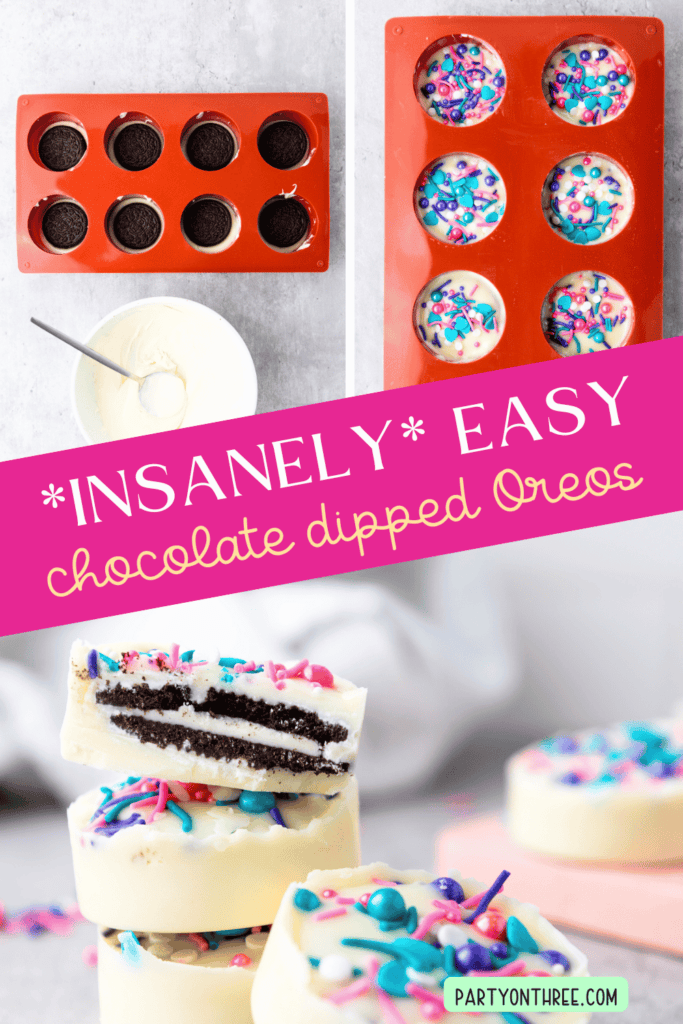
How to Make White Chocolate Covered Oreos
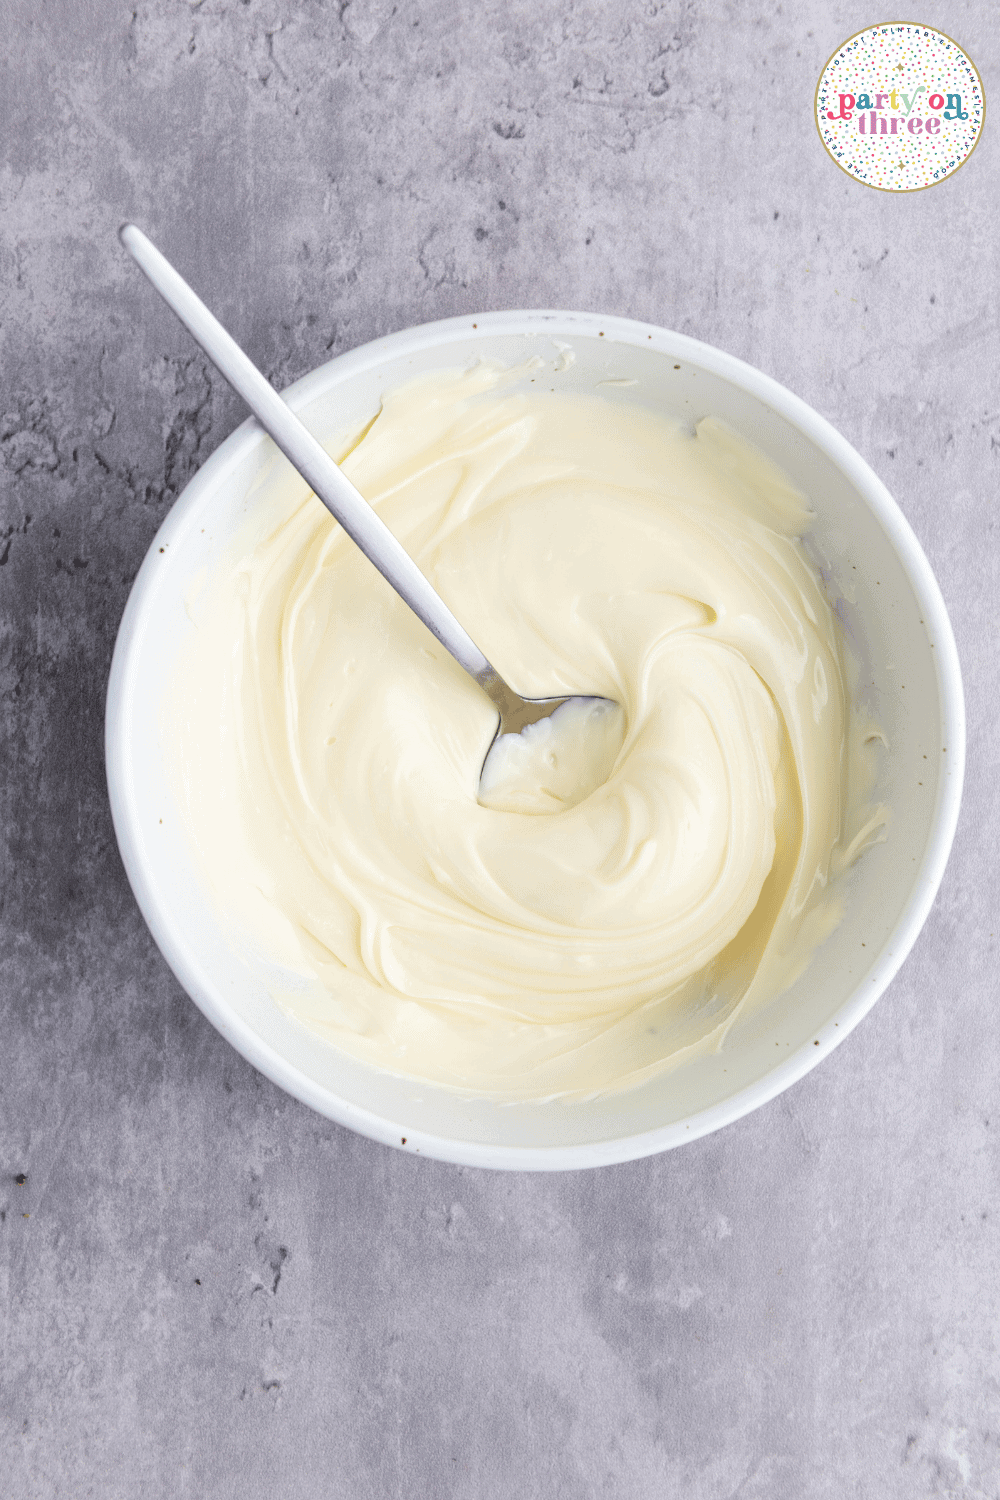
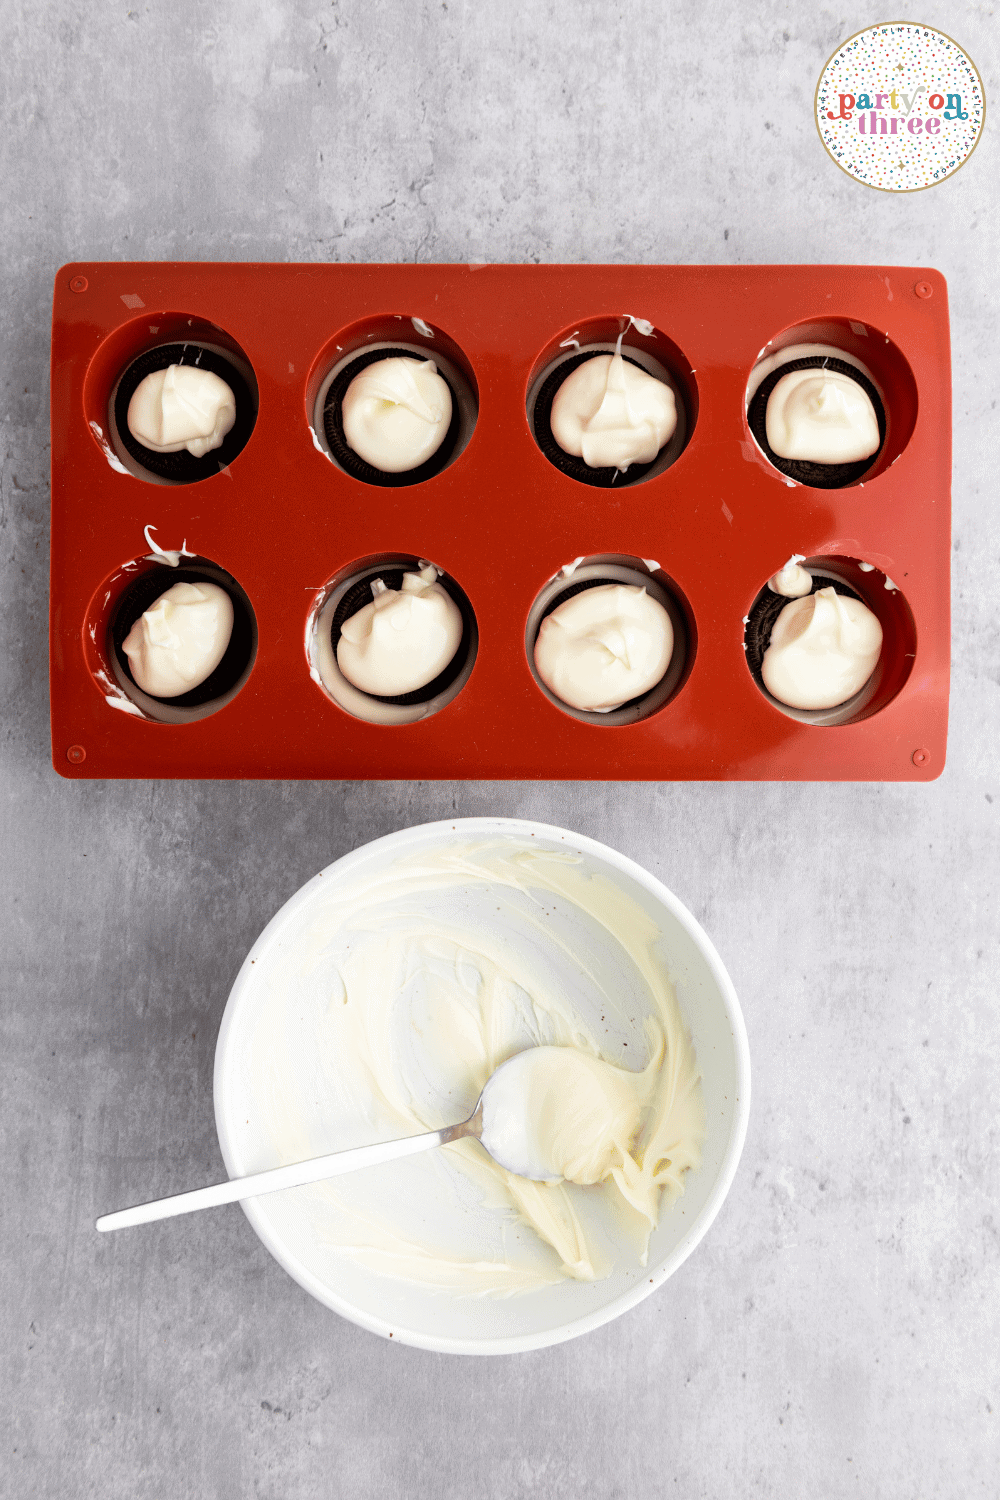
Place white chocolate chips in a microwave-safe bowl. Heat in 30-second increments, stirring each time, until fully melted and smooth.
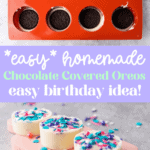
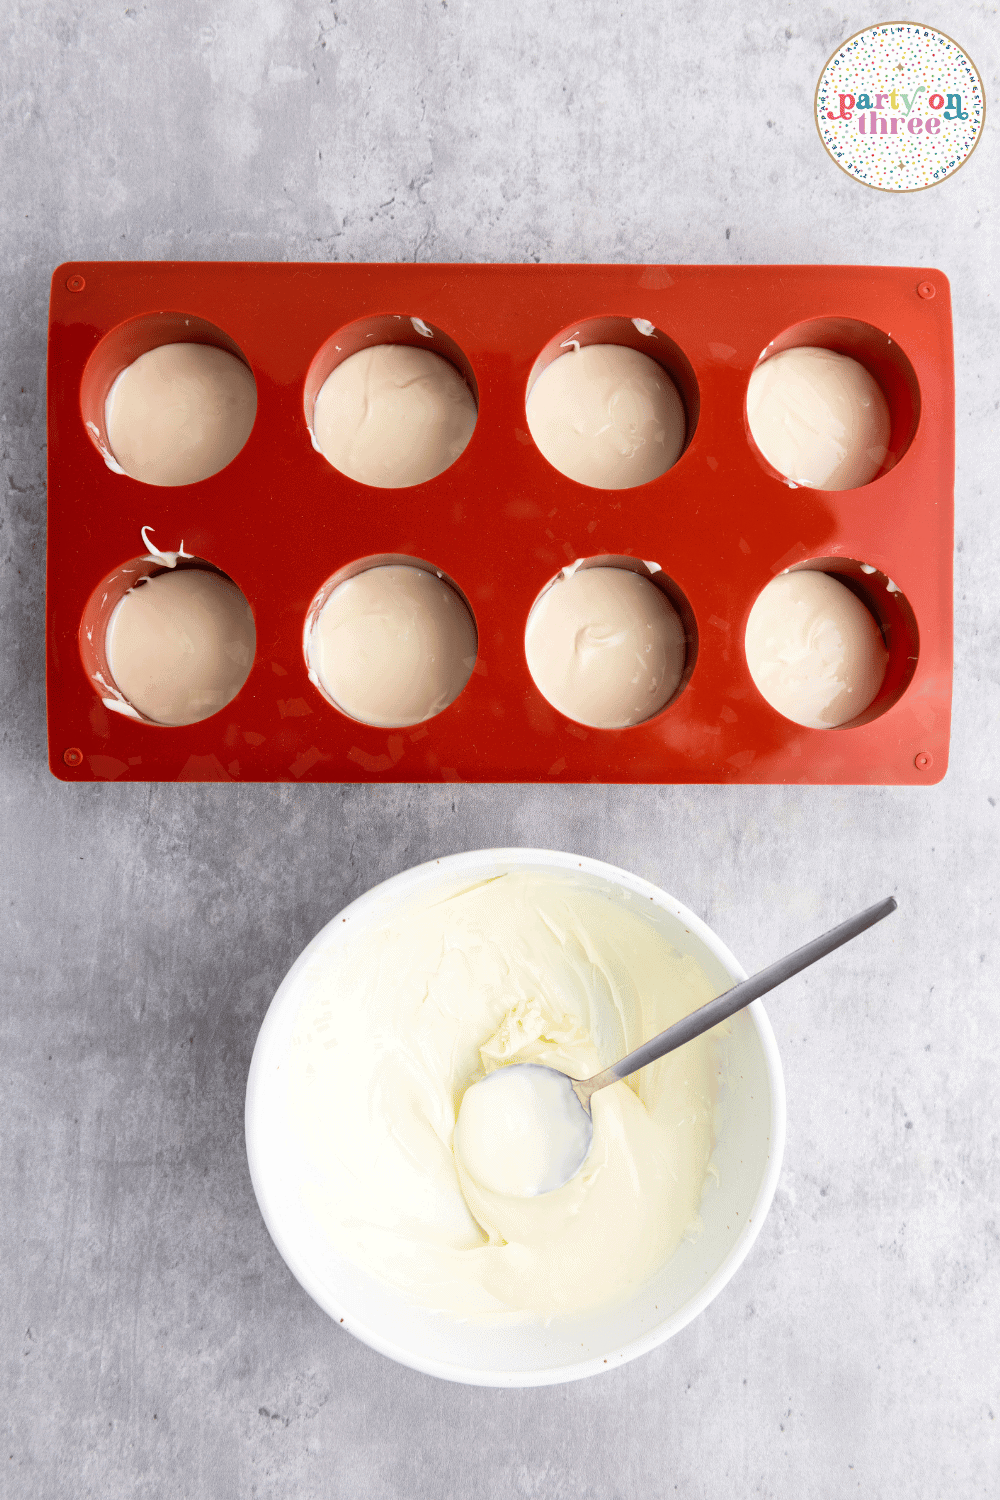
Spoon a layer of chocolate into the bottom of each cavity in your silicone Oreo mold.
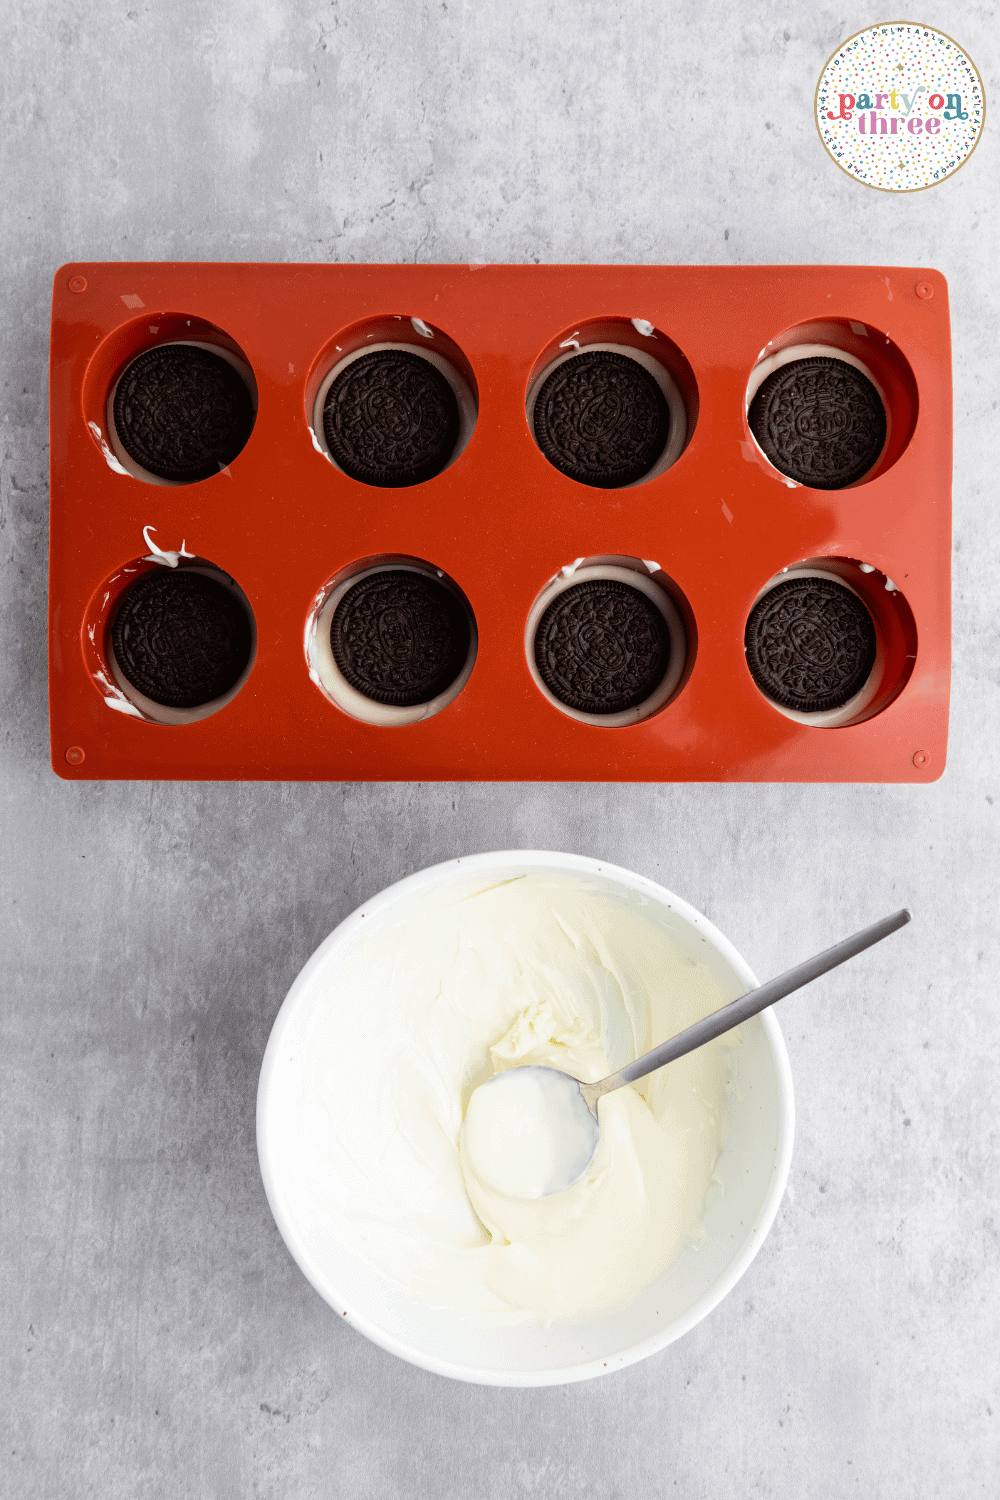
Gently place an Oreo into the mold, pressing it just enough to nestle in.
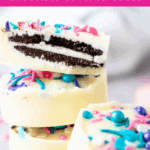
Add more melted chocolate over the top, but don’t overfill. Too much can make the cookie peek through once set. Tap the mold lightly on the counter to even out the tops and remove air bubbles.
Decorate immediately with sprinkles while the chocolate is still soft. Refrigerate for at least 30 minutes until fully set.

Pop the Oreos out of the mold and they’re ready to serve.
No-Mold Option
If you don’t have a silicone mold, you can still make gorgeous chocolate covered Oreos. Here’s how:
- Line a baking sheet with parchment paper.
- Dip each Oreo into the melted white chocolate using a fork. Let the excess drip off.
- Place on the parchment and quickly add sprinkles before the chocolate sets.
- Chill the tray in the fridge until firm.
They won’t have the perfectly rounded sides, but they’ll still look festive and taste amazing.
Helpful Tips
Use a silicone mold for best results and easy release.
Don’t add all the chocolate at once, then drop in the cookie. This often causes the Oreo to rise and poke through the coating as it cools.
Stir your chocolate frequently during melting to prevent overheating.
If chocolate starts to seize (becomes thick or grainy), add a small amount of neutral oil like coconut or vegetable and stir gently to smooth it out.
Make them a day in advance and store in the fridge for effortless party day prep.
Substitutions and Variations
Use dark or milk chocolate for a richer version.
Swap out the sprinkles for other themed holidays and special events.
Try different Oreo flavors like mint, birthday cake, or peanut butter to match your theme.
Add edible glitter or shimmer dust for a magical finish.
If you have a Cricut and edible image sheets, you can personalize each Oreo with themed toppers. Just place the edible image at the bottom of the mold before adding the chocolate.
How to Store
Store chocolate covered Oreos in an airtight container for up to 1 week.
Common FAQs
Not at all. While molds make for a polished look, you can absolutely make these by hand. Review to the the No Mold Section in the post for instructions on how to dip by hand.
Yes! Once they’re fully set, store them in a freezer-safe container. Thaw in the fridge before serving for best texture. Do not thaw them at room temperature, sometimes this will make harden chocolate sweat.
They’re party-perfect for up to a week when kept in an airtight container in the fridge.
Birthday Party Chocolate Covered Oreos
Ingredients
- Oreos Use as many cookies as you would like to make
- White chocolate chips Ghirardelli recommended
- Sprinkles
Instructions
- Melt chocolate in 30-second intervals, stirring each time until smooth.
- Spoon a bit into each mold cavity. Press in an Oreo.
- Cover with more chocolate. Tap to smooth.
- Top with sprinkles. Chill 30 minutes until firm.
- Pop out and serve.
Notes
- You will need about 1 ounce of chocolate chips per cookie.
- Add edible images with a Cricut for personalized designs.
- Use these silicone molds to get the perfect shape.
- If chocolate seizes, add a small bit of neutral oil and stir until smooth.
- Don’t skip the mold tap, it’s the key to that perfect finish so the chocolate covers the Oreos completely.